Sheet Pan Crispy Rice and Salmon
1/19/2024
This post may contain affiliate links. Please read our disclosure policy.
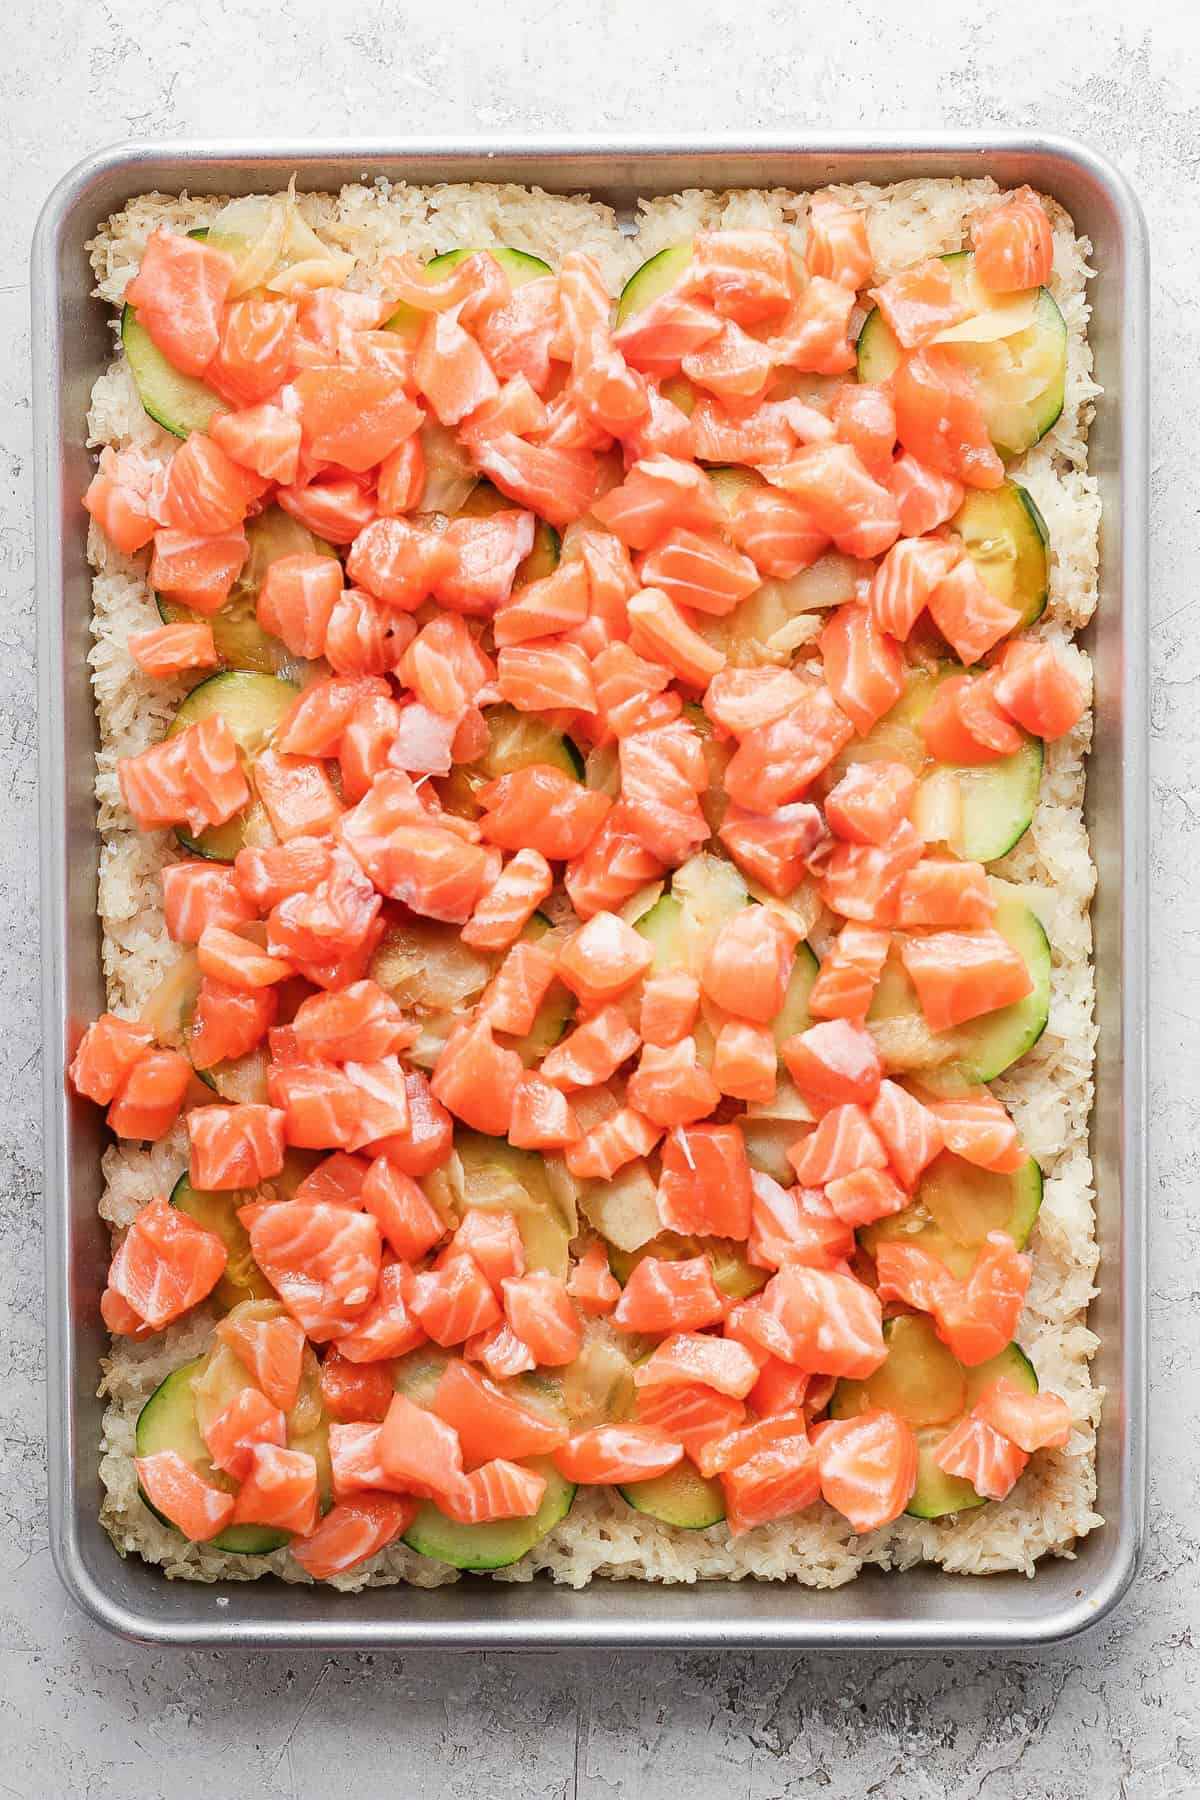
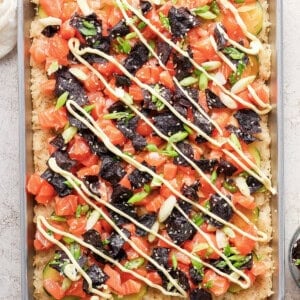
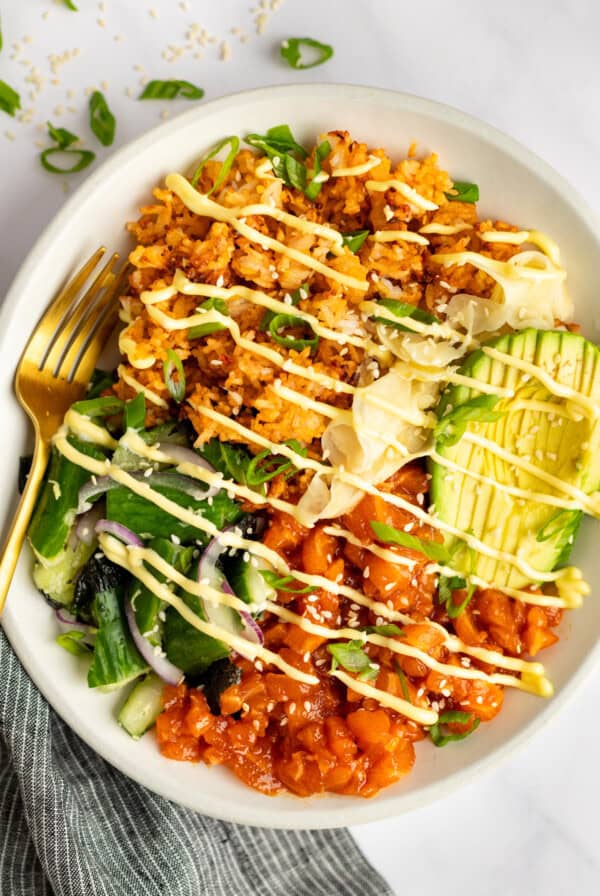
This sheet pan crispy rice and salmon is our new favorite dish. We crisped rice to perfection on a sheet pan in the oven and then topped it with sushi-grade salmon, vinegar pickles, a delicious nori salad, and kewpie.
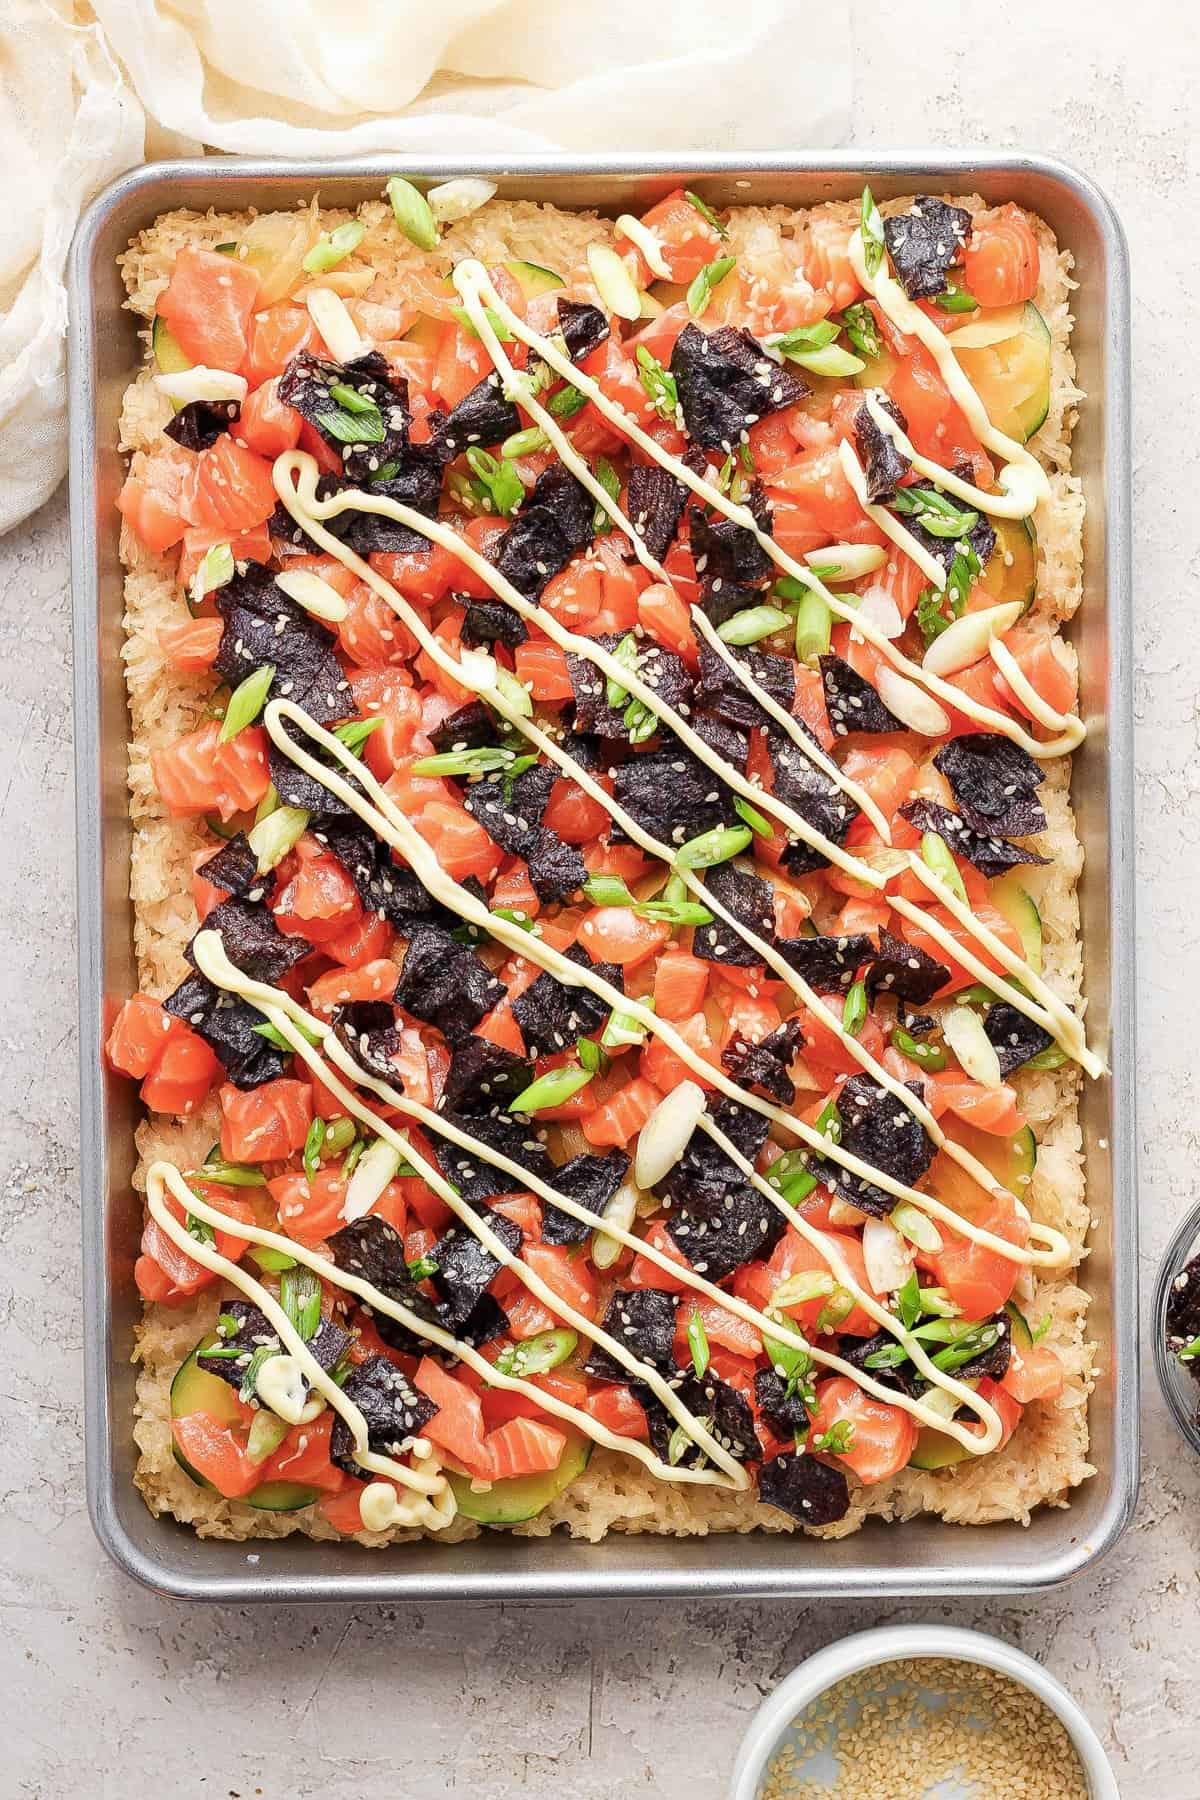
This recipe has been tested many times (which we aren’t upset about because it is delicious) We wanted to figure out a way to make a large amount of crispy rice without having to deep fry or pan fry individual rice squares.
We found that pressing day-old sticky rice and a bit of oil into a baking sheet and broiling it left us with a delicious, golden brown crispy rice. The top is perfectly toasted, the bottom is lightly coated, and it tastes delicious with all of the delicious toppings.
What You Need for Spicy Salmon + Crispy Rice
This dish looks fancy but comes together quickly, especially if you are using leftover sticky rice.
You need sticky rice, ingredients for a simple nori salad, kewpie, and sushi-grade salmon. Depending on where you live, the salmon may be the ingredient you have to search for. Minneapolis only has a few seafood counters that sell true sushi-grade salmon (hey Costal Seafoods).
Check out local seafood counters and remember it’s ok to use sushi-grade tuna (or your favorite sushi-grade fish) in place of the salmon.
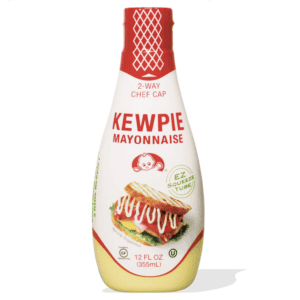
Mayonnaise
Kewpie
We are obsessed with kewpie! Do yourself a favor and add back stock to add to your pantry.
Substitues & Variations
- We used sushi-grade salmon, but sushi-grade tuna will work, too.
- If you would like more salad on top of the salmon, feel free to double the ingredients for the nori salad.
- To add more spice, top the salmon with wasabi.
- Feel free to season the whole dish with more soy sauce.
Top Tips for Spicy Salmon with Crispy Rice
- How long the rice takes to brown will differ depending on each oven. Be sure to check on the rice every few minutes to be sure it doesn’t burn.
- We highly recommend making the sticky rice a day ahead of time for best results. Check out this Instant Pot Sticky Rice or a more traditional method!
- When removing the bites from the baking sheet, the first piece may fall apart. Once there is room to use the spatula, the other pieces will stay intact. Option to cut the rice into pieces first and then top them with the toppings after the rice is cut.
Storage
This dish is a bit difficult to store after you have assembled everything on the sheet pan. If you are making the t dish ahead of time, we recommend storing all of the ingredients separately from each other.
If you have leftovers, we only recommend storing them in an airtight container in the refrigerator for one day after preparation. You don’t want to mess with raw fish!
Freezer Directions
We do not recommend freezing this recipe.

Serving Suggestions
This sheet pan crispy rice and salmon makes a great dinner at home, but we also love serving it we have company. It is a flavorful, fun dish that will get your guests excited.
We recommend serving this dish as an appetizer alongside this honey ginger quinoa salad, Honey Chili Crunch Air Fryer Salmon Bites, Spicy Pork Noodles, or Fancy Momofuku Noodles.
Sheet Pan Crispy Rice and Salmon
Ingredients
- 2 tablespoons avocado oil
- 1 tablespoon + 1 teaspoon sesame oil, separated
- 1.5 teaspoons sea salt, separated
- 5 cups cooked sticky rice, cold*
- ½ cup thinly sliced cucumbers, (~½ large cucumber)
- 1 tablespoon soy sauce
- ⅓ cup sushi ginger
- 1 lb. sushi-grade salmon, chopped into small chunks
- 5 green onions, chopped
- 3 sheets nori, broken up into small pieces
- 2 tablespoons rice vinegar
- 1 teaspoon sesame oil
- 1.5 tablespoons sesame seeds, white or black
- 3 tablespoons kewpie or mayonnaise
Instructions
- Grease the bottom of a half baking sheet with 1 tablespoon of avocado oil.
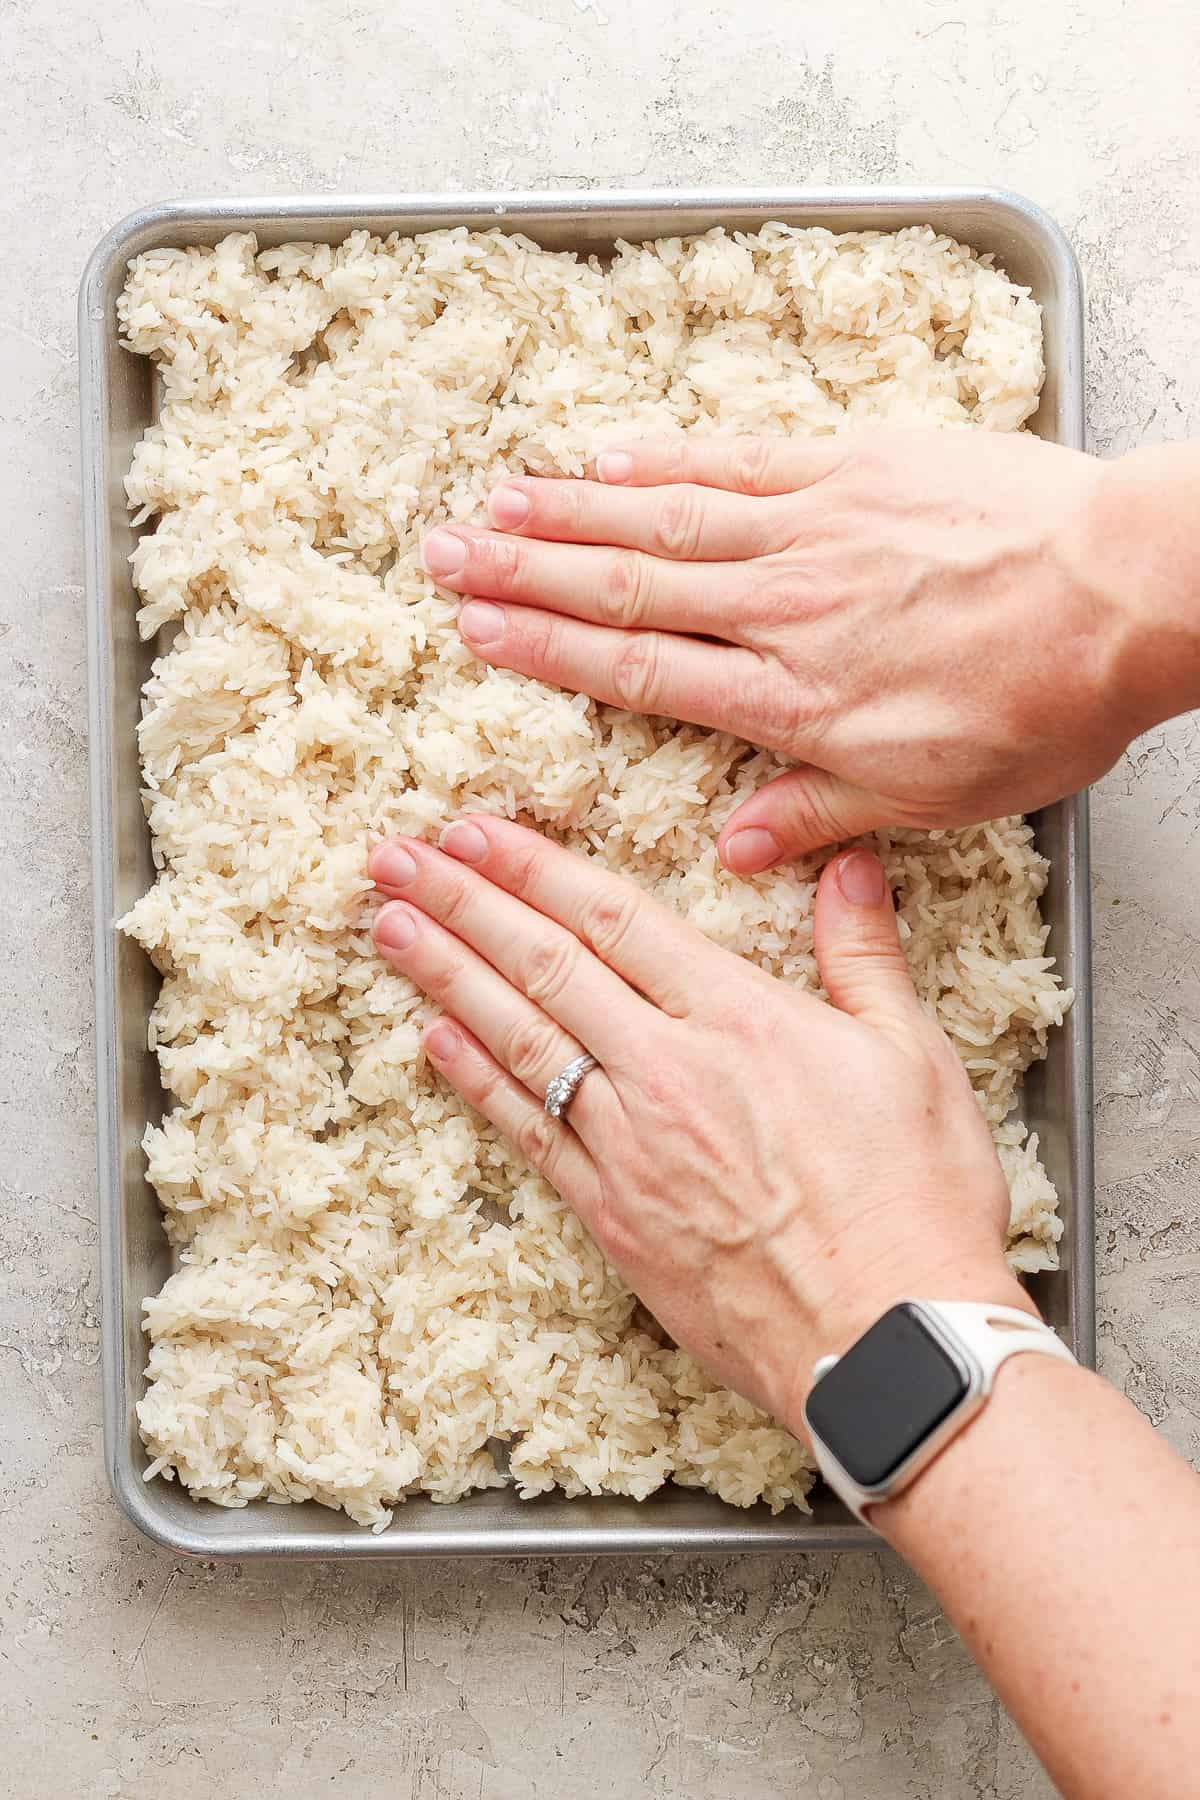
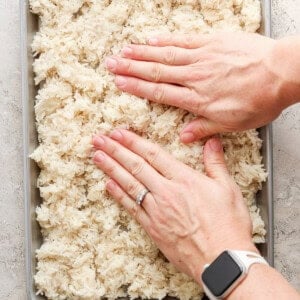
- Scoop the rice onto the baking sheet. Wet your hands and press the rice down. If the rice isn’t sticking together, wet your hands again and repeat. Cover the rice with plastic wrap. Firmly press the rice onto the baking sheet to compress the rice. Place the rice in the refrigerator for 1 hour or overnight.
- Remove the rice from the refrigerator and drizzle the top with 1 tablespoon of avocado oil and 1/2 tablespoon of sesame oil. Use a spatula to spread the oil evenly over the rice. Season with 1 teaspoon of sea salt.
- Preheat the oven to 475ºF. Place the baking sheet in the oven and bake for 7-10 minutes or until the rice begins to brown. Once browned and crispy, remove from the oven. There is also an option to broil the rice for 2 minutes at a time until the rice is brown and crispy.*
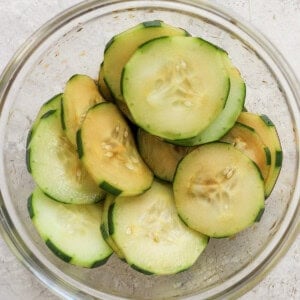
- While the rice is cooking, place the cucumbers in a bowl and toss with the soy sauce. Set aside.
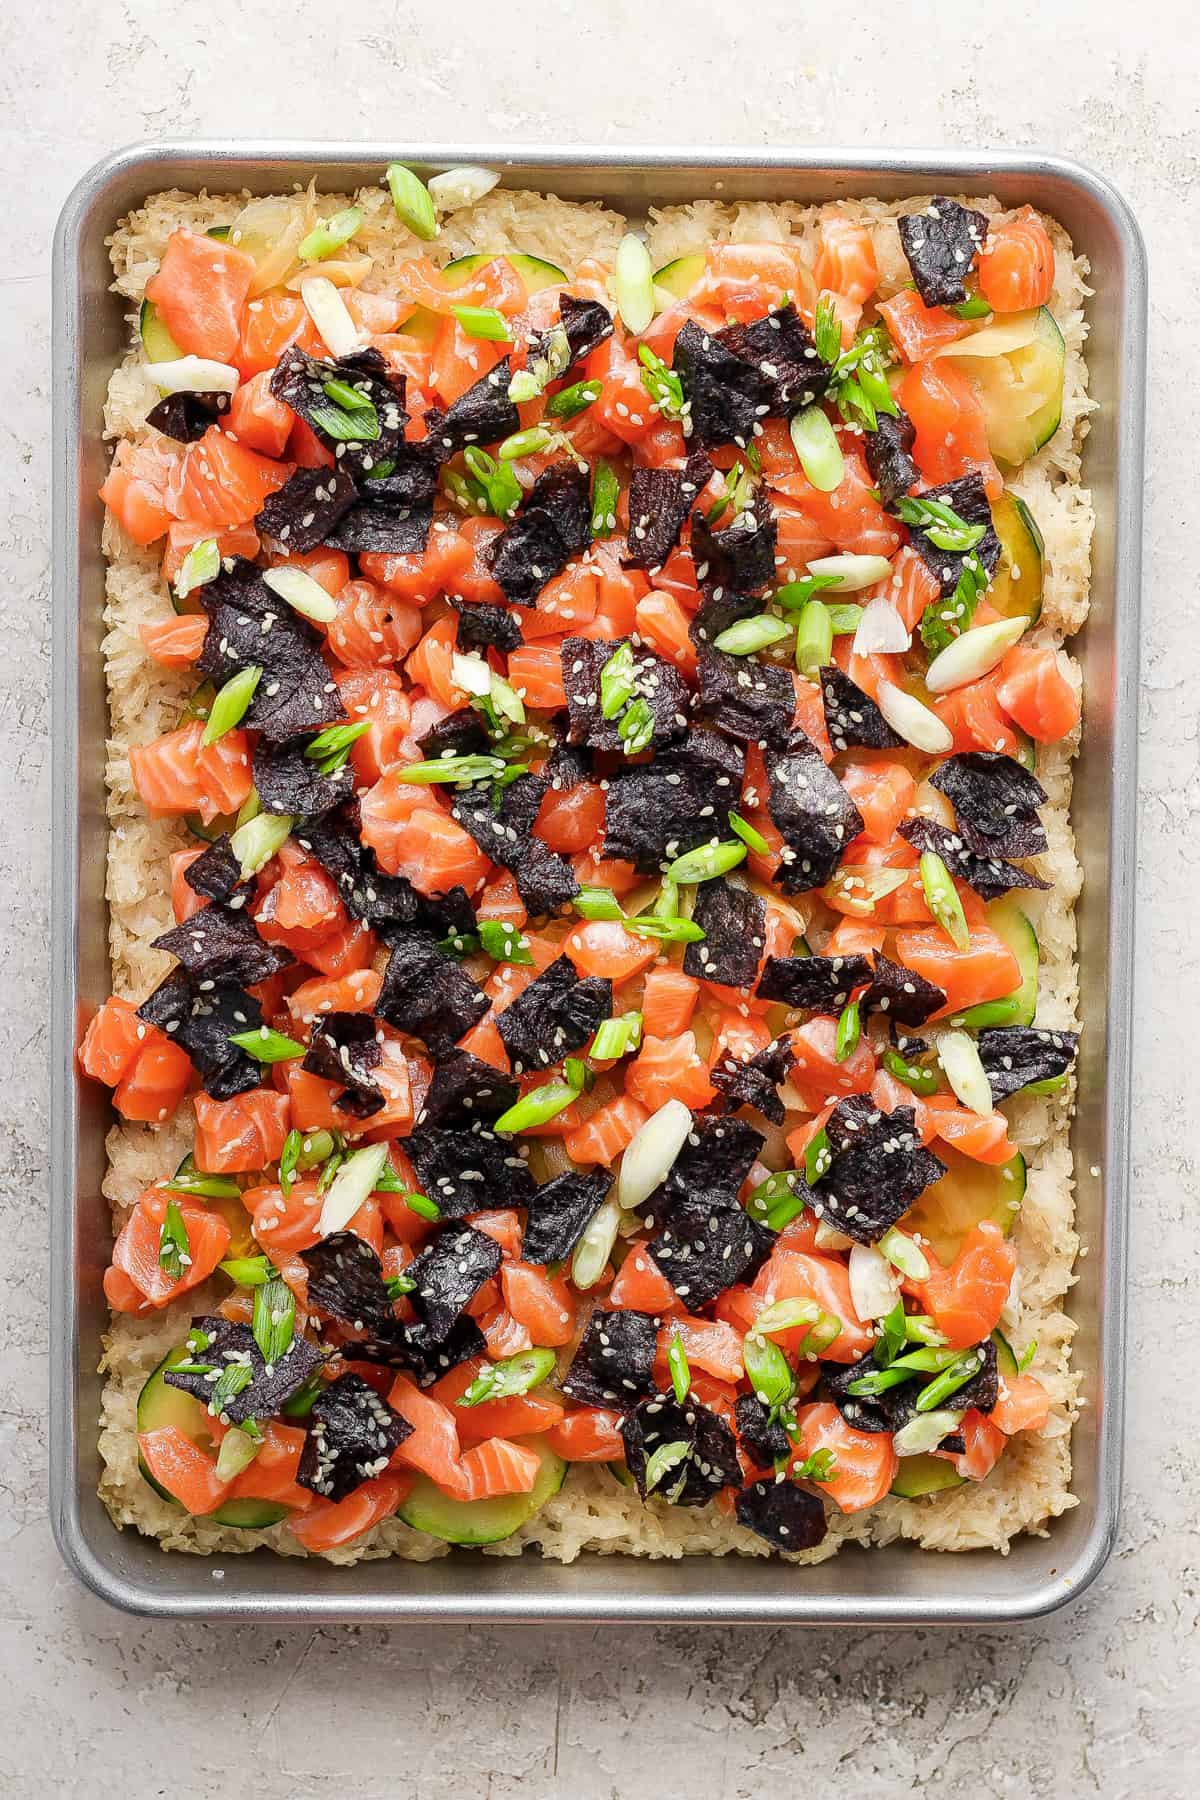
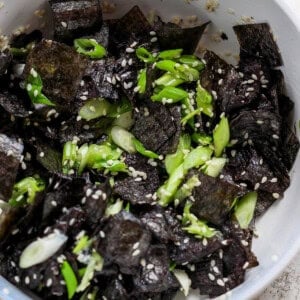
- Assemble the nori salad, add the green onions, nori, rice vinegar, 1 teaspoon of sesame oil, sesame seeds, and ½ teaspoon of salt to a bowl, and toss until coated. Set aside.
- Remove the rice from the oven and let it cool for 10 minutes.
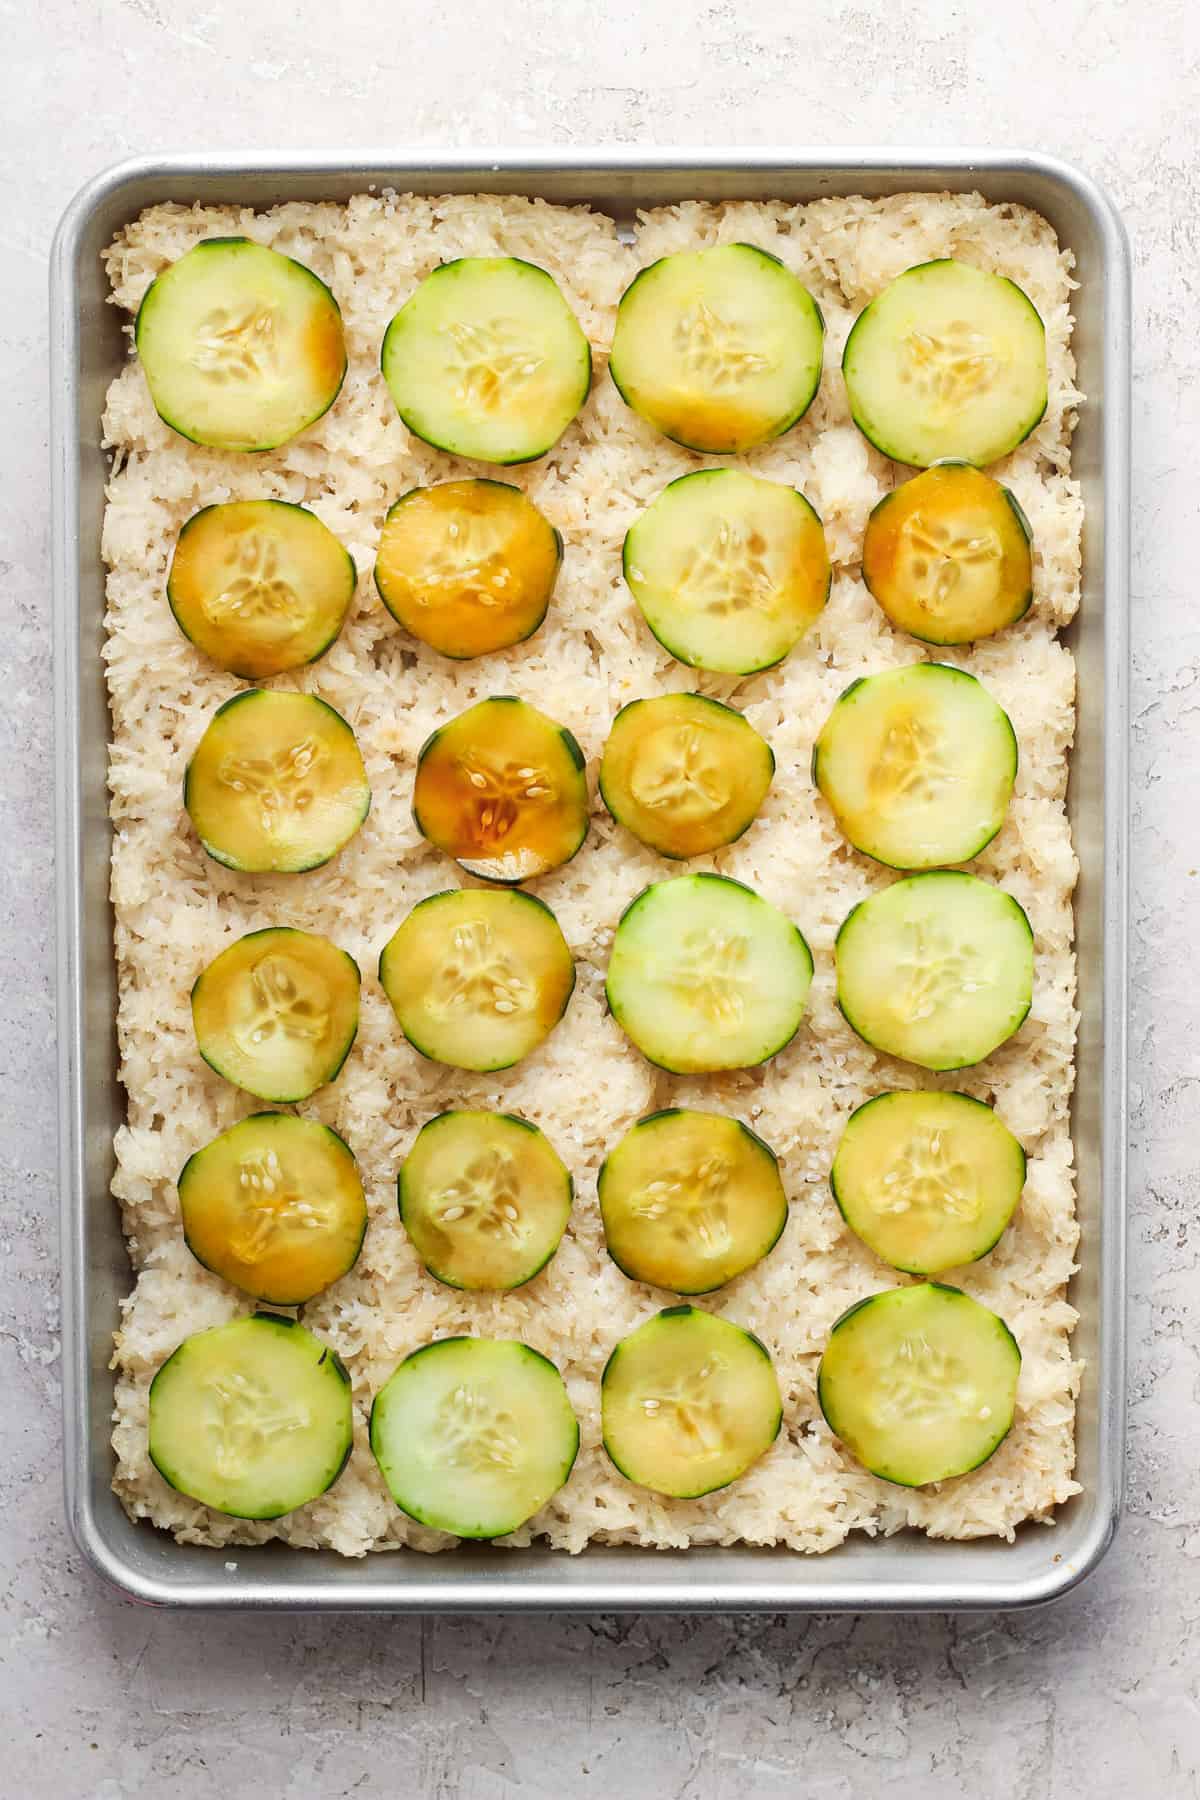
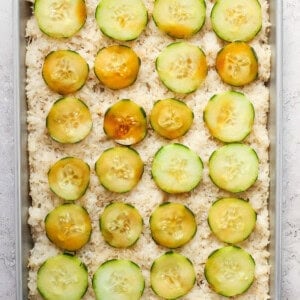
- To assemble, evenly spread the cucumbers over the crispy rice. Top the cucumbers with ginger.
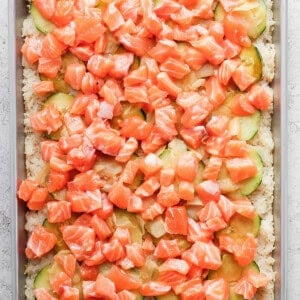
- Next, spread the chopped salmon over the top of the ginger. Top the salmon with the nori salad and drizzle the kewpie over the top of the salad.
- Carefully cut the bites into pieces. Remove the pies from the baking sheet with a small spatula.*
Tips & Notes
- How long the rice takes to brown will differ depending on each oven. Be sure to check on the rice every few minutes to be sure it doesn’t burn.
- We highly recommend making the sticky rice a day ahead of time for best results.
- When removing the bites from the baking sheet, the first piece may fall apart. Once there is room to use the spatula, the other pieces will stay intact. Option to cut the rice into pieces first and then top them with the toppings after the rice is cut.
- We used sushi-grade salmon, but sushi-grade tuna will work, too.
- If you would like more salad on top of the salmon, feel free to double the ingredients for the nori salad.
- To add more spice, top the salmon with wasabi.
- Feel free to season the whole dish with more soy sauce.
Watch It
Nutrition
Nutrition information is automatically calculated, so should only be used as an approximation.
Don’t forget to tag your posts on social media with the hashtag #fitfoodiefinds, we’d love to see what you’re up to!


This was an easy and delicious meal to make. I did make one minor change (used GF Panko). The aroma while prepping and baking was AMAZING! A new family fave!