IKEA Kitchen Reveal – Scandi-Mod Wisconsin Cabin
Published 3/7/2022 • Updated 7/18/2023
This post may contain affiliate links. Please read our disclosure policy.
Welcome to our Scandinavian Modern cabin kitchen reveal! In this post, I’ll be sharing the process of renovating our cabin kitchen and our experience doing an IKEA kitchen.
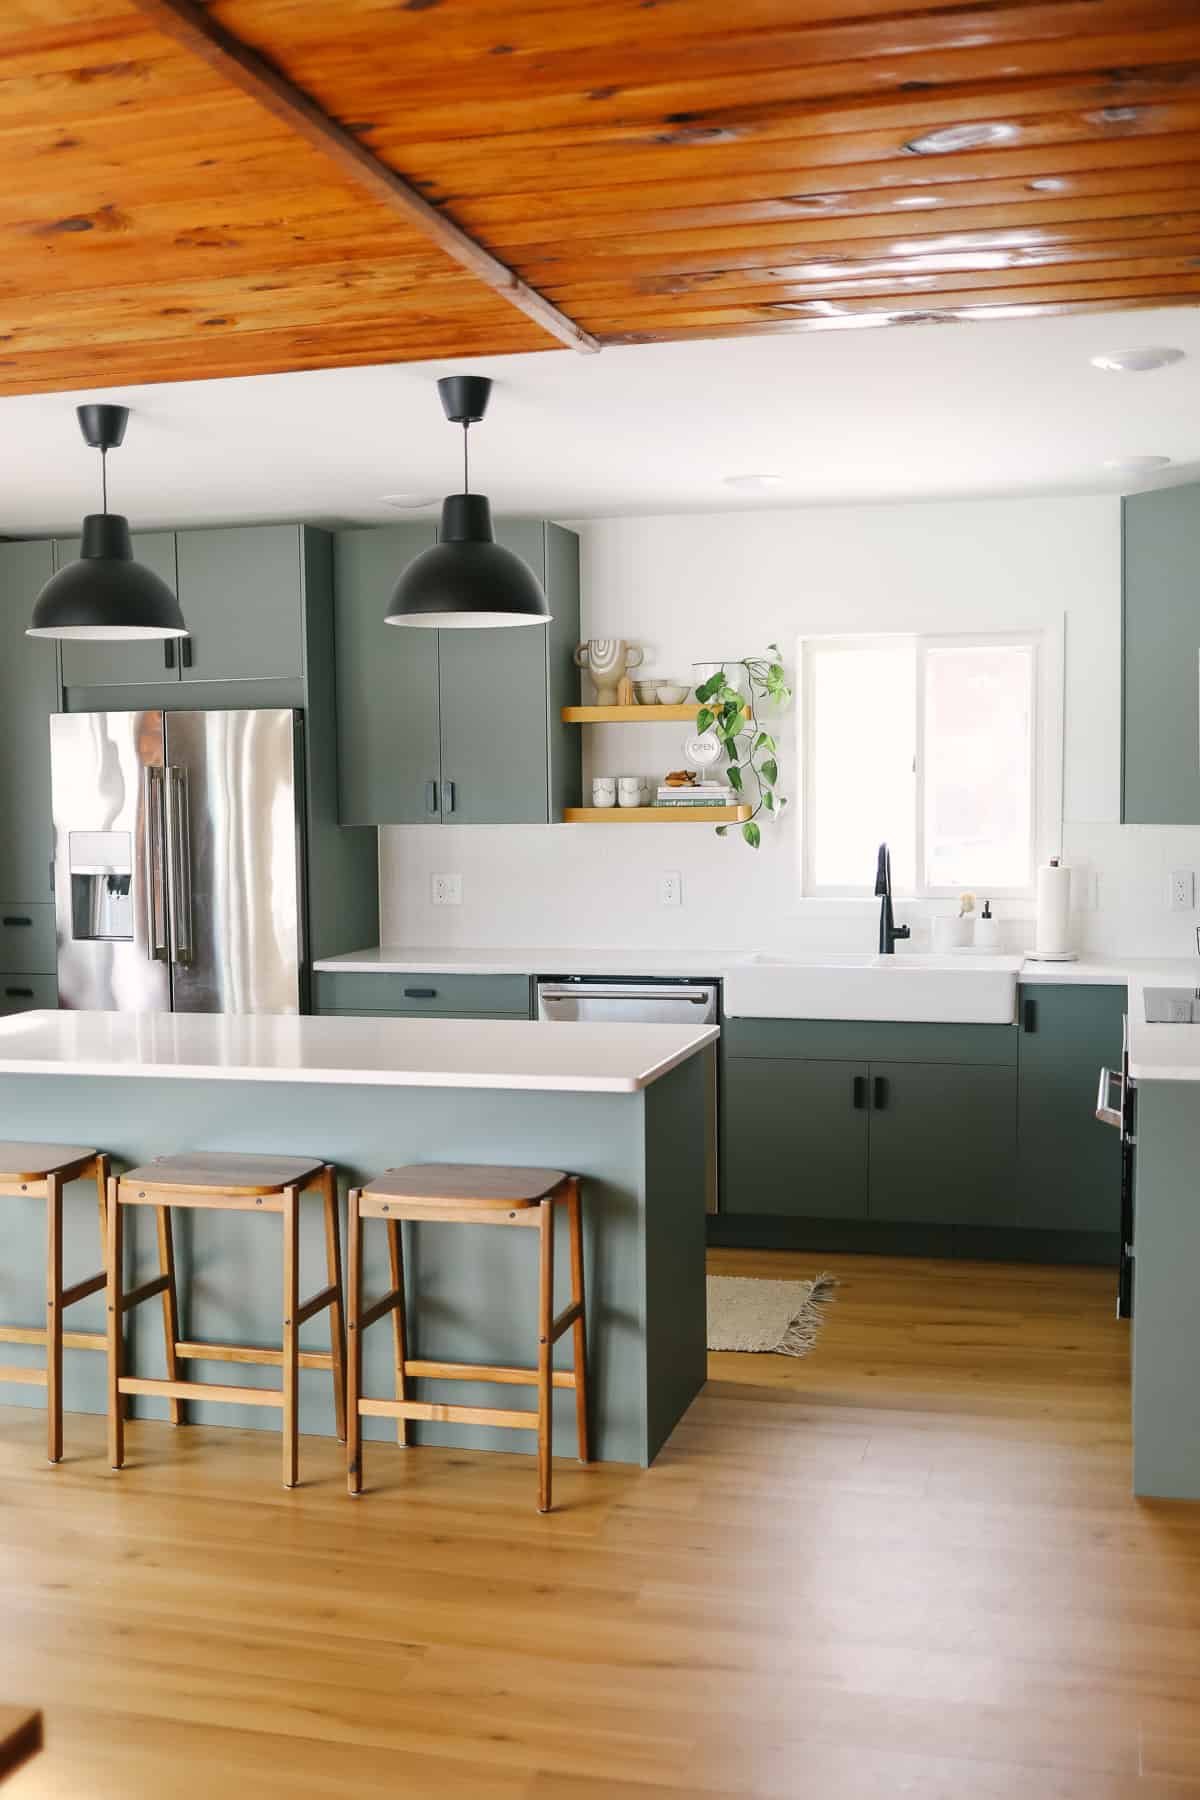
Say hello to our beautiful Scandinavian Modern Wisconsin cabin kitchen that my husband and I renovated on a budget.
We couldn’t be happier with how this IKEA kitchen turned out and I’m excited to dive deeper into all of the details of this renovation.
The Scandi/Mod Design
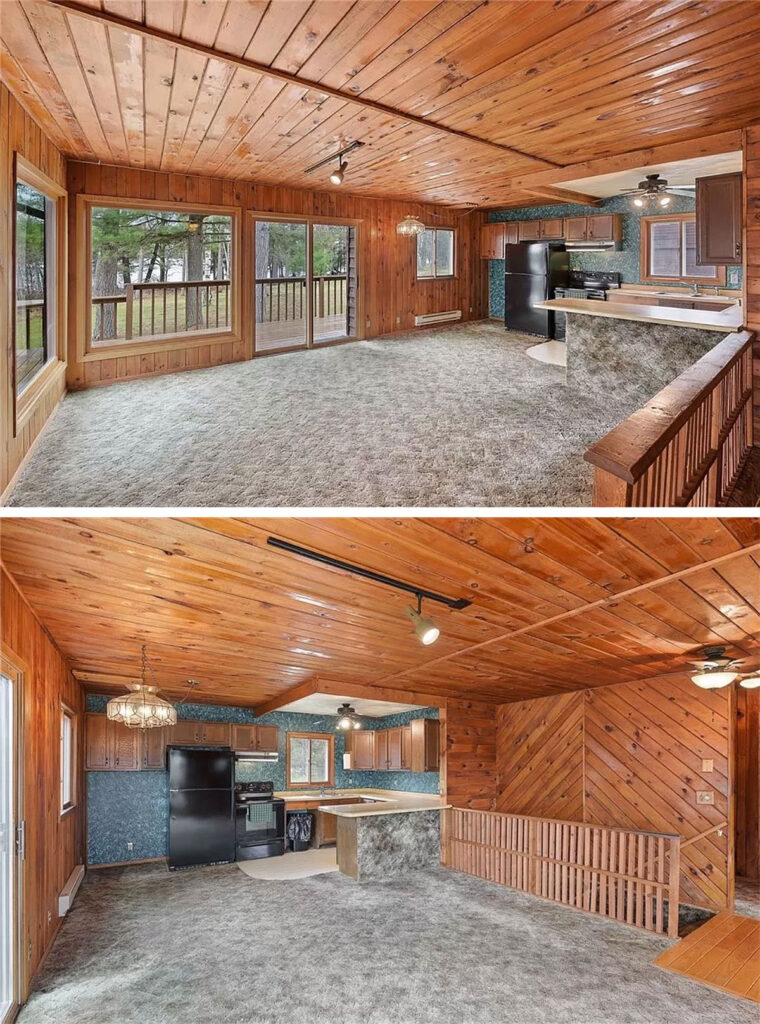
The overall vibe of our cabin is Scandinavian-modern with a rustic twist. We purchased the home from owners of 30 years who did a great job preserving the natural wood paneling in the home. There was a lot of carpet — even on the kitchen island (3,000 sq. ft. to be exact) — and an original kitchen that badly needed some tender love and care.
Our goal with this renovation was to infuse the home with Scandinavian modern vibes while keeping the true charm (insert: wood paneling) of the cabin.
With that in mind, we kept the wood paneling on the walls and ceiling and installed a beautiful white backsplash with white paint to finish it off. Instead of doing white or natural wood cabinets, we went green/grey to make sure it paired nicely with the wood paneling.
The Materials
The majority of the materials used for this project came from IKEA with the exception of just a few things. Below you will find links to everything plus my opinion on the process 😀
Cabinets & Hardware
Hello COVID, hello delays! When souring cabinets for this project, we wanted to stay on a pretty tight budget, while managing crazy shipping delays due to COVID. I priced options at Menards, BOXI, and IKEA and ended up going the IKEA route because they were priced the best (by far) and had the fastest delivery time (so they said).
IKEA cabinets come unassembled, so it’s truly a DIY project knowing that you have to put them together and hang them yourself. Both Menards and BOXI came assembled, jacking the price up.
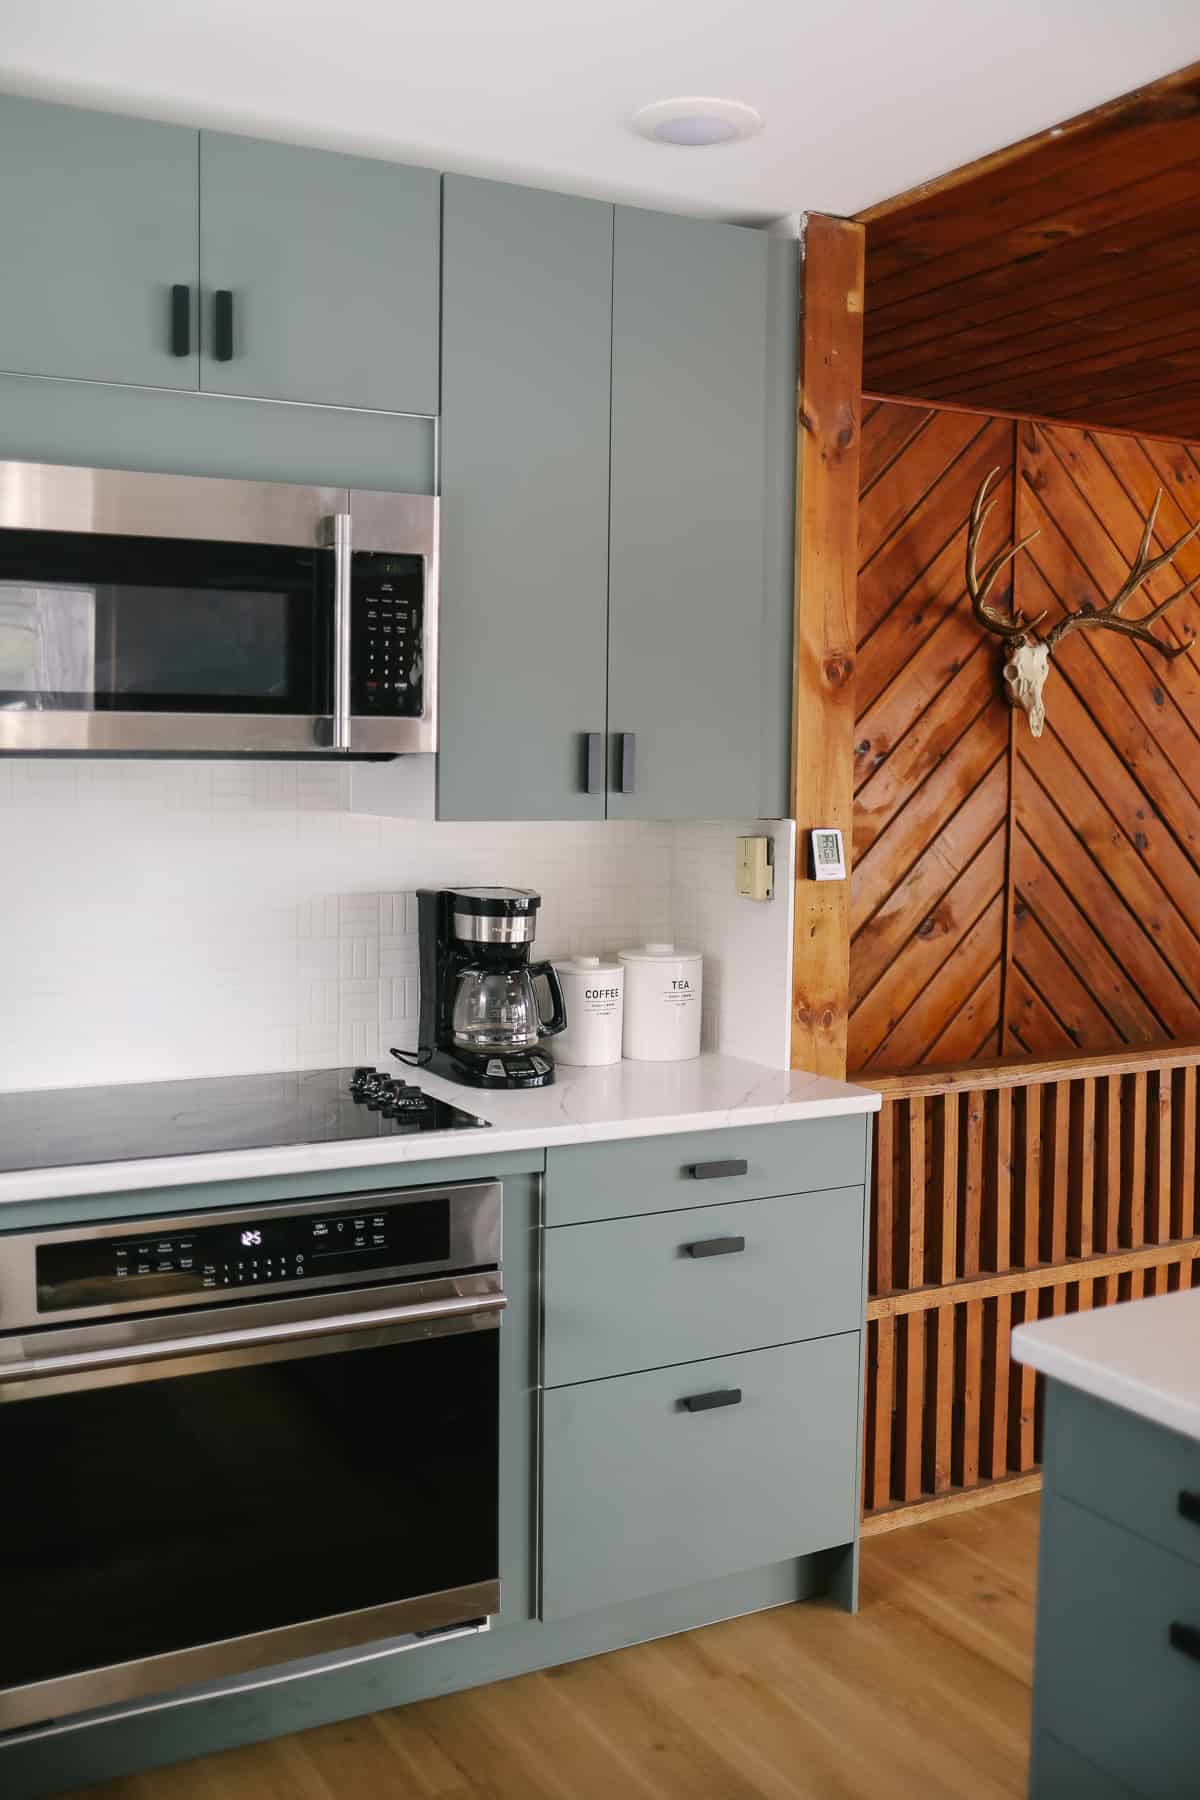
We chose to go with IKEA’s BODARP Matte Gray/Green Cabinets because I loved the flat-panel Scandinavian vibe, plus I got my green kitchen without having to paint the cabinets and spend even more money.
I absolutely love how the gray/green color pairs with the white oak LVP flooring and the amazing original woodworking. I think white would have been too stark/modern, and I’m really happy with this color choice.
Hardware
The hardware we purchased for these cabinets was also IKEA. At $4 a piece, these Hackas matte black cabinet pulls are truly a stellar deal and offer an excellent modern vibe
Appliances
One thing that we love about IKEA is that it’s truly a one-stop-shop. Their kitchens are designed with room for standard appliances and we decided to purchase directly from IKEA for a few reasons.
- Timing: shipping was 4 weeks.
- Cost: you really can’t beat IKEA prices.
- Convenience: the fact that you can order everything at once and not have to bounce around from shop to shop is really nice.
- Sale: at the time of purchase, they were having their 20% off friends and family sale, which drove the price down even more.
I will say that these are by no means high-end appliances. But, again, this is our cabin kitchen and we were looking for affordable options. While we got a really great deal on these appliances, I have one massive caveat. THE DANG STICKY PLASTIC PROTECTOR.
The appliances come wrapped in a sticky plastic protector and you have to manually peel them off. It is so hard to remove this sticky mess, especially from the crevasses.
This may sound silly, but there is still plastic stuck to every appliance we purchased because we need to Exacto-knife it off and we haven’t gotten around to it,
Our Appliances
Here are links to each of our appliances:
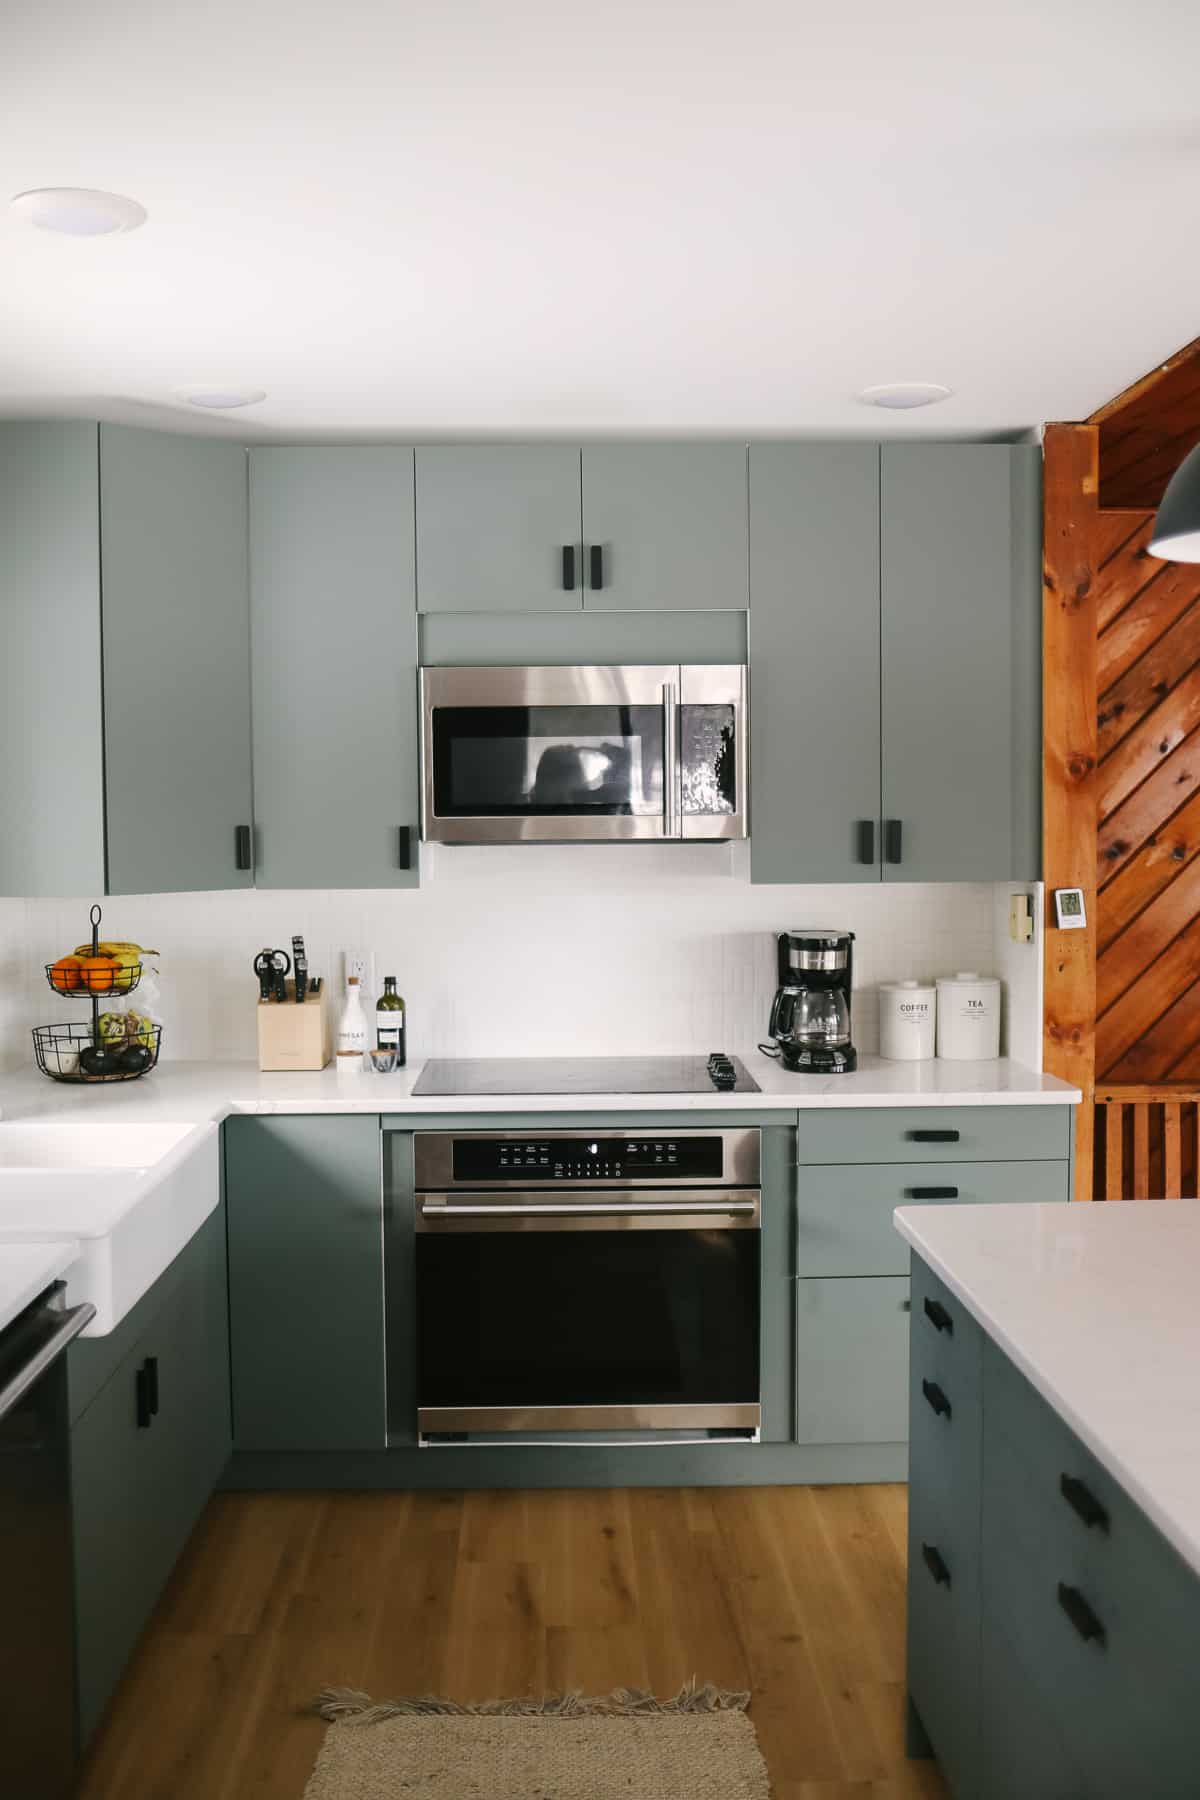
Sink/Faucet
I finally got my farmhouse sink everyone and let me tell you IKEA makes it really easy because they only have a few options. We purchased the Havsen sink and I love that it has 2 sides.
It’s only been a few months since installation, but so far so good.
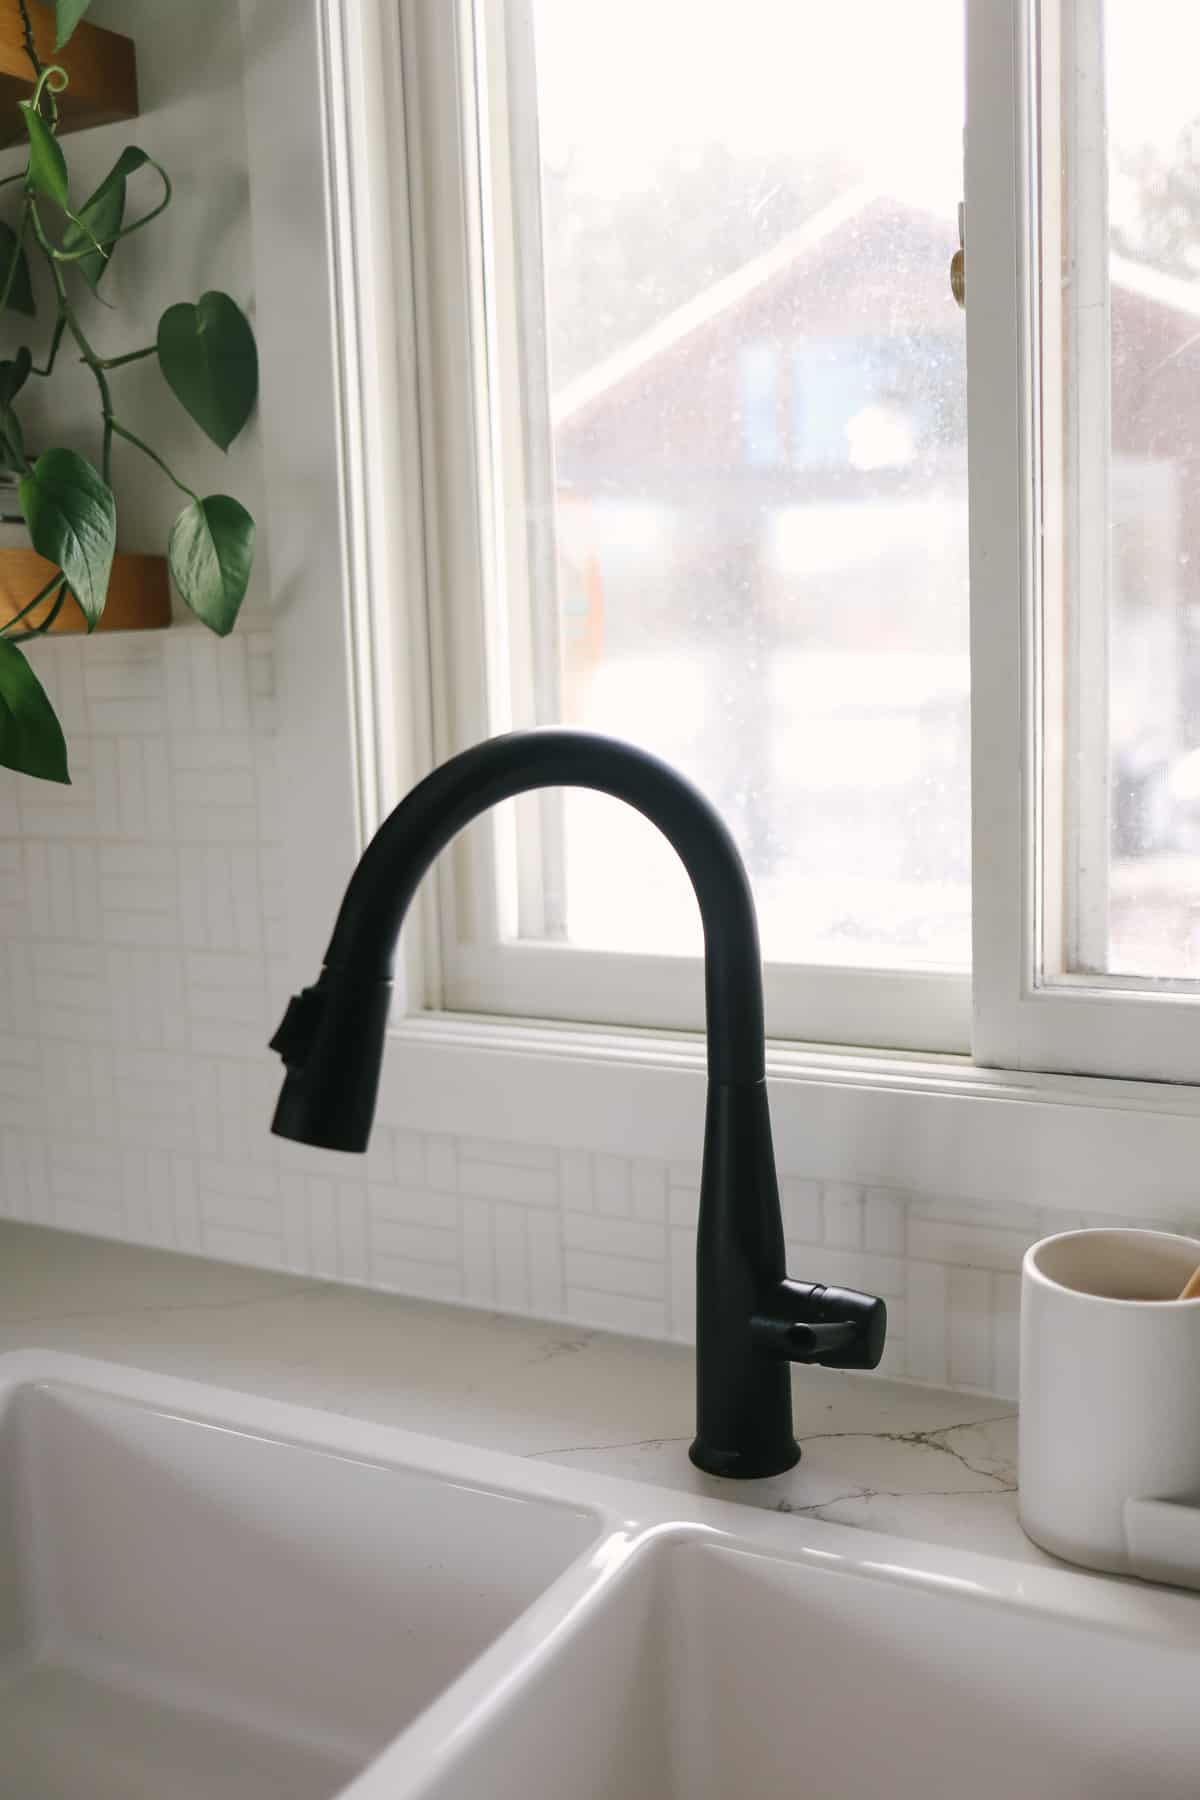
As for the faucet, we originally purchased one from IKEA and have since upgraded it for aesthetics and quality purposes. The current one we have is the Delta Essa Faucet in Matte Black that I got from IKEA.
Pendant Lights
$42. People of the internet, these pendants were $42 — TOTAL. That’s right, they are $21 apiece at IKEA and you really can’t get a better deal than that!
I knew I wanted black pendants and saw these at IKEA and couldn’t pass up the deal. The only thing I wish was different about them, was that the inside was the same matte black as the outside instead of white. But, for $42 I think I can live.
I wanted to make a note that in addition to the 2 pendant lights, we installed 4 recess lights for extra light, and boy do they make a difference. Electric was one of our biggest line items (see below), but definitely worth it.

Floating Shelves
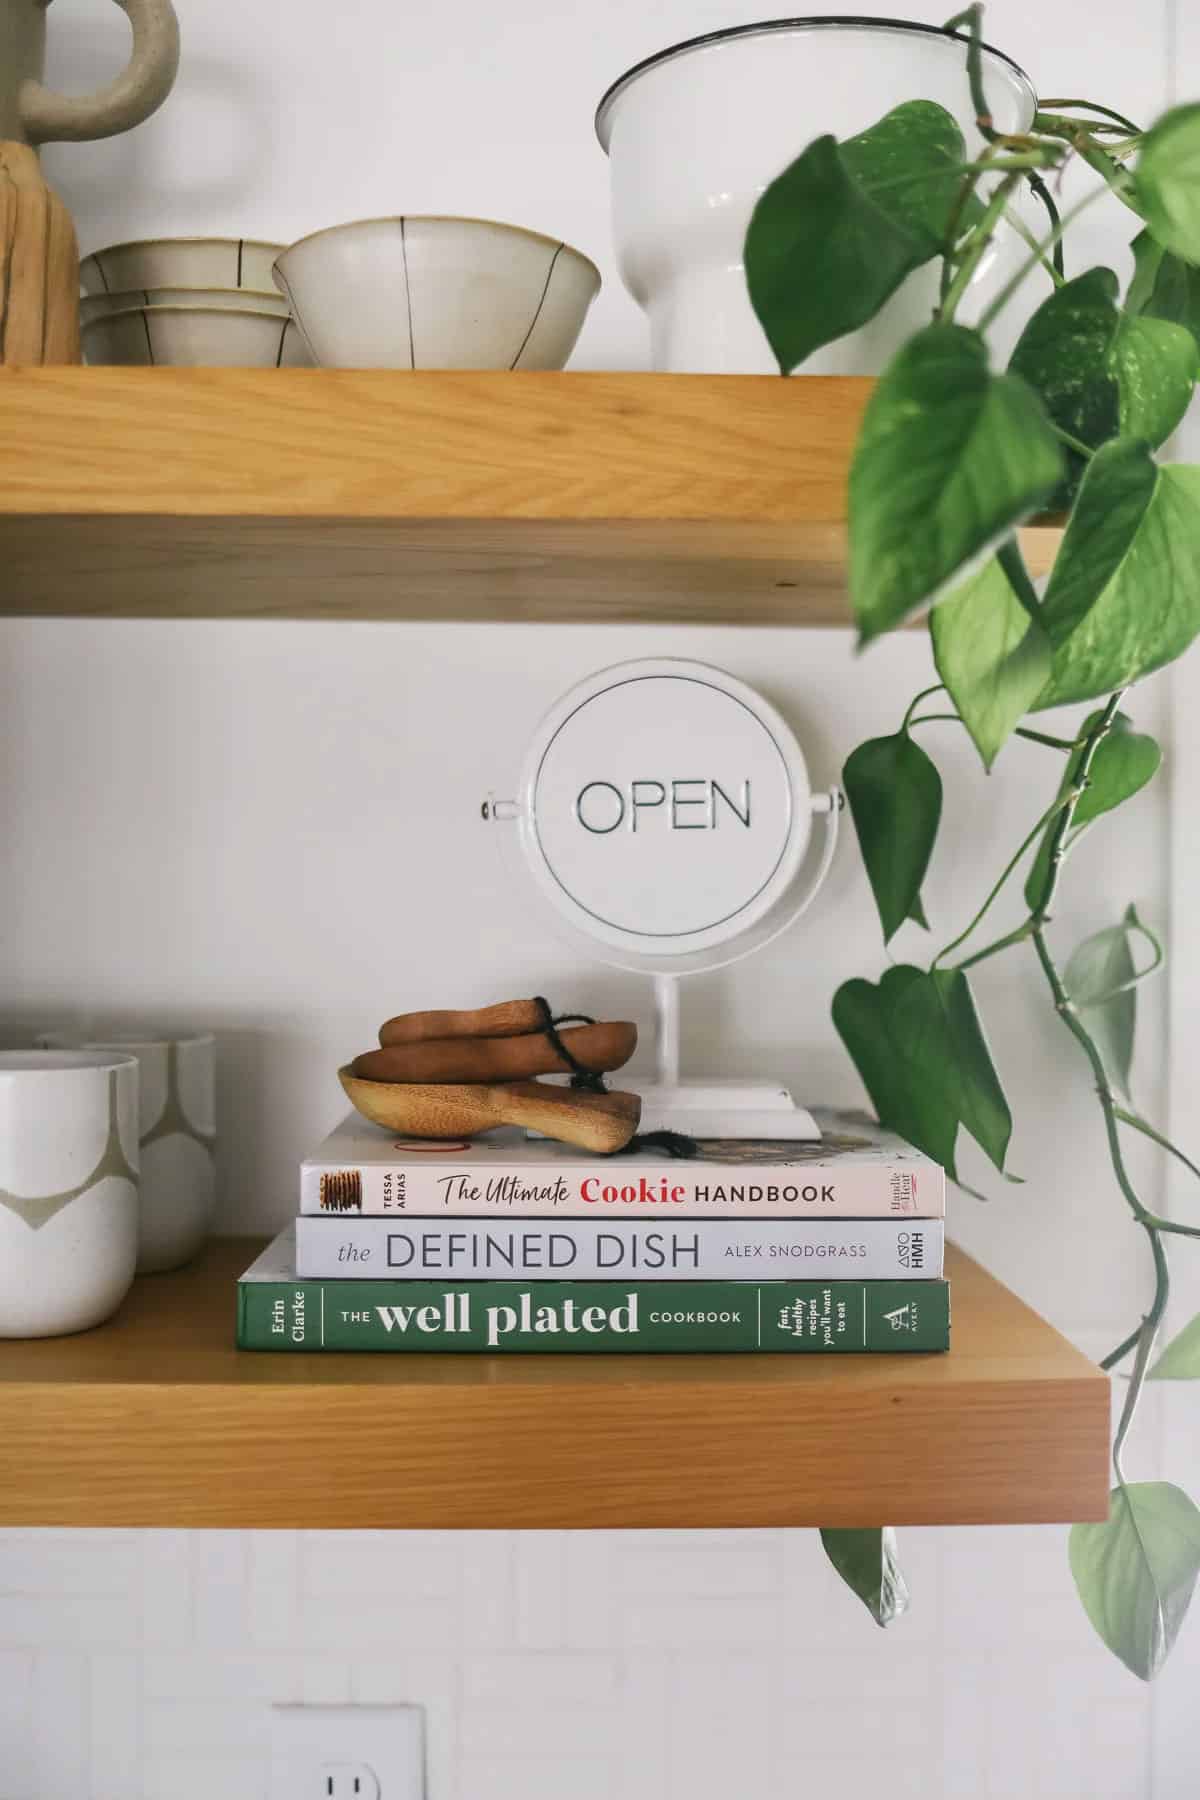
Who knew it was so hard to find floating shelves! This was one of the hardest things for me to source because I needed a pretty specific size and wanted white oak.
After purchasing and failing a few times, I finally found the floating shelves of my dreams from Rejuvenation.
Because they are real 2-inch white oak shelves, they are definitely one of the most expensive items in the whole kitchen, but absolutely worth it.
Shelf Specs
Love these white oak floating shelves? Here are the exact specs of the ones I got:
- 2-inches thick
- 24-inches wide
- 10-inches deep
PS: we hung them around 15-inches apart from one another and the first shelf was butt up against the bottom of our upper cabinets and sit right on top of our tile.
Countertops
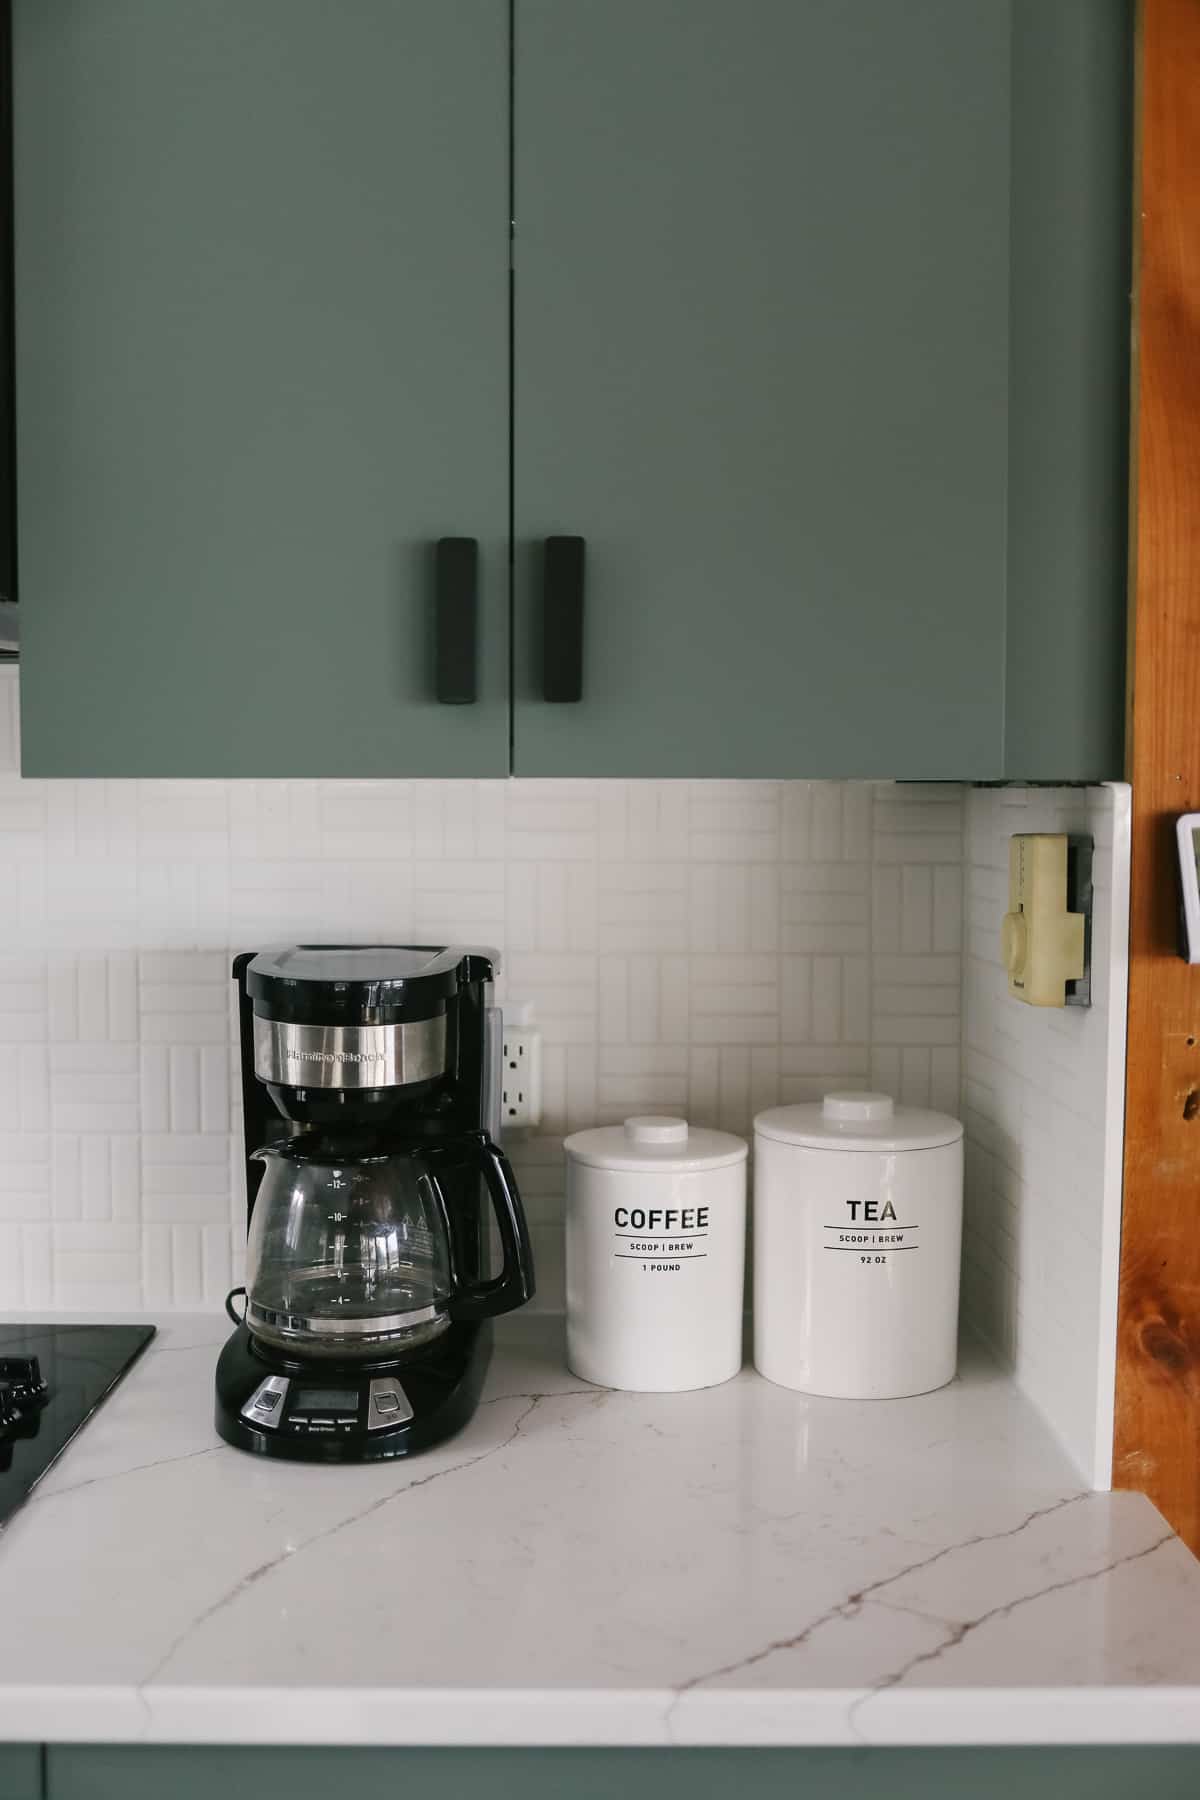
Countertops — the most expensive line item in the whole budget. At the time we purchased our IKEA kitchen, they were not selling/installing their own countertops. I am not sure the reason, but I am assuming COVID/supply chain issues.
With that said, we decided to source countertops from a local vendor (we used Trend Stone Surfaces out of Eau Claire, WI). Quartz is definitely an upgrade, but I think it’s worth it long term.
I found a really pretty product called Aldino Giallo Quartz that I fell in love with. I really liked the brown/gold hues in the veining and that it was still bright white.
My Experience with Trend Stone:
We did have a bit of a hiccup when it came to working with Trend Stone. The team that came to measure didn’t do a great job and ended up measuring both the island and L countertops incorrectly. So, when it came to installation, nothing fit.
The worst part was that the original installation was the day before Thanksgiving, leaving us with an unusable turkey day kitchen.
Trend Stone ended up leaving the incorrect counters installed over Thanksgiving, but we had to wait 2 more weeks for them to re-cut and install. We also had to uninstall and reinstall both plumbing and appliance electricity to do so which was a bit of a pain.
Tile
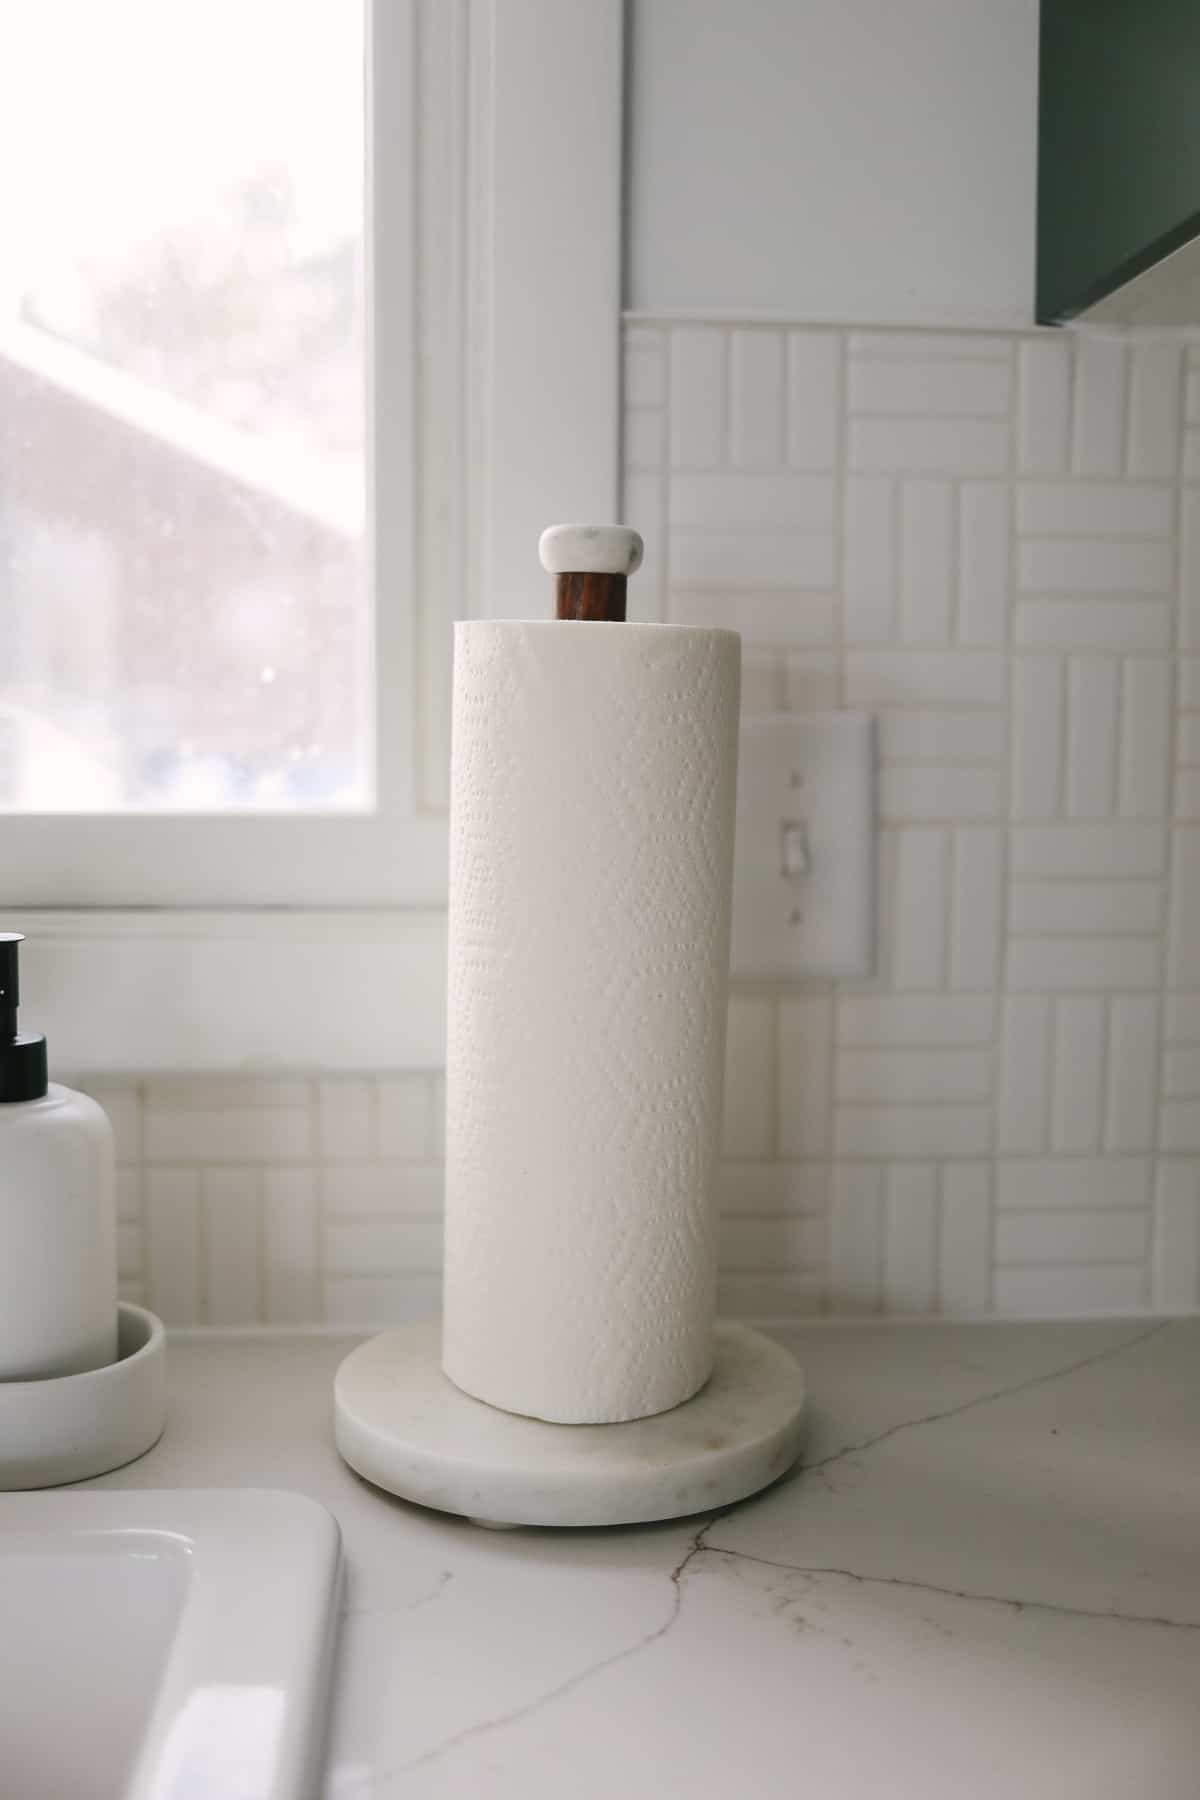
I knew I wanted to keep the backsplash simple and white. Originally I was going to go with a skinner subway tile and set it vertical, but then I came across this lattice weave pattern from Daltile and fell in love.
The tile was rather inexpensive and I wish I would have purchased enough to go all the way up the ceiling, but I was short by just a hair so we decided to tile just the backsplash.
Grout: We went with a light grey grout color, but I think white would have looked nice as well.
Other
- European Mule Deer Mount: I love me a faux set of antlers and I couldn’t be happier with the European mount I found from Cast Horn Designs.
- Stools: the stools pictured in these photos were purchased in the summer of 2021 from West Elm. I got them on super sale ($70/2 stools to be exact) and they no longer have them. Whomp.
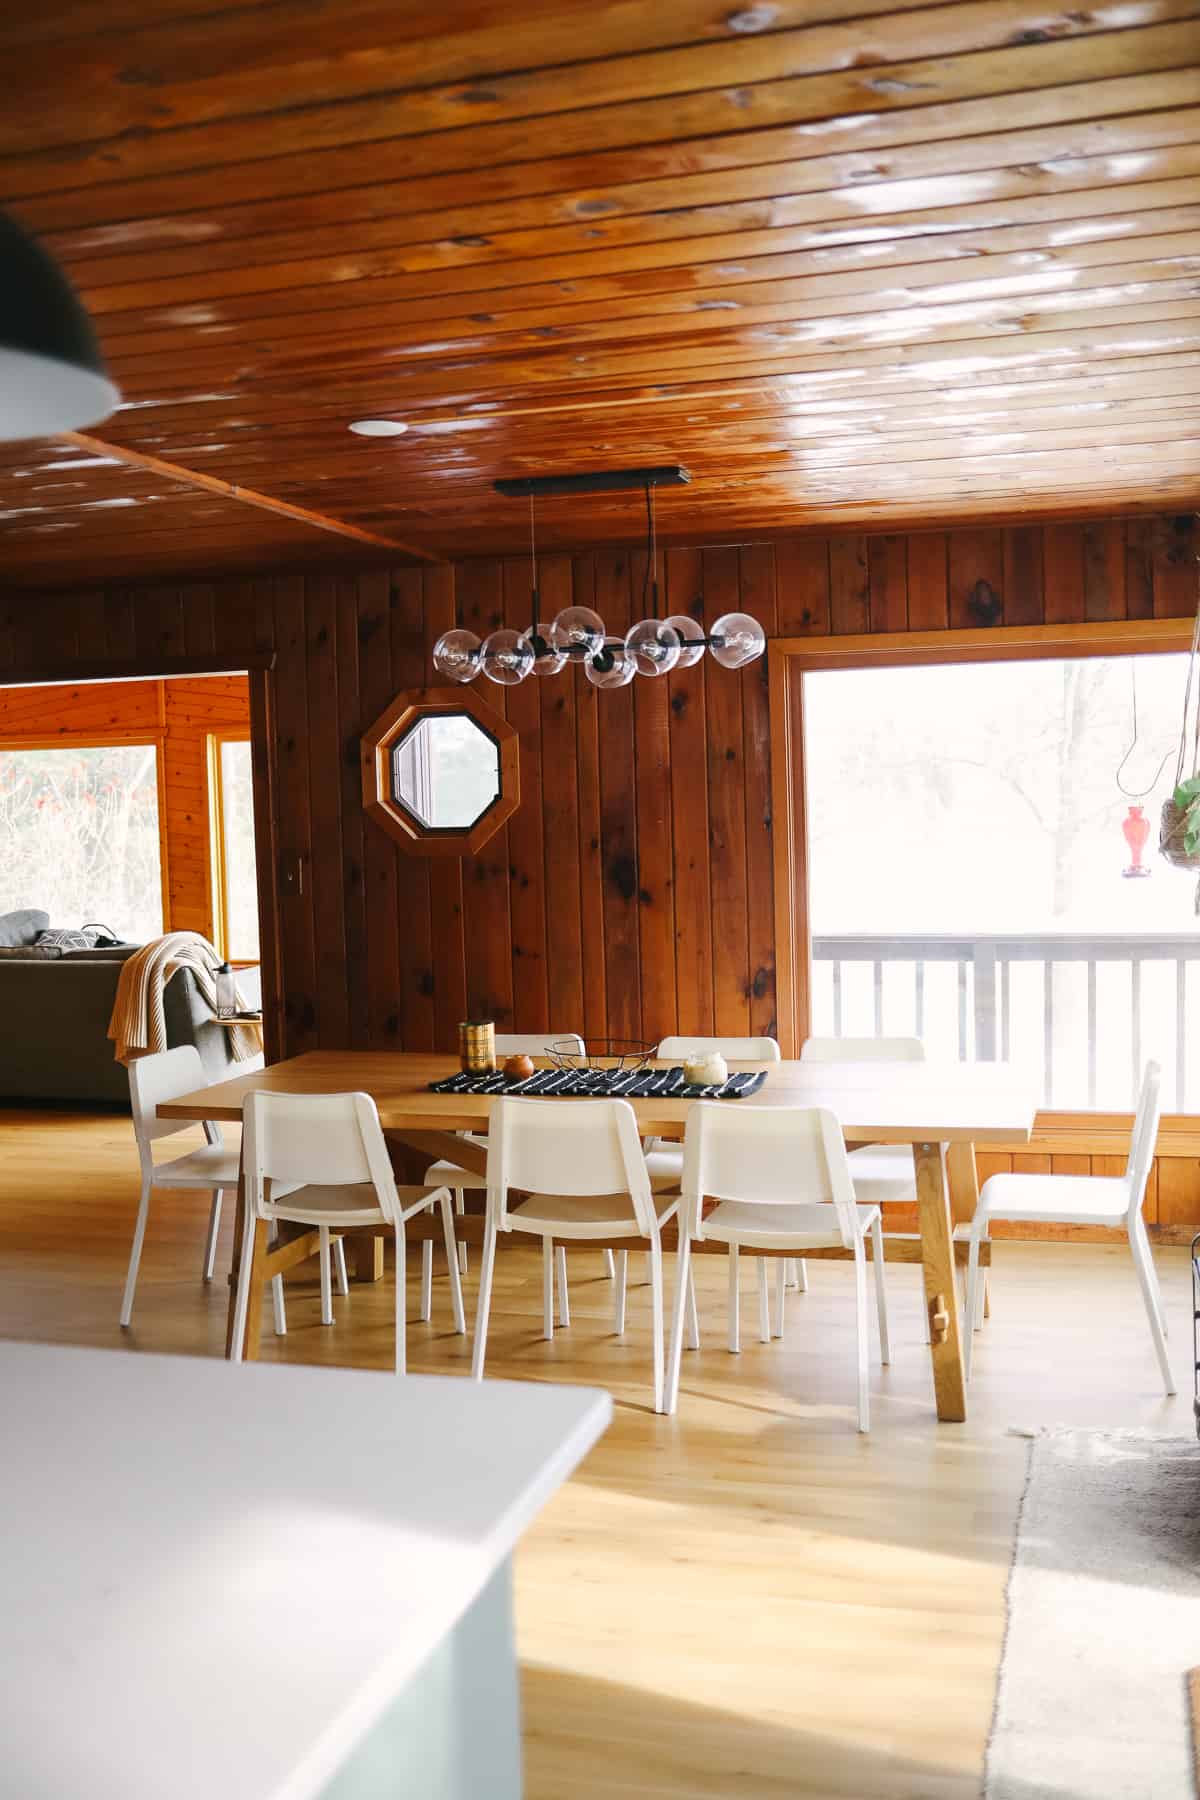
- Dining Light Fixture: the light fixture above our dining table was also purchased from West Elm. They have it in both matte black and gold.
- Dining Table: the table I purchased seats 10 people and is called the Mockelby table from IKEA. For IKEA, it’s actually really great quality and was decently priced at $699.
- Dining Chairs: since it’s our cabin, I didn’t want to spend an arm and a leg on chairs. I bought 10 IKEA Janinge chairs at $65 each.
IKEA Kitchen Budget – The Breakdown
Below you will find the breakdown of our IKEA kitchen budget by materials and labor. I wanted to make a note that I did not include 2 things: flooring (we redid the floor in the entire house) and ceiling drywall.
Materials
- Cabinets: $5,500
- Appliances: $4,500
- Hardware: $150
- Sink/Faucet: $350
- Pendant Lights: $42
- Countertops (not IKEA): $6,000
- Tile (not IKEA): $270
Total cost of materials: $16,820
Labor
- Demo/Cabinet Install: $3,500
- Appliance Install: $560
- Plumbing: $400
- Electric: $1500
- Tile Install: $1500
Total cost of labor: $7,460
Total cost of project: $24,280
I truly can’t believe that all of this came in at under $25,000! AND- it could have been almost $7,500 less if Mark and I would have done the work ourselves.
We know a lot of people are super-duper handy and could have done this kitchen for $17,000, but we decided to hire out the constructions from the very beginning to hopefully make this a smoother and better process.
Pros & Cons of an IKEA Kitchen
Pro – Design Services: one of the best parts about doing an IKEA kitchen is their free design service. You can use their online planning too, but you can also go in-store with your measurements and have a professional designer help you design and order your kitchen. I went in two different times and spent around 2 hours each time. It was very helpful and FREE.
Pro – Price: you really can’t beat IKEA’s prices. The total amount we spent on materials was $16,820 and $6,000 of that was quartz countertops not from IKEA. Lots of other cabinet places quoted me at almost that same price, so it’s fabulous you can get almost an entire kitchen for under $20k.
Con – Terrible Supply Chain Issues: I am not sure if this is all COVID-related, but we had a bummer of an experience when it came to shipping. Our original ship date was 4 weeks after the order (crazy fast) and it just never showed up (no warning email or call!). I tracked it down and they rescheduled for 4 weeks later. The order ended up coming, but only about 3/4 of the stuff showed up.
I was back and forth with customer service for hours and some of the products were in stock and shipped immediately, but I had to “keep an eye on a handful of things” and “call the store every week” to see if it was back in stock. One thing, in particular, was a corner base. If you know anything about this process, you know you have to have all cabinets installed before moving to the next step — countertops. It ended up taking 3-4 months to finally get everything we needed and I had to be VERY persistent.
Con – Plastic Covering on Appliances: I mentioned this above, but the sticky mess from the adhesive on our appliances right now is very unfortunate.
Con – You have to put it together: while we hired this out, a con of doing an IKEA kitchen is putting together all of the cabinetry yourself. The order comes in a million boxes and it definitely wasn’t something we wanted to take on ourselves.
Before Photos
I couldn’t leave you hanging without the epic before photos. Because is it truly a kitchen reveal without the before and after photos? I hope you enjoy all of the carpet 😀






This is beautiful! I love a before and after. What color paint did you use in the kitchen?
*what color white?
The IKEA kitchen reveal in this Scandi-Mod Wisconsin cabin is truly captivating! The seamless blend of Scandinavian and modern design elements creates a warm and inviting space. The choice of IKEA products showcases not only style but also practicality. For those looking to embark on a similar design journey, resources like pakebill.com can be immensely relevant. While pakebill.com may not be directly tied to interior design, its focus on efficient online billing aligns with the modern and practical approach reflected in this kitchen reveal. Cheers to a stunning kitchen and the convenience of streamlined online services!
I love the combination of the cabinets with the flooring. I have just purchased a bodarp kitchen! Do you have the name of the flooring colour you used?
Love the kitchen look very nice thank you for sharing this idea
Love the kitchen! Do you have rough dimensions or a list of what size cabinets you used? I am starting with an empty space and like the spacing you have.
Thank you! Lee has IKEA’s BODARP Matte Gray/Green Cabinets and used their design tool to lay out the kitchen digitally by adding the dimensions of the kitchen space, and then adding in cabinets from there. Hope this helps!
Any cabinets you would change, now that you’ve had it for a while? Also, where did you get the wood floors – what brand are they?
Wow this kitchen looks amazing!! 😍😍😍 Made me fall in love with the grey green bodarp IKEA fronts. I’m curious, which IKEA countertop would you have chosen, if they had been available at the time? Because I’m not sure what to best pair these fronts with…
When you hire a carpet cleaning company, you want to make sure you are getting the best bang for your buck. Compare their prices and services before making a final decision on who to hire. Some Newport Coast carpet cleaners offer more than just steam or dry cleaning. They may also have specialty services such as pet odor removal, water damage restoration, and mold remediation.
very elegant kitchen furniture hey hehehe; They also seem to be very easy to clean. With a little cleaning product they will surely look like new.
These ideas are so amazing. I specifically loved the budget breakdown 🙂
Thank you, Amara!
Spectacular kitchen. You have given me many ideas for my new kitchen in my new house. Although I also like rustic style kitchens, and now with these photos and ideas that I have seen I don’t know what to do. I will read it more times. Thanks for sharing.