Peanut Butter Twix Cups
Published 10/15/2023
This post may contain affiliate links. Please read our disclosure policy.
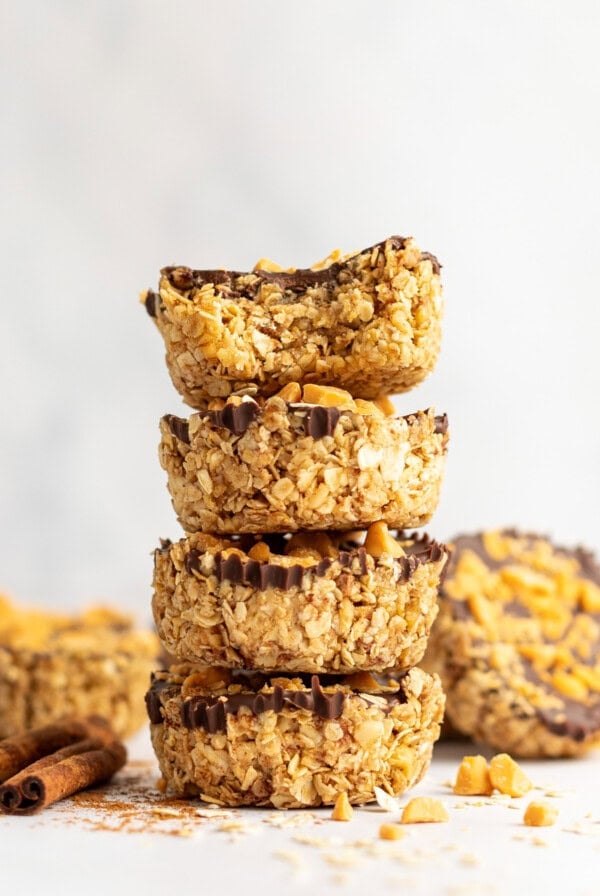
Peanut Butter Twix Cups are the ultimate dessert made with 3 wholesome layers – an oat cookie layer, peanut butter caramel, and chocolate.
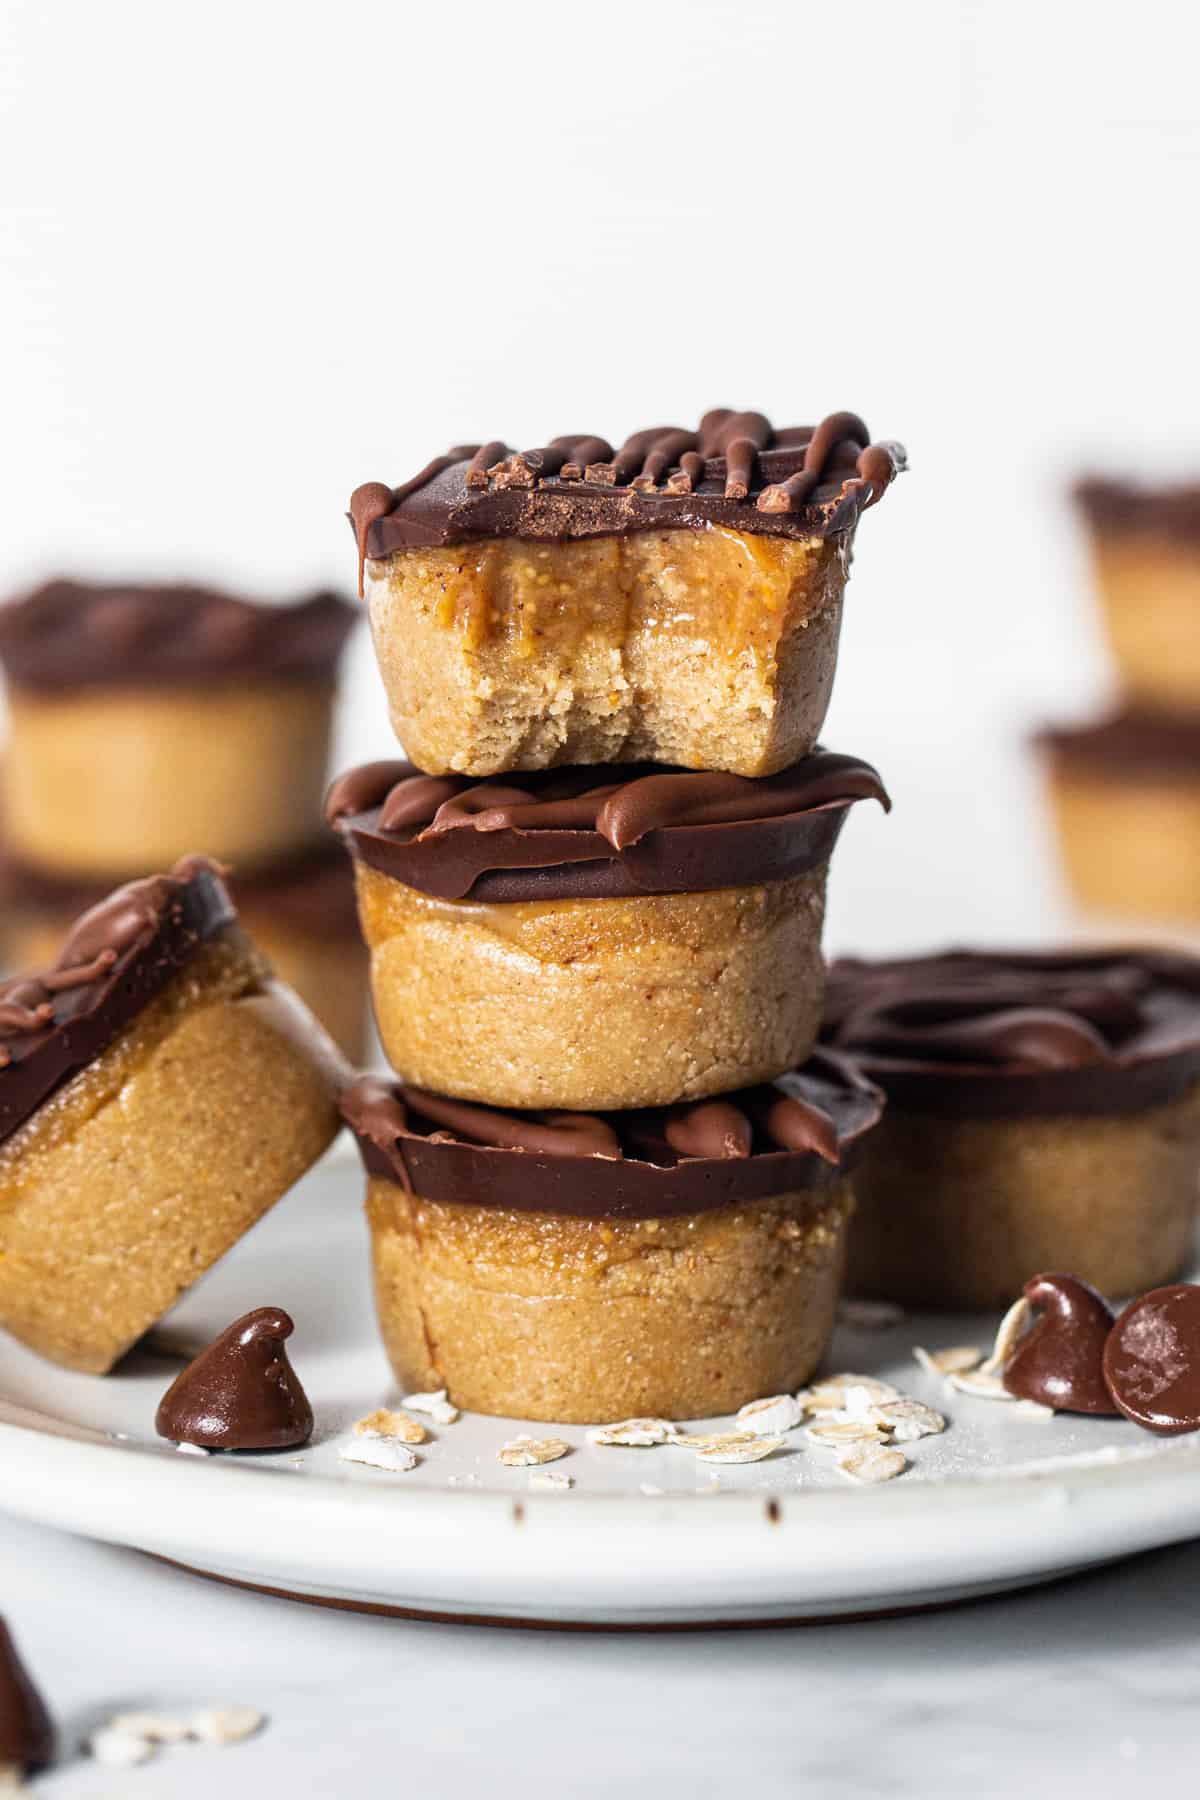
These Peanut Butter Twix Cups are a variation of our viral No-Bake Oat Cups but with a Twix twist! They’re made with a “cookie” base, a peanut butter caramel center, and a simple chocolate topping.
These aren’t your average Halloween candies. They’re actually gluten-free friendly and made without refined sugar.
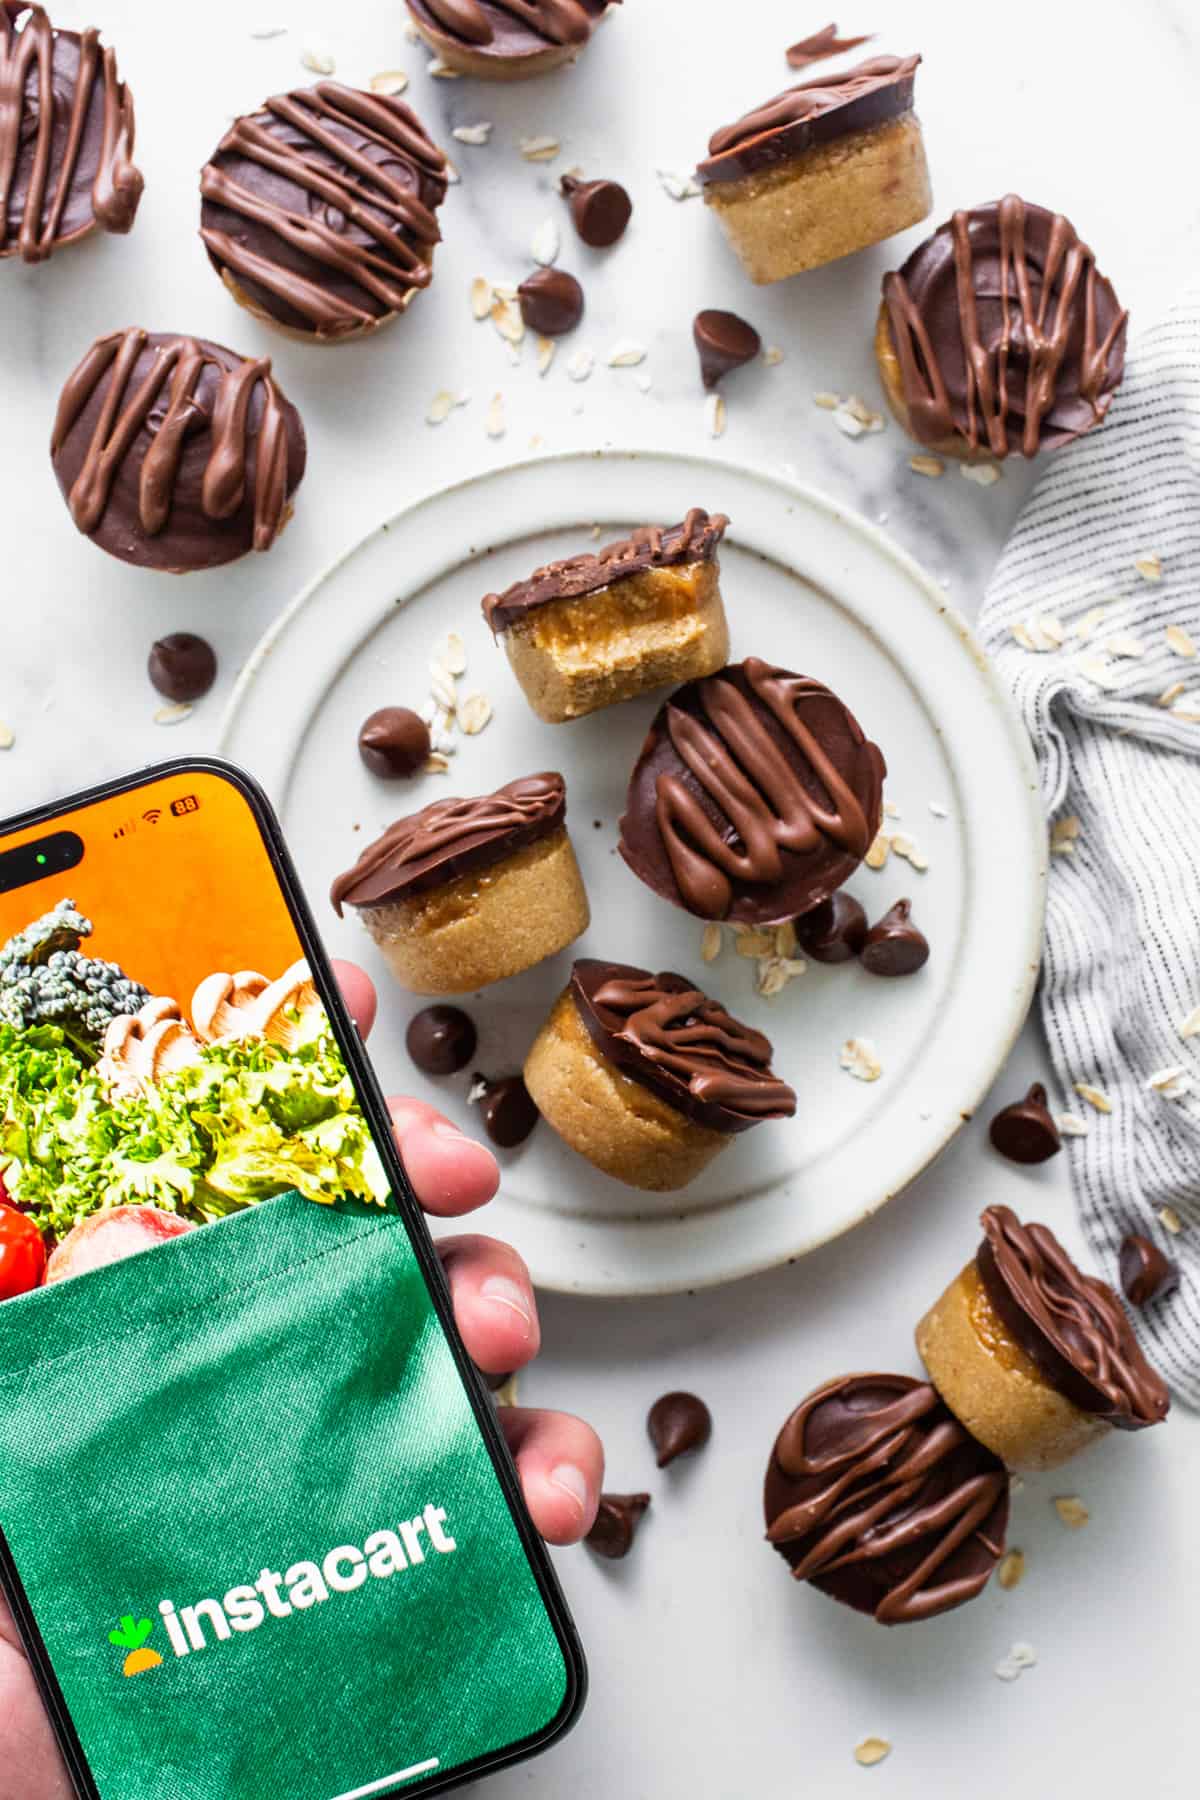
A Homemade Halloween with Instacart!
We knew when developing these delicious cups that we wanted them to resemble one of our favorite candy bars – Twix! So? We Instacarted ourselves some Twix Bars along with a few pantry staples for a little taste-test so we could start recipe testing!
We love using Instacart when shopping for groceries because it truly saves us time and makes our lives easier, especially when you’re recipe testing for a food blog multiple times/week! You can get delivery in as fast as one hour.
Why choose Instacart?
Get $20 off your first Instacart order of $50+ using promo code FOODIE20OFF so you can make these PB Twix Cups at home!
Instacart will save you time and allow you to grocery shop from wherever you are!
Additional terms apply.
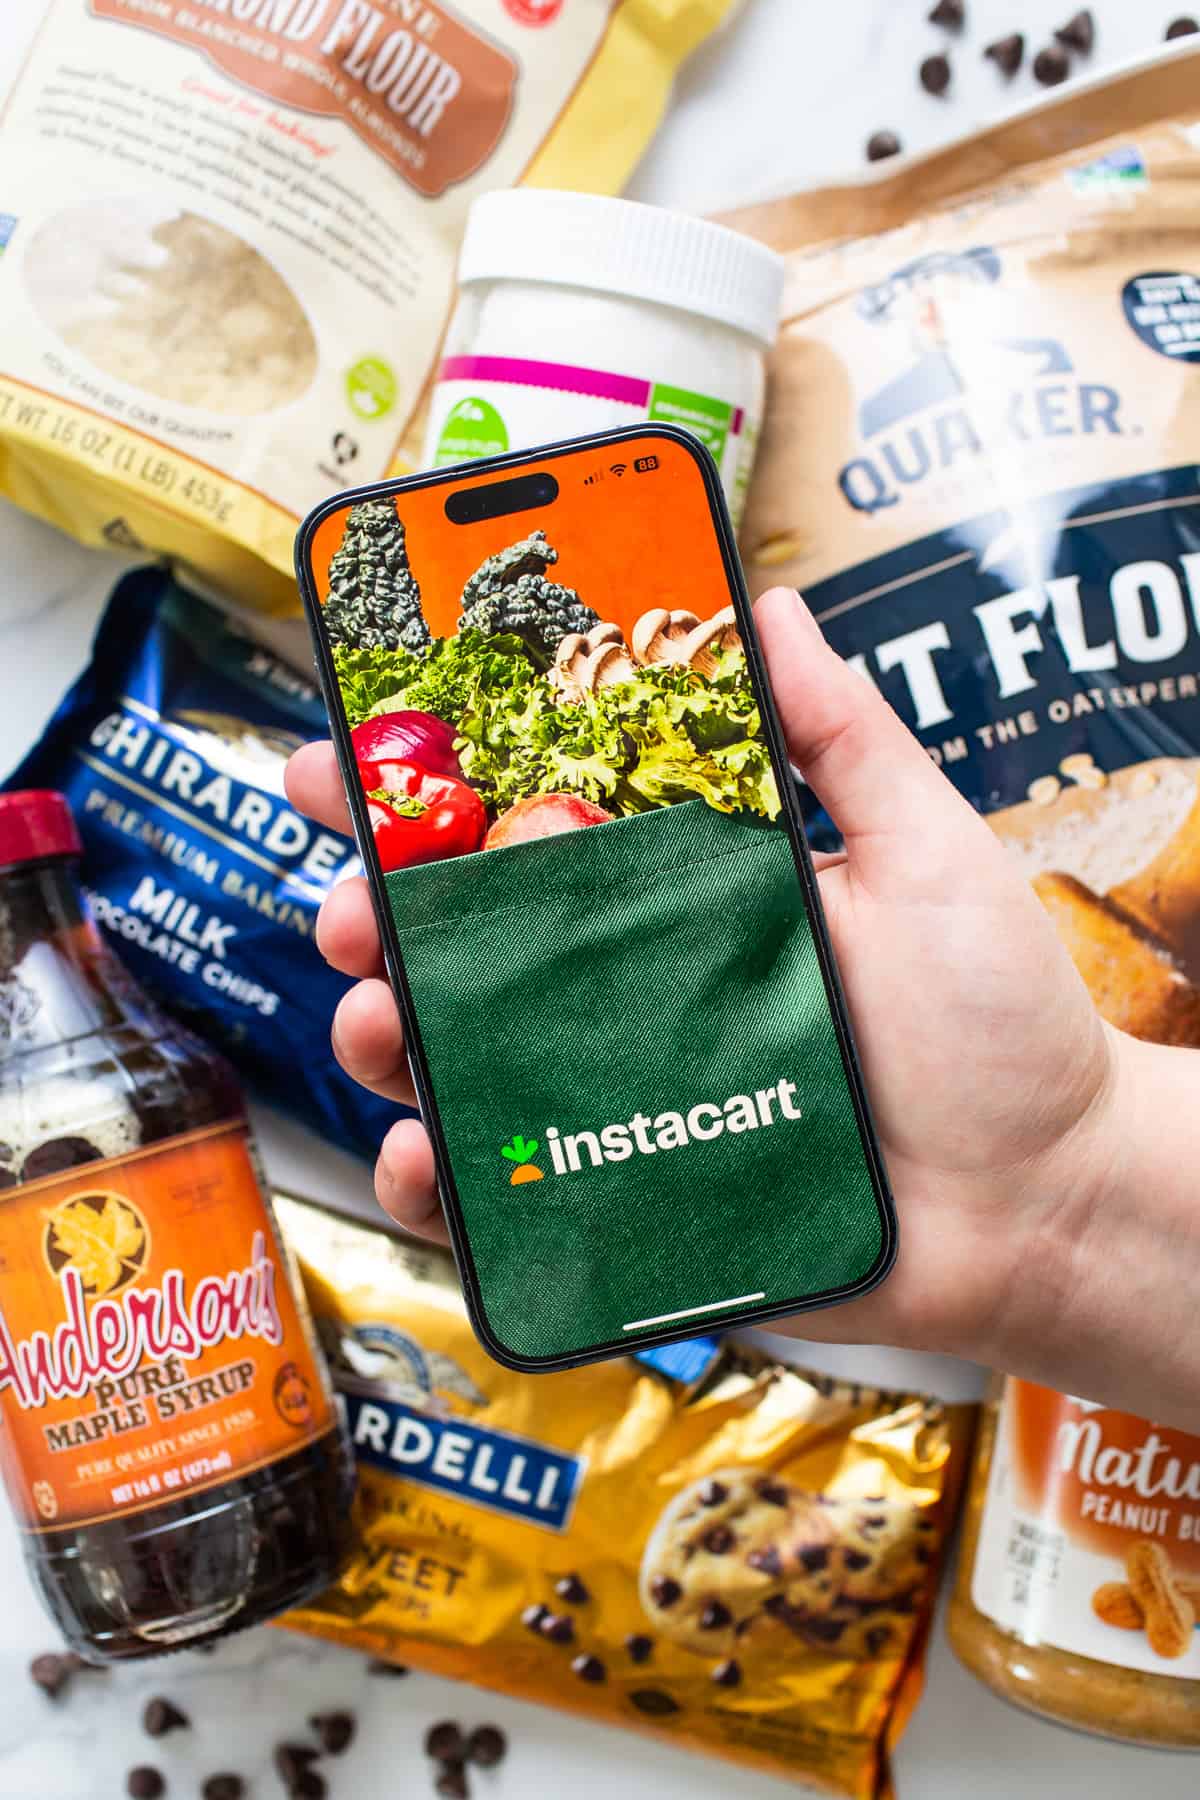
What You Need for PB Twix Cups
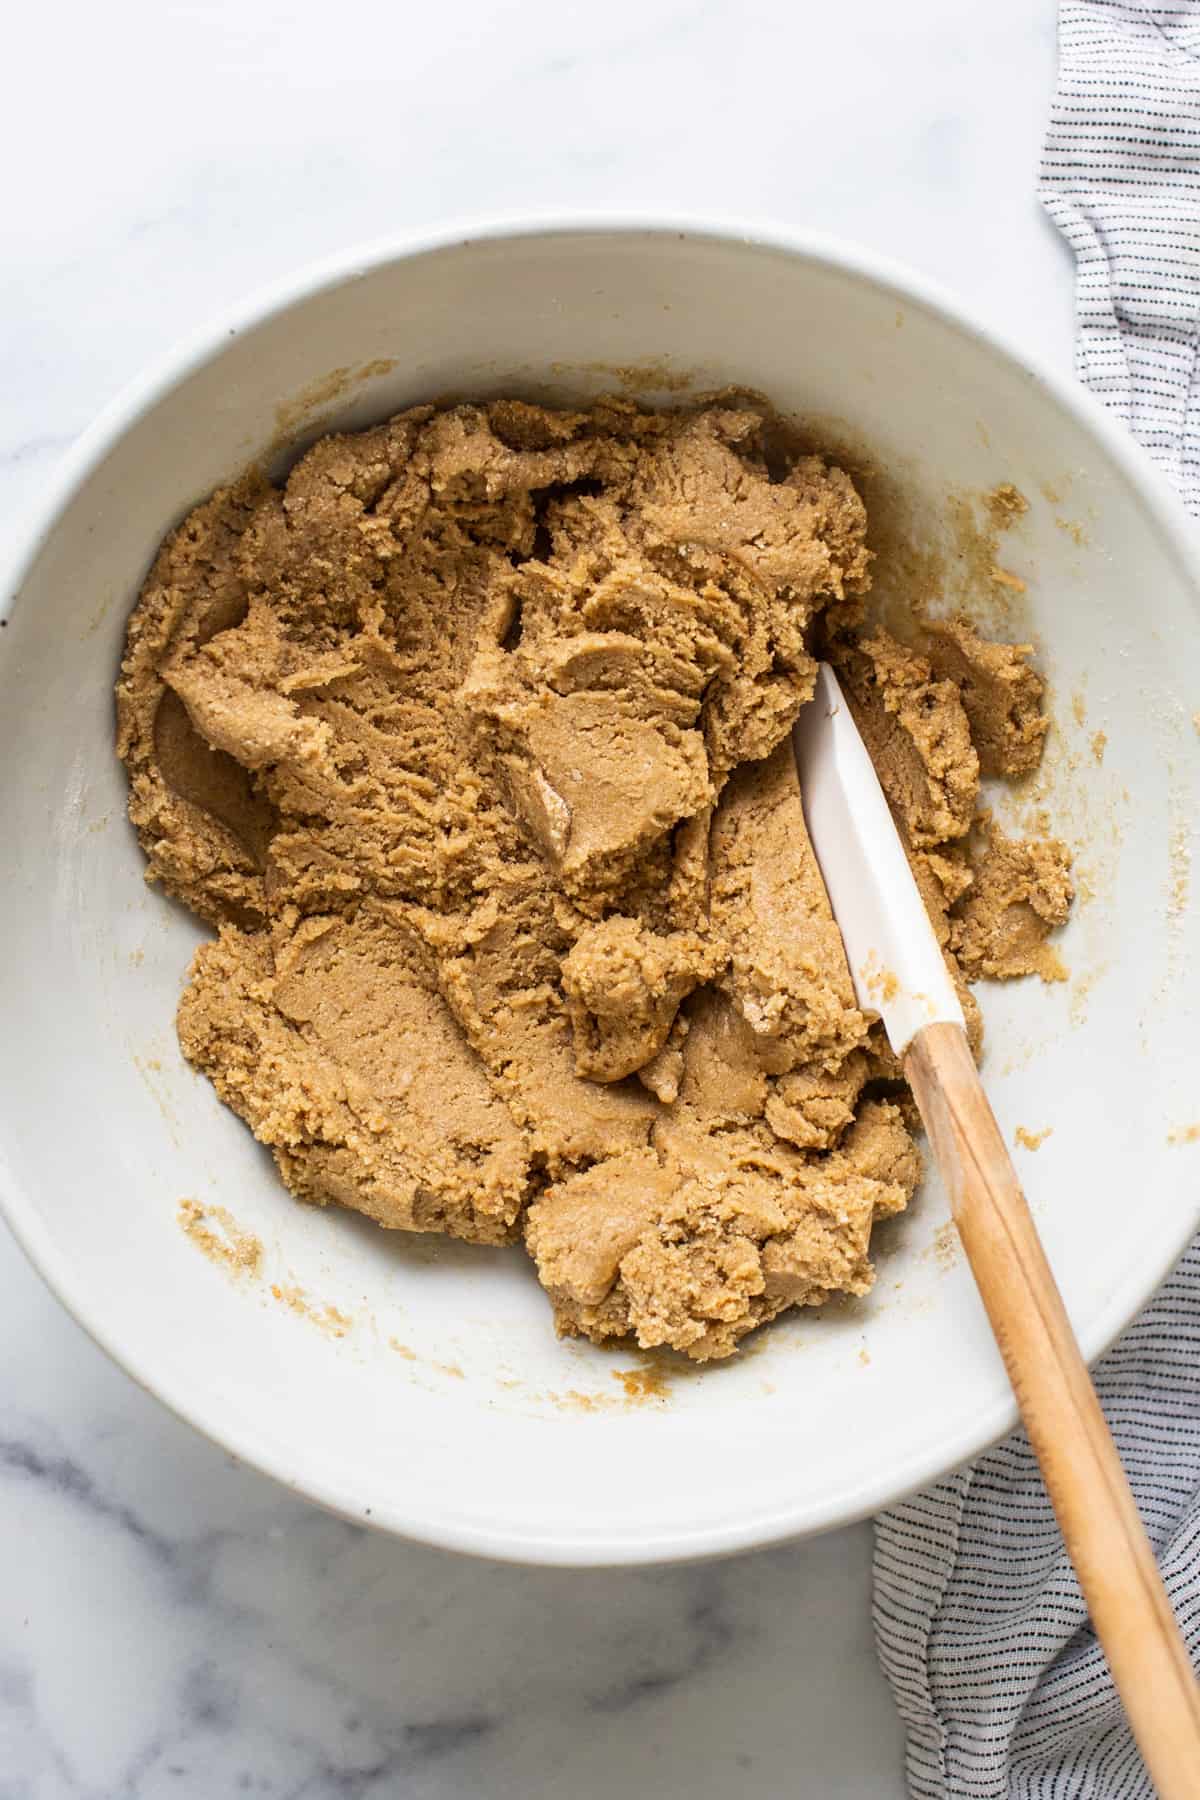
The cookie base of these cups is made from ground oat flour, almond flour, maple syrup, and a little peanut butter. You can easily grind your own oats or buy oat flour.
The middle layer is a peanut butter caramel layer made with peanut butter, maple syrup, and coconut oil.
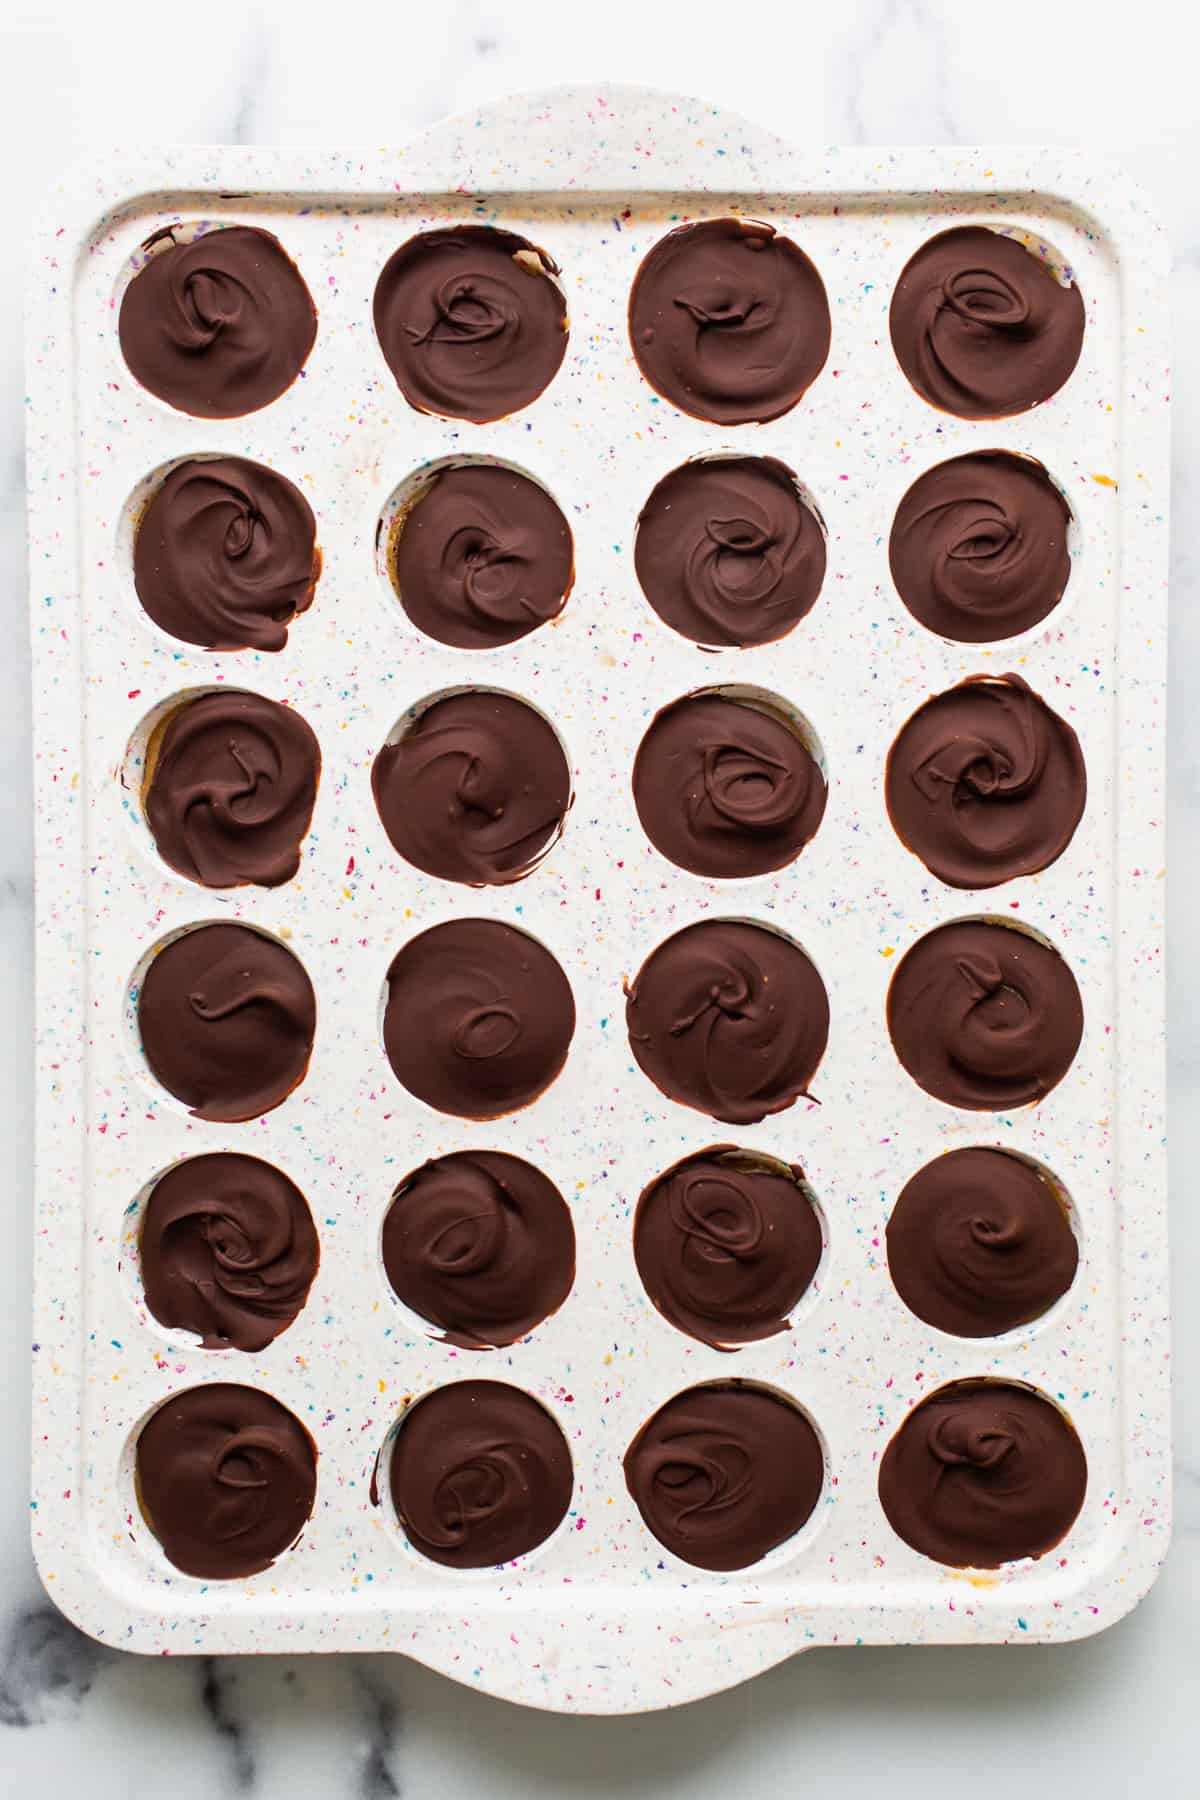
The top layer is similar to a chocolate magic shell made with chocolate chips and coconut oil.
Substitues & Variations
Make them gluten-free: make sure to use a certified gluten-free oat flour, to make these g/f.
Make them vegan: use dairy-free chocolate chips.
Swap the nut butter: if you can’t do peanuts, we recommend almond butter or cashew butter.
Example Title Text
If your oat layer is too thick or crumbly, feel free to add 1 teaspoon of water at a time.
Swap the peanut butter for cashew butter to make the center layer taste more like caramel.
Storage
We recommend storing your Twix cups in the freeze, for best results. Transfer them into an gallon-size plastic bag or airtight container and store them in the freezer for up to 3 months.
Thaw: when you’re ready to eat, let your cups sit on the counter for 5 minutes to thaw.
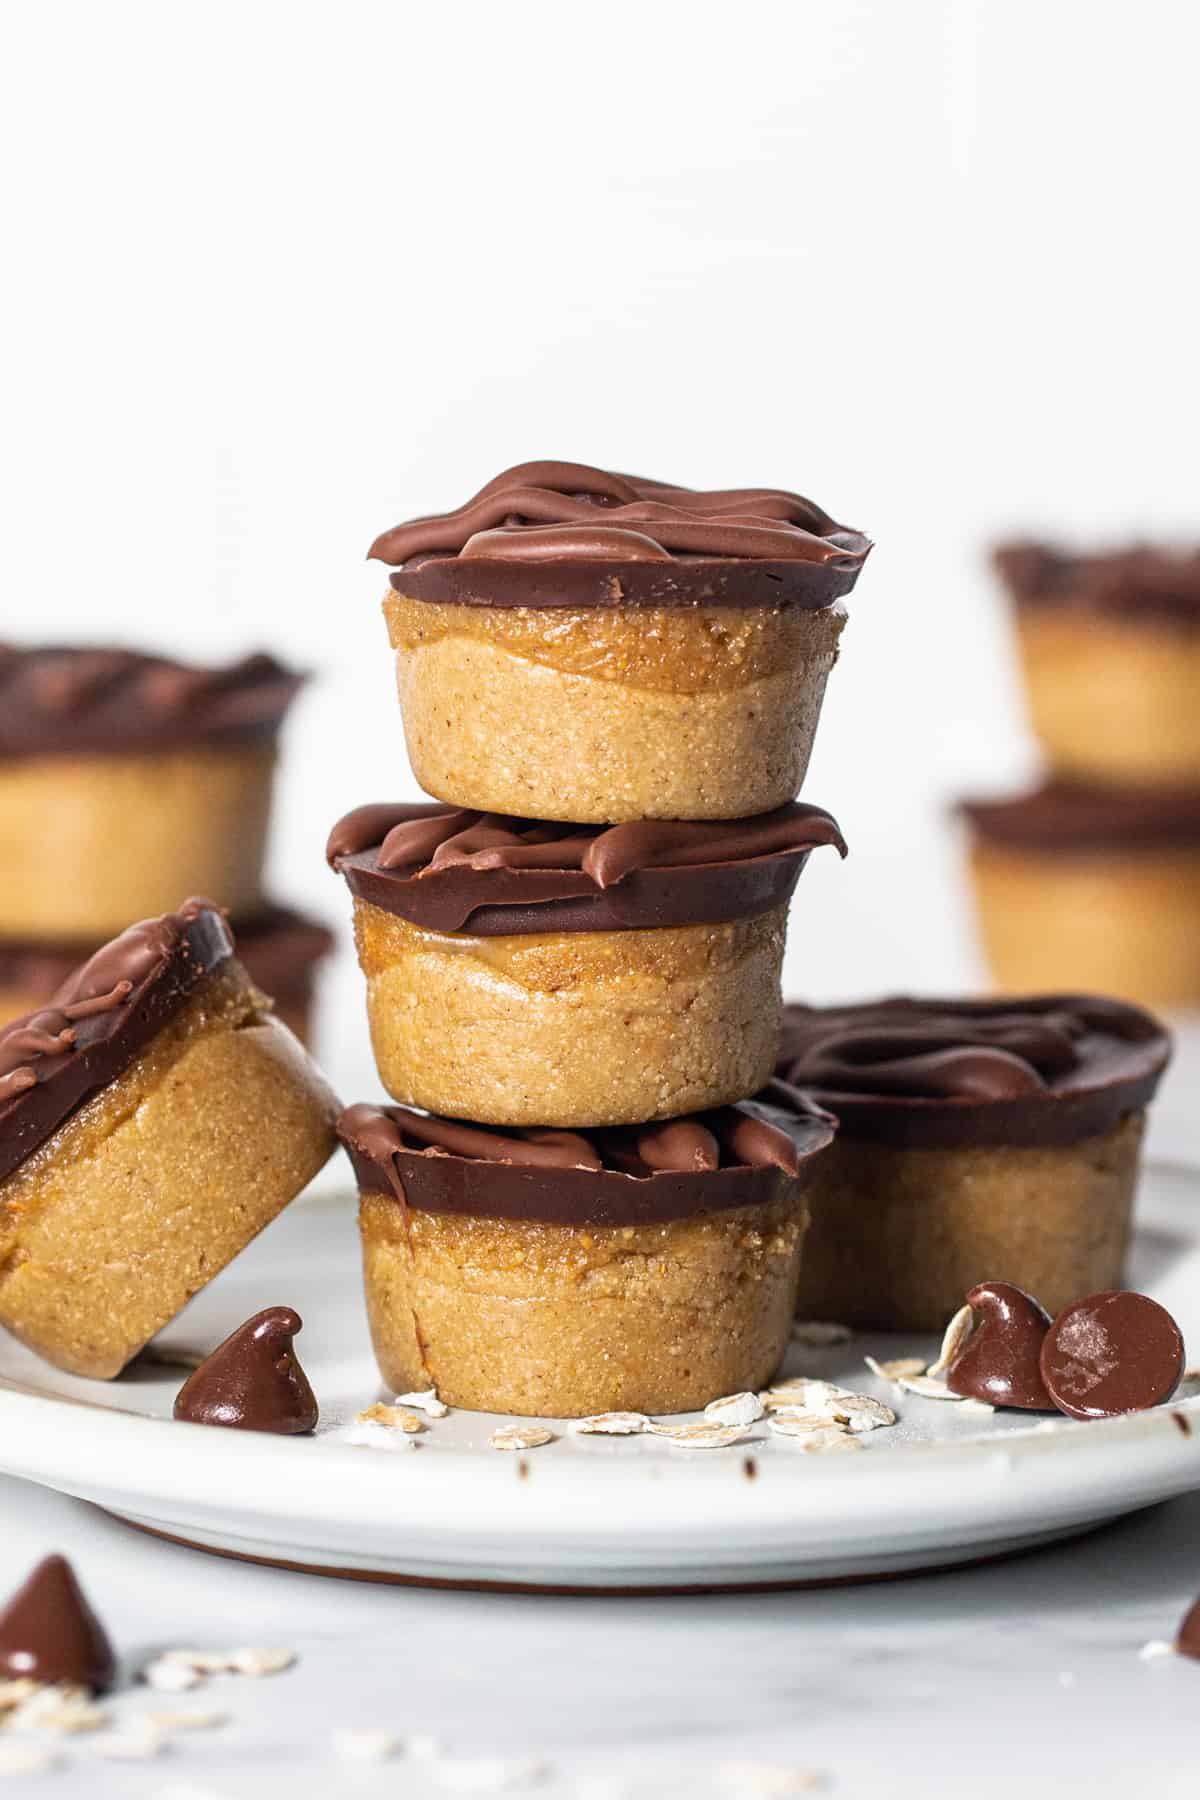
Peanut Butter Twix Cups
Ingredients
Oat Layer
- 1.5 cups oat flour
- ½ cup almond flour
- ½ cup maple syrup
- ⅓ cup all-natural, drippy peanut butter
Peanut Butter Caramel Layer
- 1/4 cup all-natural, drippy peanut butter
- 1/4 cup maple syrup
- 2 tablespoons melted coconut oil
Chocolate Layer
- 6 oz. semi-sweet chocolate chips, ~1 cup
- 3 teaspoons melted coconut oil
Chocolate Drizzle
- 3 oz. semi-sweet chocolate chips, option to use milk chocolate chips here
- 2 teaspoons melted coconut oil
Instructions
- Line a mini muffin pan (or normal muffin pan) with paper liners. You can also use silicone pans which don’t require any liners.
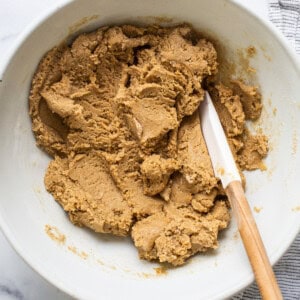
- Prepare the cookie oat layer. Add all of the ingredients for the oat layer into a large bowl and mix vigorously with a spoon until it forms a thick dough.
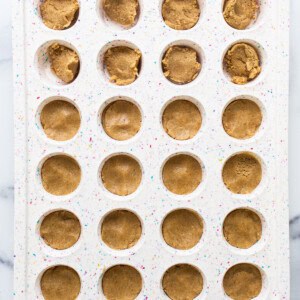
- Scoop ~1.5 teaspoons of the oat mixture into each muffin cup. Firmly press the oat layer evenly down into the pan until it has a smooth top. Transfer the pan to the freezer and allow the layer to harden for ~15 minutes while you make the second layer.
- Prepare the peanut butter caramel layer. Add all of the ingredients for the peanut butter caramel layer to a bowl and mix until combined.
- Scoop ~1 teaspoon of the peanut butter caramel over the top of the oat layer. Quickly smooth the caramel layer evenly over the oat layer until it has a smooth top. Transfer the pan to the freezer for ~15 minutes to harden while yuou prepare the third layer.
- Prepare the chocolate layer. Place the chocolate chips and coconut oil in a microwave-safe bowl and microwave for 20-second increments, stirring after each increment until the chocolate is melted and glossy.
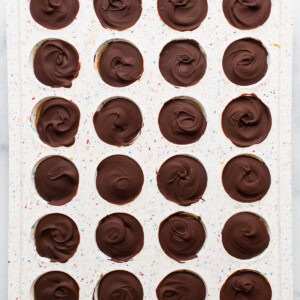
- Scoop 1 teaspoon of the chocolate over the caramel layer. Evenly spread the chocolate evenly with your finger or a spoon immediately after to avoid the chocolate from hardening too quickly. Repeat until every cup is topped with chocolate. Transfer the pan back to the freezer for 10 minutes.
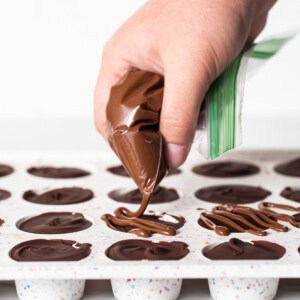
- Prepare the chocolate drizzle. Place the chocolate chips and coconut oil in a microwave-safe bowl and microwave in 20-second increments, stirring after each increment until the chocolate is melted and glossy. Transfer the chocolate into a small plastic bag or piping bag. Drizzle the chocolate over each in a twix zig-zag pattern. Return the pan to the freezer to set.
- Once the cups are set, remove them from the pan and store them in a freezer-safe bag and store them in the freezer.
Tips & Notes
- Option to replace the peanut butter with any drippy nut butter. Note this will change the overall taste of the cups.
- There is no replacement for coconut oil.
- If you don’t have oat flour, you can make your own by blending oats in the food processor.
Watch It
Nutrition
Nutrition information is automatically calculated, so should only be used as an approximation.
Don’t forget to tag your posts on social media with the hashtag #fitfoodiefinds, we’d love to see what you’re up to!


I can’t wait to try some of your recipes! I’ve been perusing all of them.😋
I was wondering if I could replace coconut oil with cacao butter to make them more solid at room temp?🤔 Would that change the flavor profile adversely or do you think it’s worth a try?
So so good!! My only regret was not making double batch right away.
OMG same!
It is not clear in the recipe but these can be made dairy-free by changing to vegan chocolate
These were delicious! BUT, they tasted nothing like a twix. Now, don’t get me wrong, my family and I loved them. But… Twix? No. I would happily make these again though!
These are so yummy! Very easy to make and they store easily. I used dark chocolate on top instead of semi-sweet which made it extra rich in taste. 😁