Maple Chocolate Chip Cookie Blondie Bars
Published 5/13/2022 • Updated 11/5/2024
This post may contain affiliate links. Please read our disclosure policy.
These maple chocolate chip cookie blondies are the perfect dessert for a crowd. They’re made with the good stuff- butter, flour, brown sugar, and a little maple syrup!
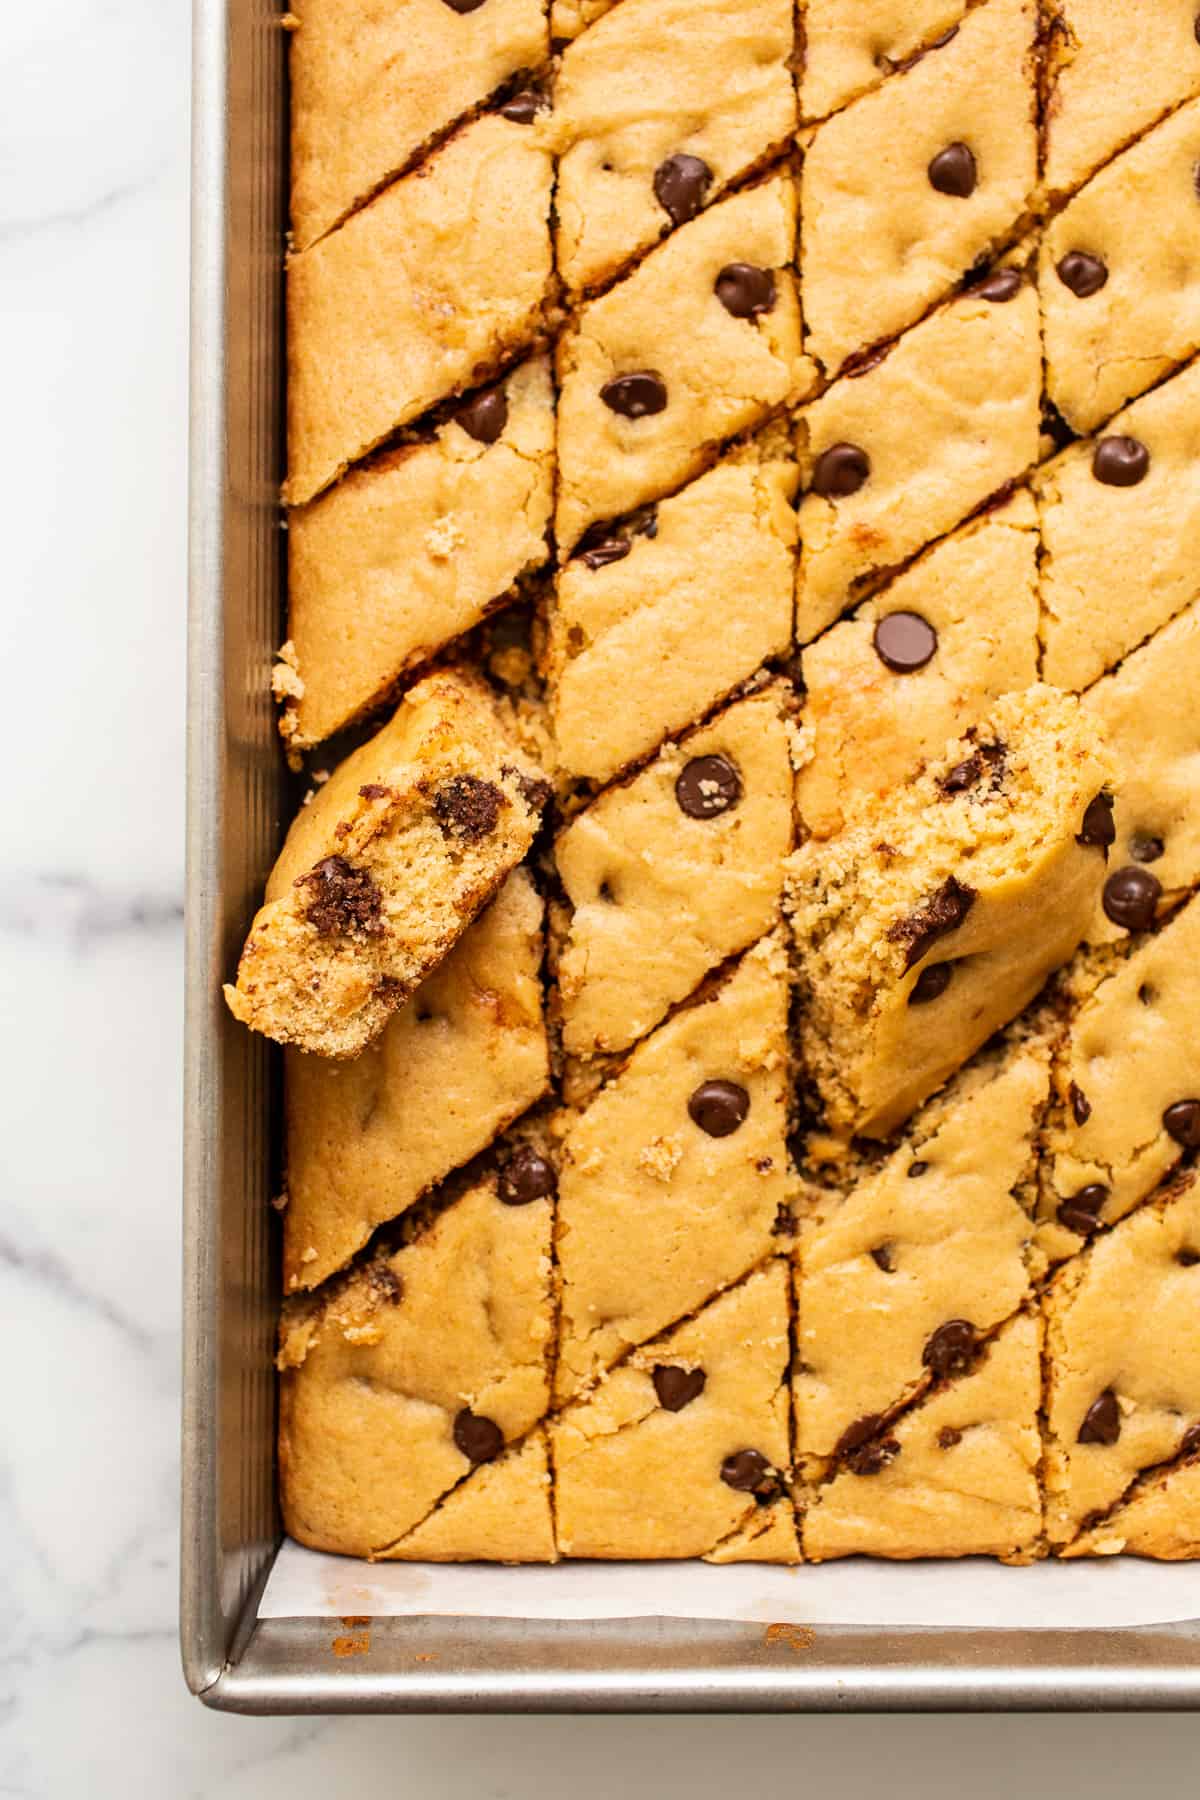
Chocolate Chip Cookie Bars Meets Maple Blondies!
When you can’t decipher if it’s a cookie bar or a blondie bar, you just fuse them together into one! Introducing –> Maple Chocolate Chip Cookie Blondie Bars, the love child of a cookie bar and a blondie.
We’re huge dessert fans here at Fit Foodie Finds and sometimes they deserve to be made with the good stuff:
- Butter
- Flour
- Sugar
These bars are a spin-off of my mom’s famous cookie bars, but I of course made them a little more Fit Foodie, but removing some sugar and swapping it with maple syrup for that warm, rich flavor.
Why you’ll love it!
Serves a crowd
Sweet and chocolatey
Easy to make
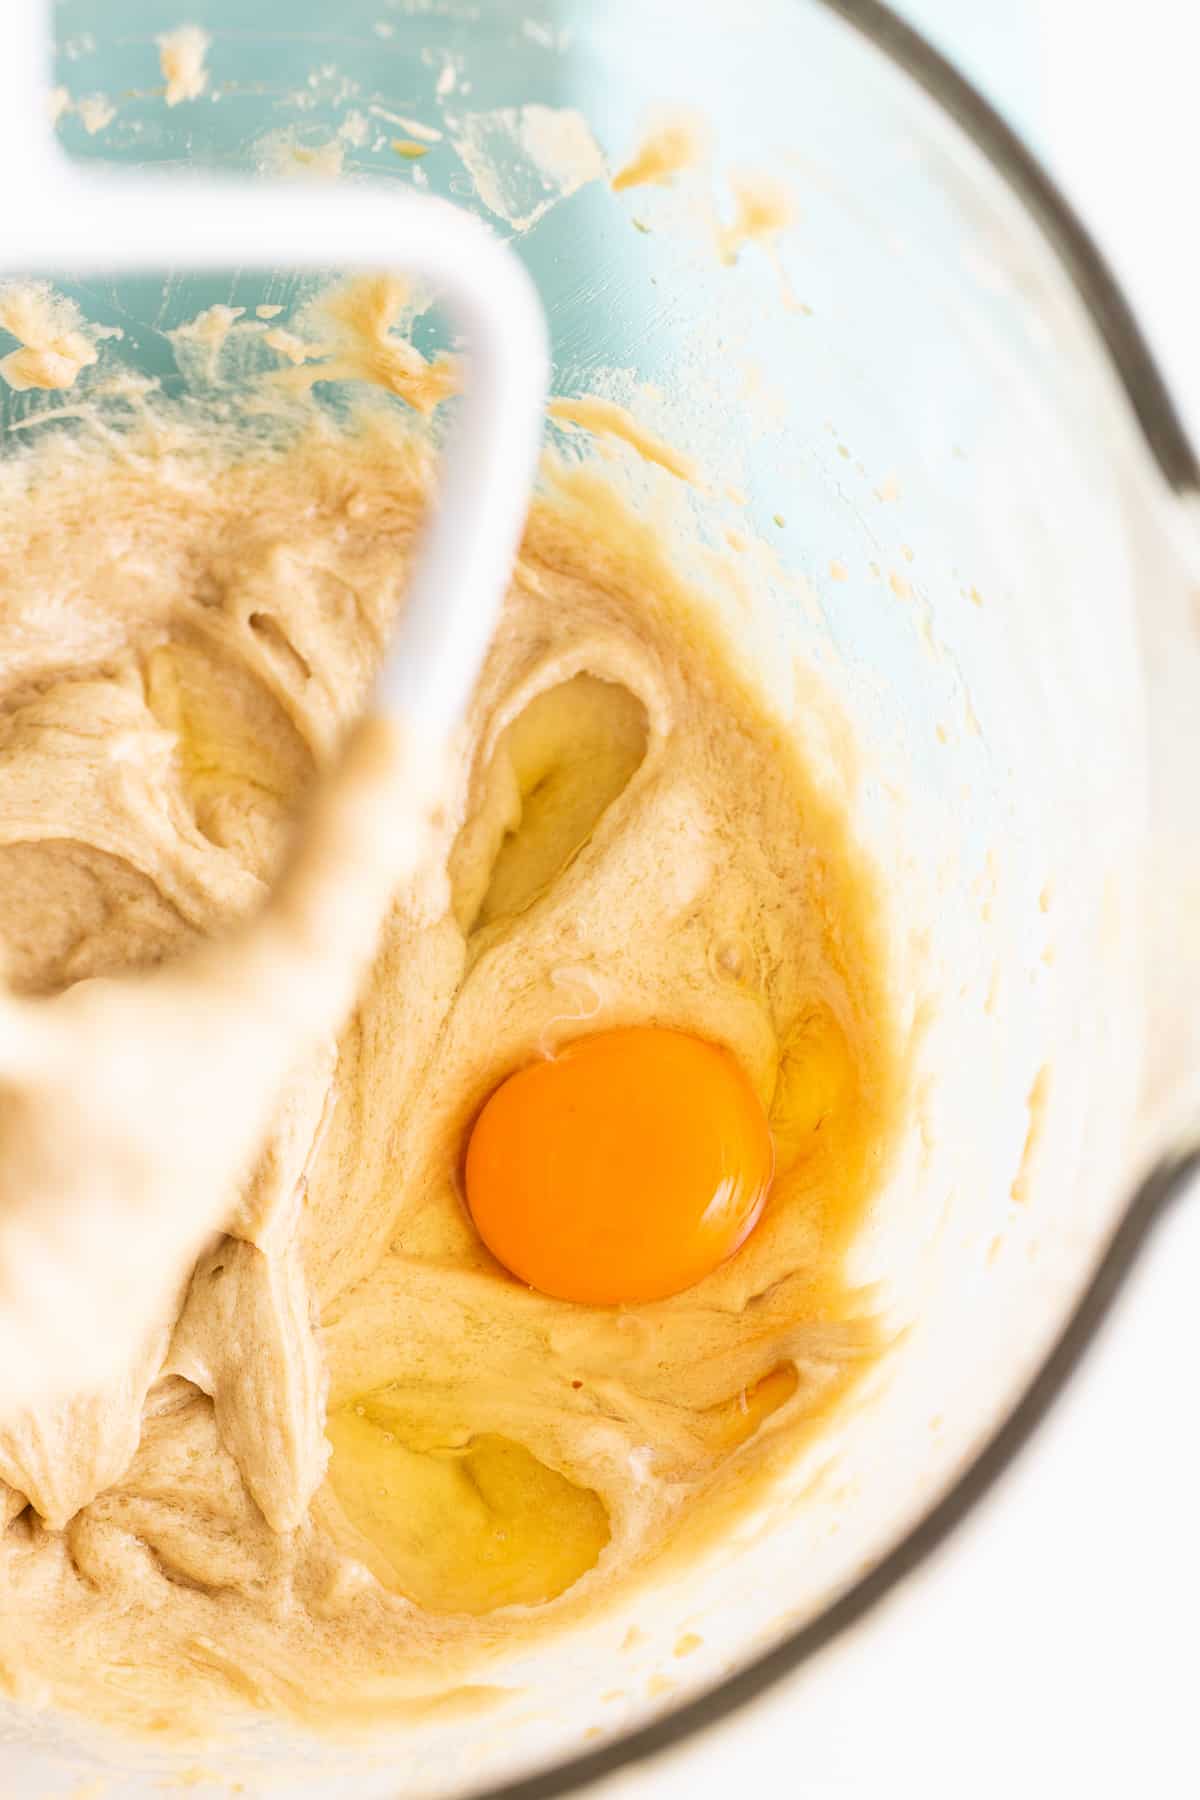
Featured Ingredients
- Flour: flour is the main ingredient in this recipe. We haven’t tested it with anything other than all-purpose because that’s how my mom makes them.
- Butter: butter is used as the fat and really adds that yummy cookie bar flavor.
- Brown sugar: light brown sugar is what makes these more of a blondie.
- Chocolate chips: what would a cookie blondie bar be without chocolate chips?
- Maple syrup: I subbed out a full cup of brown sugar and used 1/2 cup of maple syrup from my mom’s original recipe to give them a warmer flavor and less sugar.
- Eggs: eggs are used to bind all ingredients together.
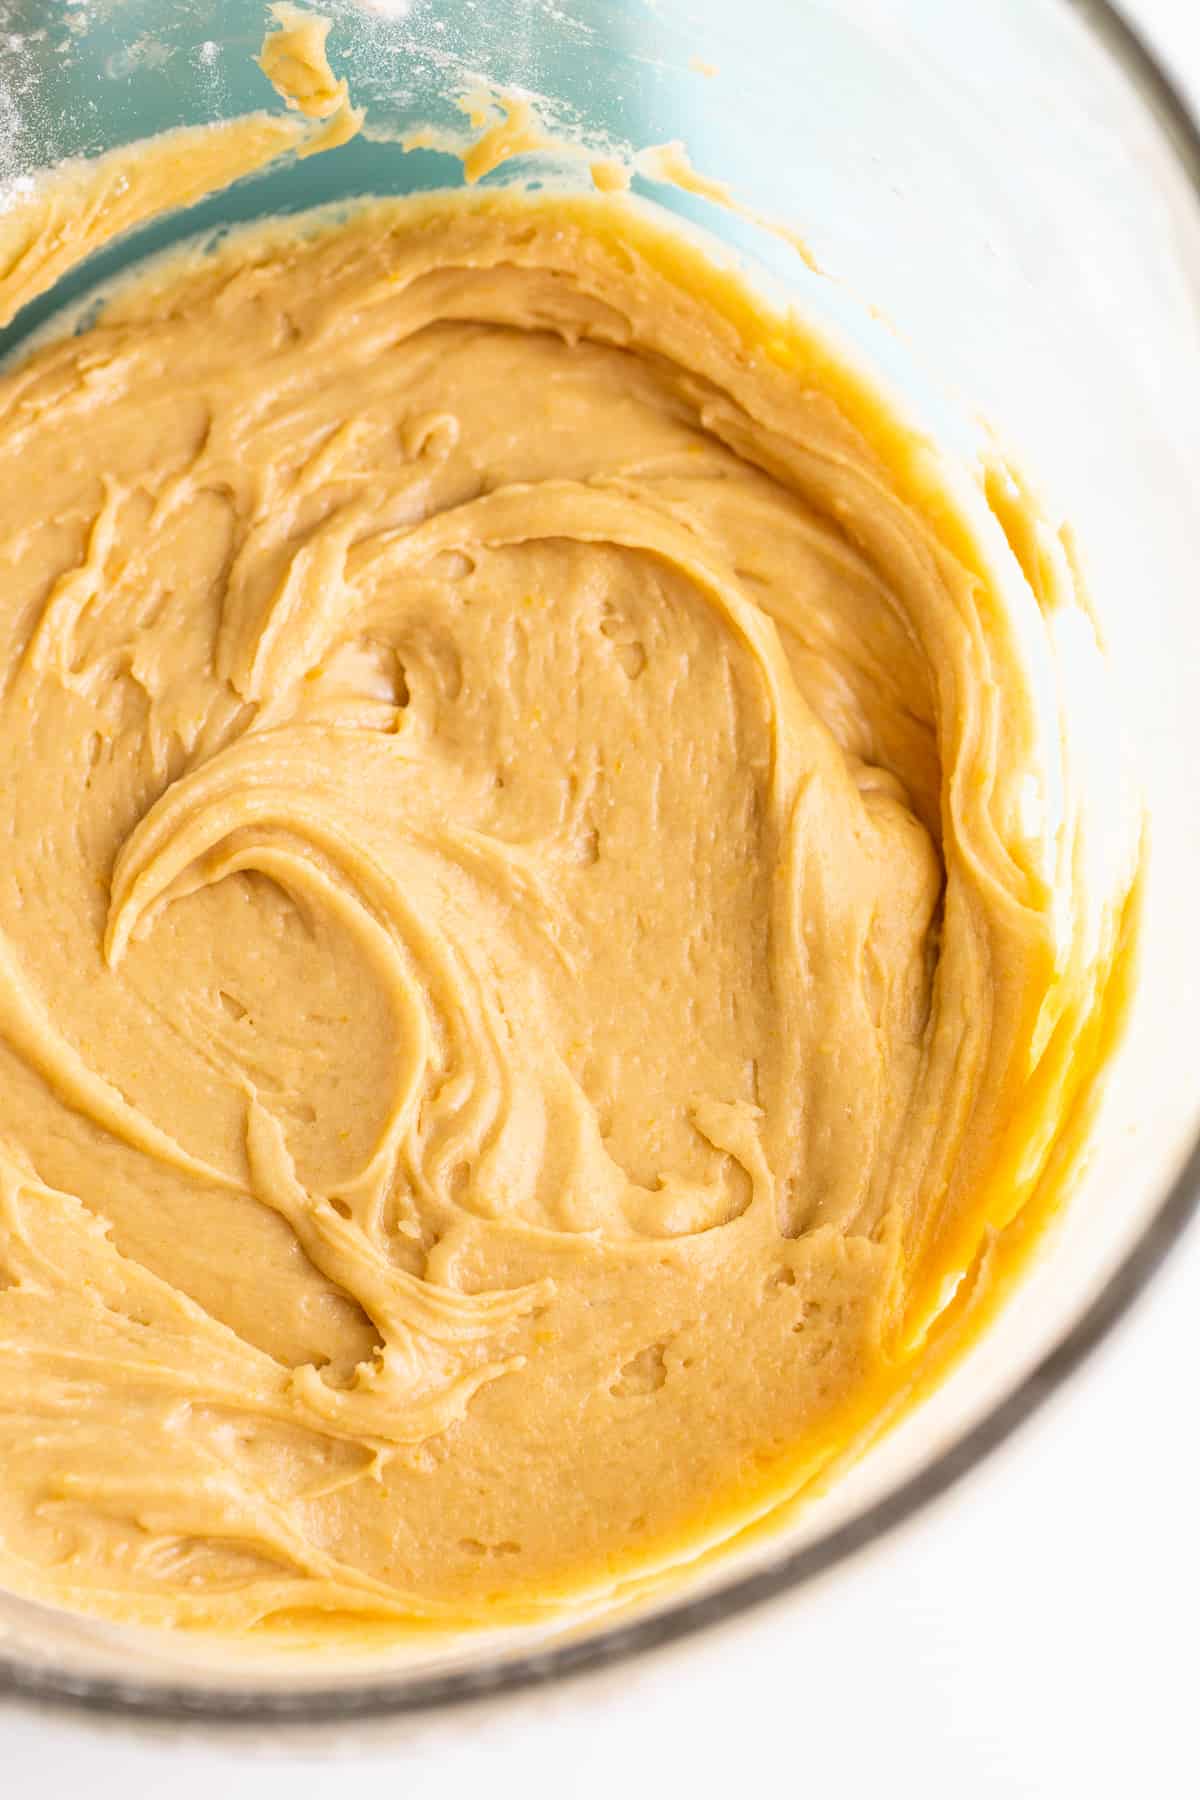
Simple Instructions
- Mix dry: combine, flour baking powder, and salt in a medium bowl.
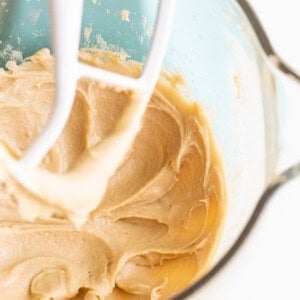
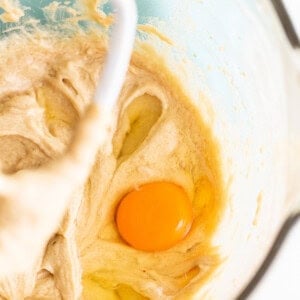
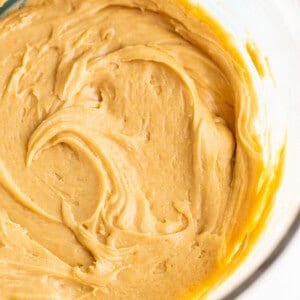
- Cream butter and sugar: use a stand mixer to cream the butter and brown sugar. Then, add maple syrup and vanilla and mix again. Slowly add the eggs and mix.
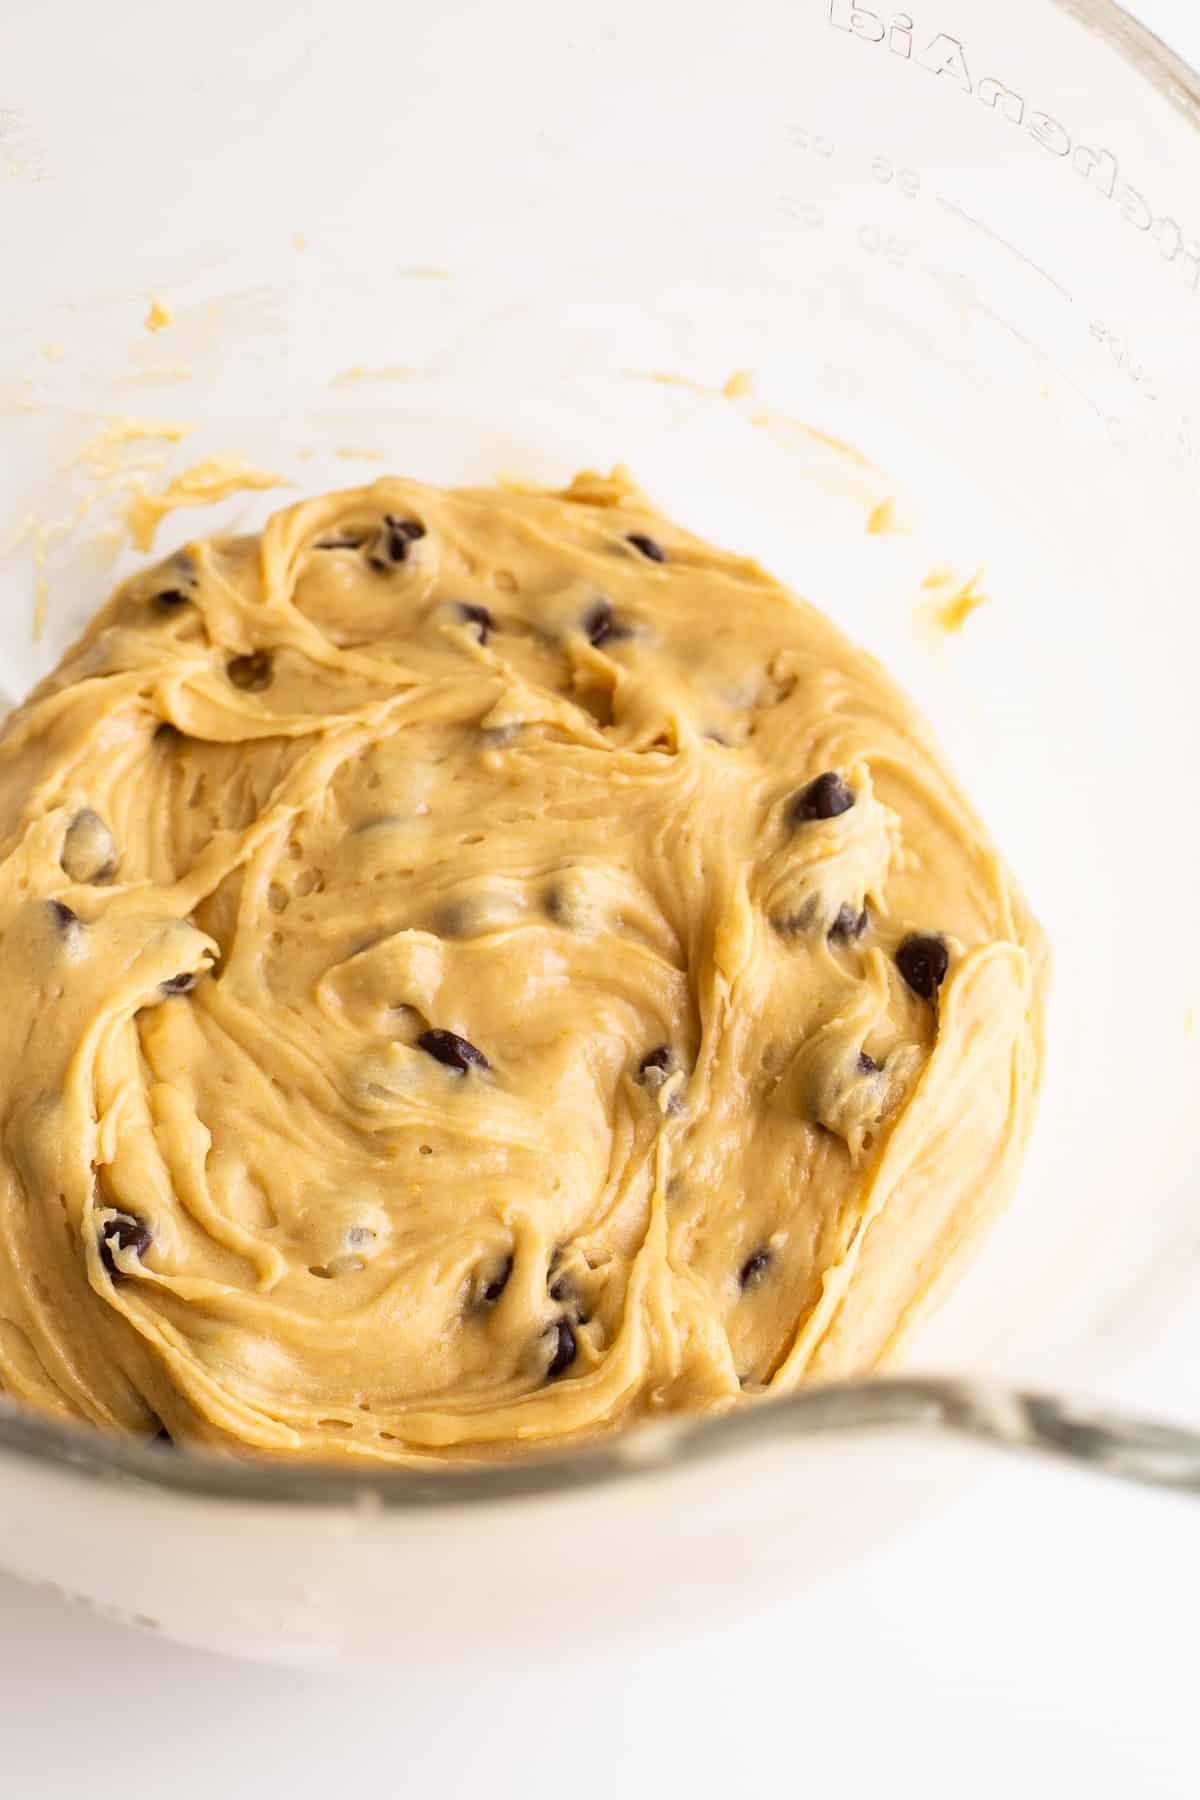
- Combine: add the dry ingredients into the wet and mix until combined. Finally, add in chocolate chips.
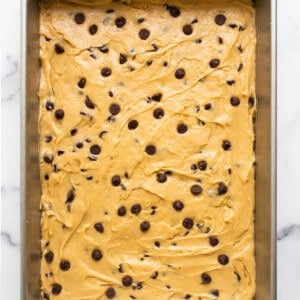
- Transfer and Bake: transfer the batter into a greased 9×12-inch pan and bake at 350ºF for 20-25 minutes or until the top begins to brown.
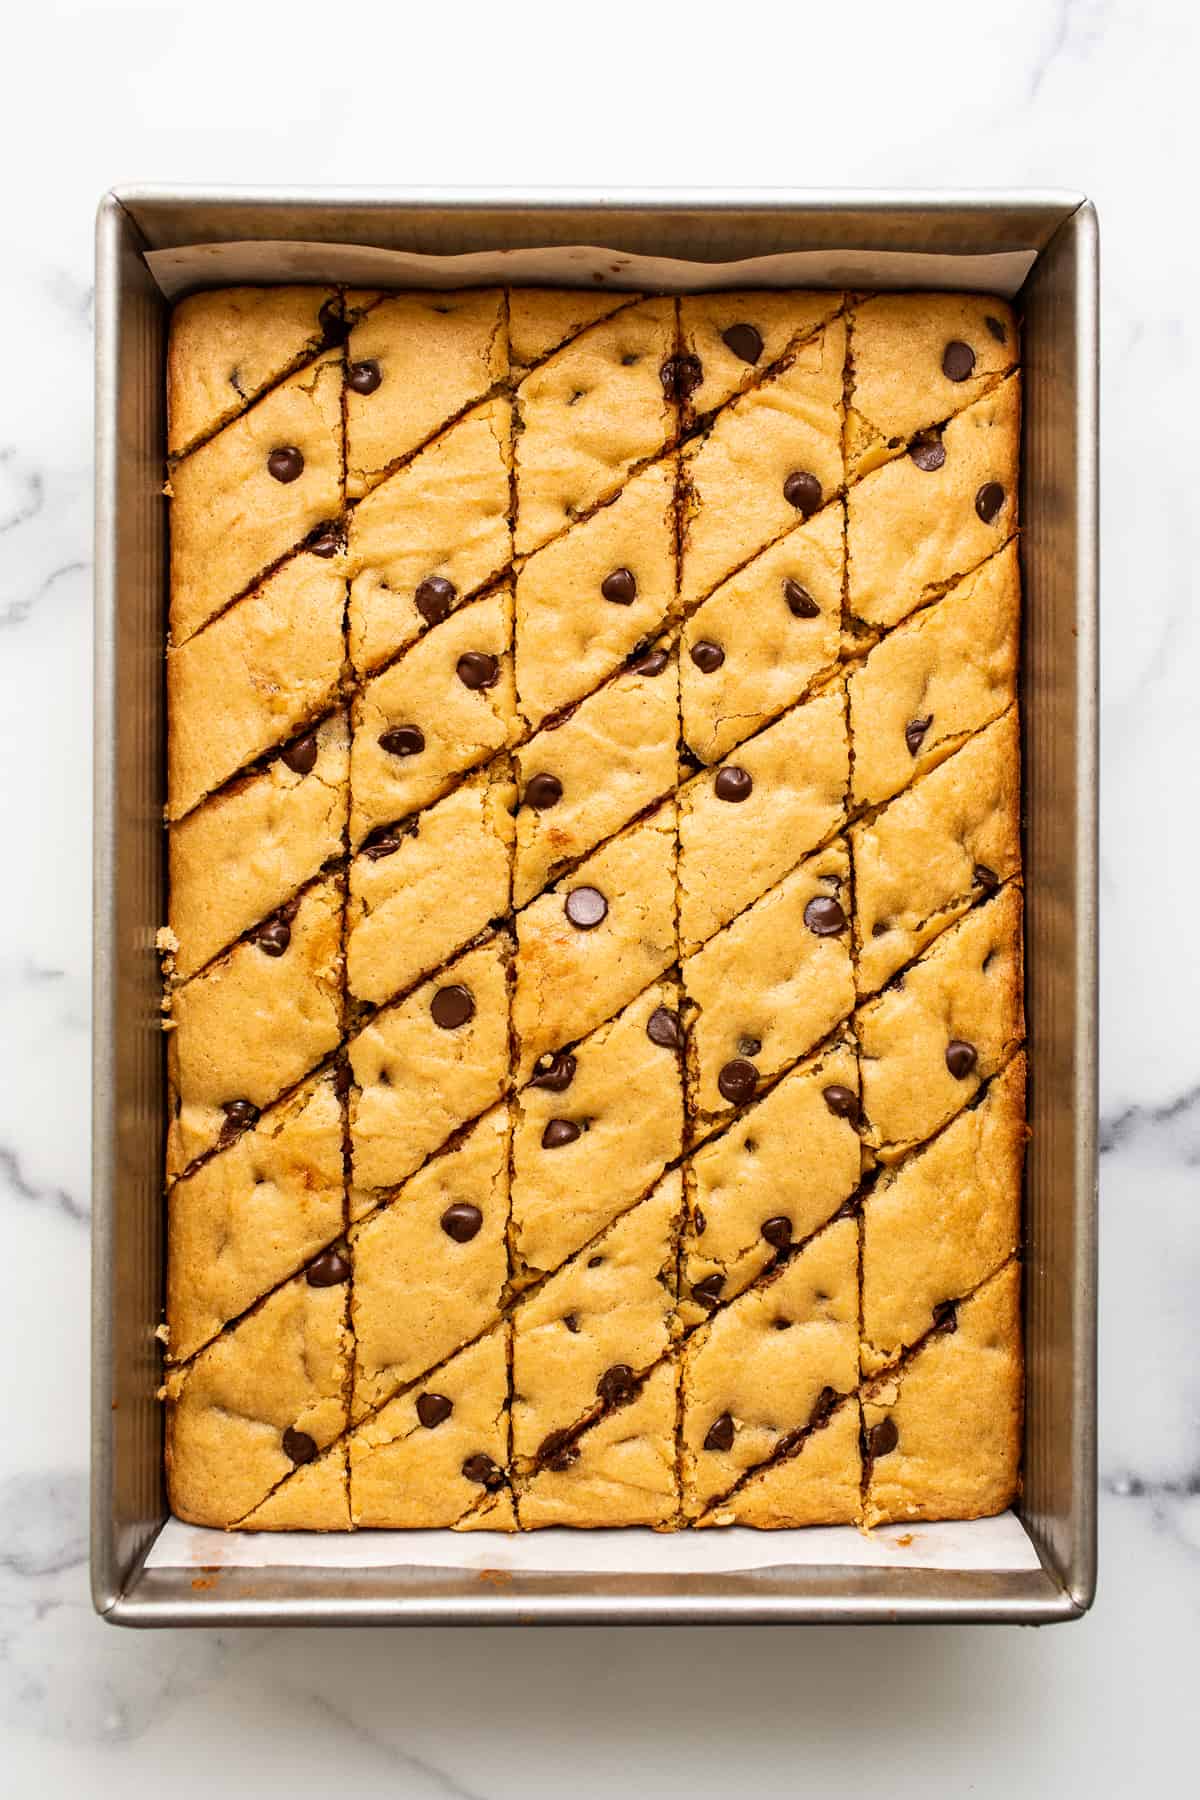
- Cool and Slice: let blondie bars cool completely before slicing into diamond shapes and serving.
Latest Desserts
Storage
Store blondie bars in an airtight container for up to 3-5 days. For best results, store them in the fridge.
To freeze: slice bars and then separate them out onto a baking sheet so they aren’t touching. Freeze for 30 minutes. Once they are partially frozen, transfer them into an airtight container or gallon-size plastic bag and freeze for up to 3 months.
Maple Chocolate Chip Cookie Blondie Bars
Ingredients
Dry Ingredients
- 2.75 cups all-purpose flour, spooned and leveled
- 2.5 teaspoons baking powder
- 1/2 teaspoon salt
- 1 cup light brown sugar, packed
- 1.5 cup semi-sweet chocolate chips
Wet Ingredients
- 2/3 cup unsalted butter, melted (11 tablespoons)
- 1/2 cup maple syrup
- 3 large eggs
- 1 teaspoon vanilla extract
Instructions
- Preheat the oven to 350ºF and spray a 9×13-inch baking pan with cooking spray or line the pan with parchment paper. Set aside.
- Add the flour, baking powder, and salt to a mixing bowl and whisk the ingredients together.
- In a separate large mixing bowl, cream the brown sugar and butter together with an electric mixer or hand mixer on medium speed until light and fluffy.
- Drizzle the maple syrup and vanilla into the creamed mixture and mix on low speed until combined.
- Add eggs into the mixing bowl until all the eggs are incorporated.
- Slowly add the dry ingredients to the wet ingredients until combined.
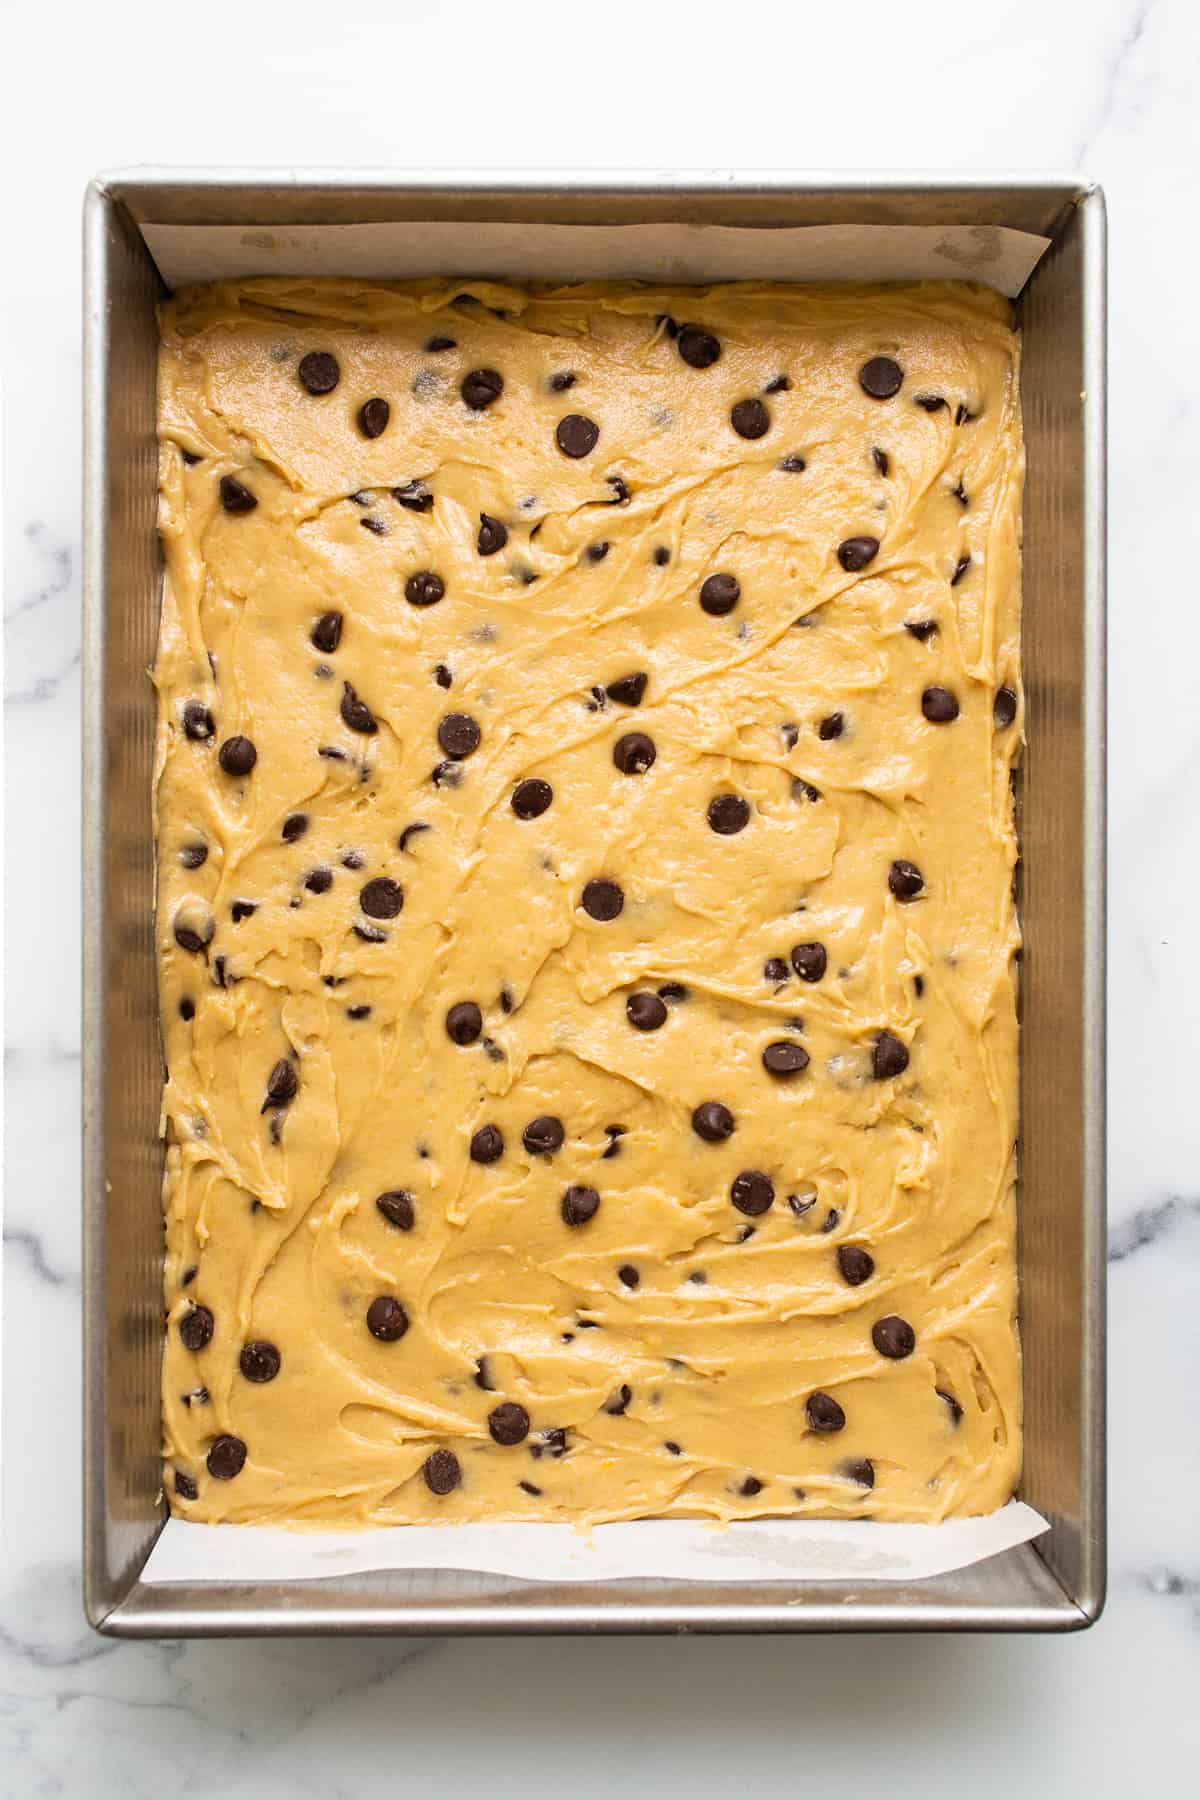
- Fold the chocolate chips into the dough and then transfer the dough to the 9×13-inch pan and spread the dough out with a spatula until evenly distributed.
- Bake the bars 350ºF for 20-25 minutes or until slightly golden brown.
- Remove from the oven and let the bars cool for 20-30 minutes before cutting into them.
Watch It
Nutrition
Nutrition information is automatically calculated, so should only be used as an approximation.
Don’t forget to tag your posts on social media with the hashtag #fitfoodiefinds, we’d love to see what you’re up to!
Photography: photos taken in this post are by Ashley McGlaughlin from The Edible Perspective.


Was the butter supposed to be melted or softened….
So good! I made them gluten free with a combination of tapioca and coconut flour and it was a hit! If using GF flours I would bake them at a lower temp for a little bit longer. Seems like the GF flours brown faster. I baked mine for 22 minutes and the top was pretty brown but the middle was a little under baked. Not that we had an issue eating them 🙂 Can’t wait to make them again!
Loved these! Easy to make and taste great
These are out of this world good. Moist, chewy, easy to make, and the perfect texture. This will be on regular rotation in our house from now on!!