Classic Lemon Bars
Published 6/10/2022 • Updated 12/4/2024
This post may contain affiliate links. Please read our disclosure policy.
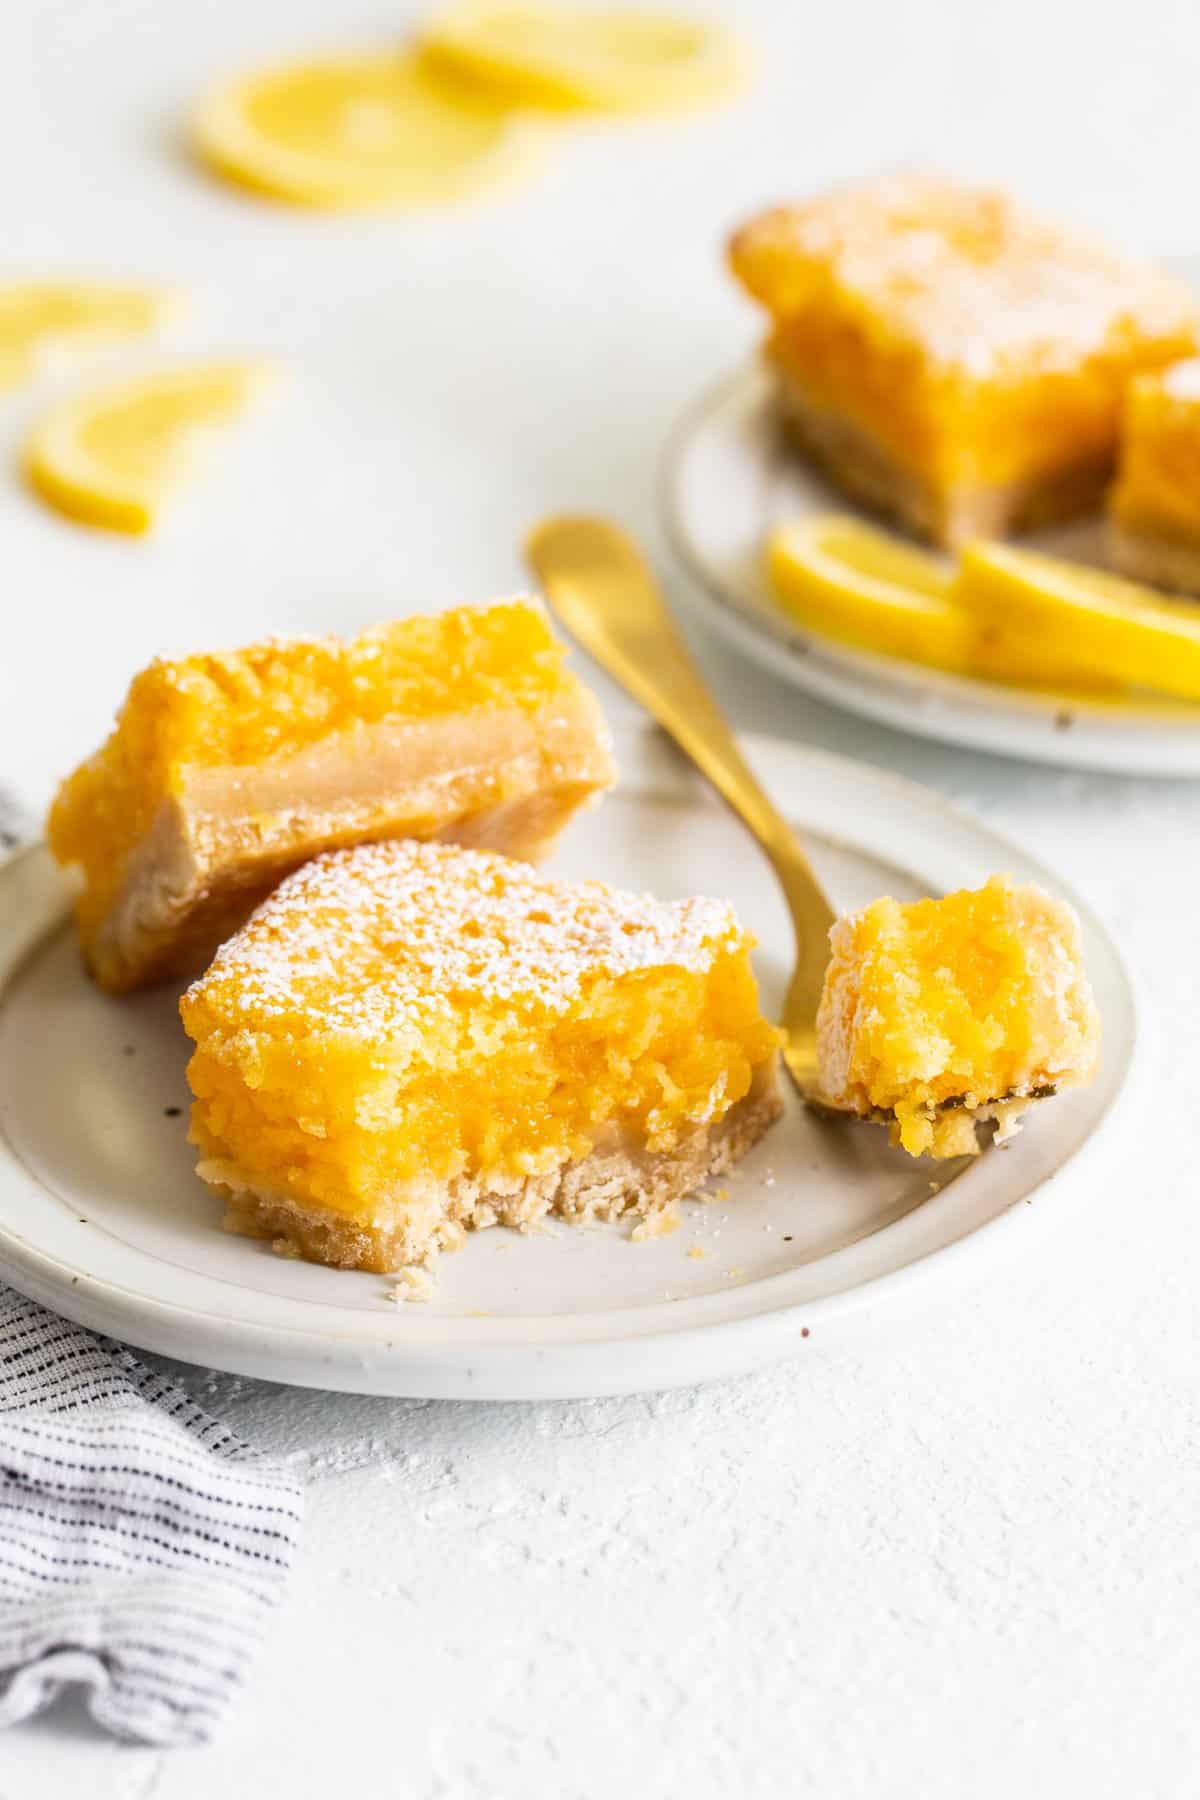
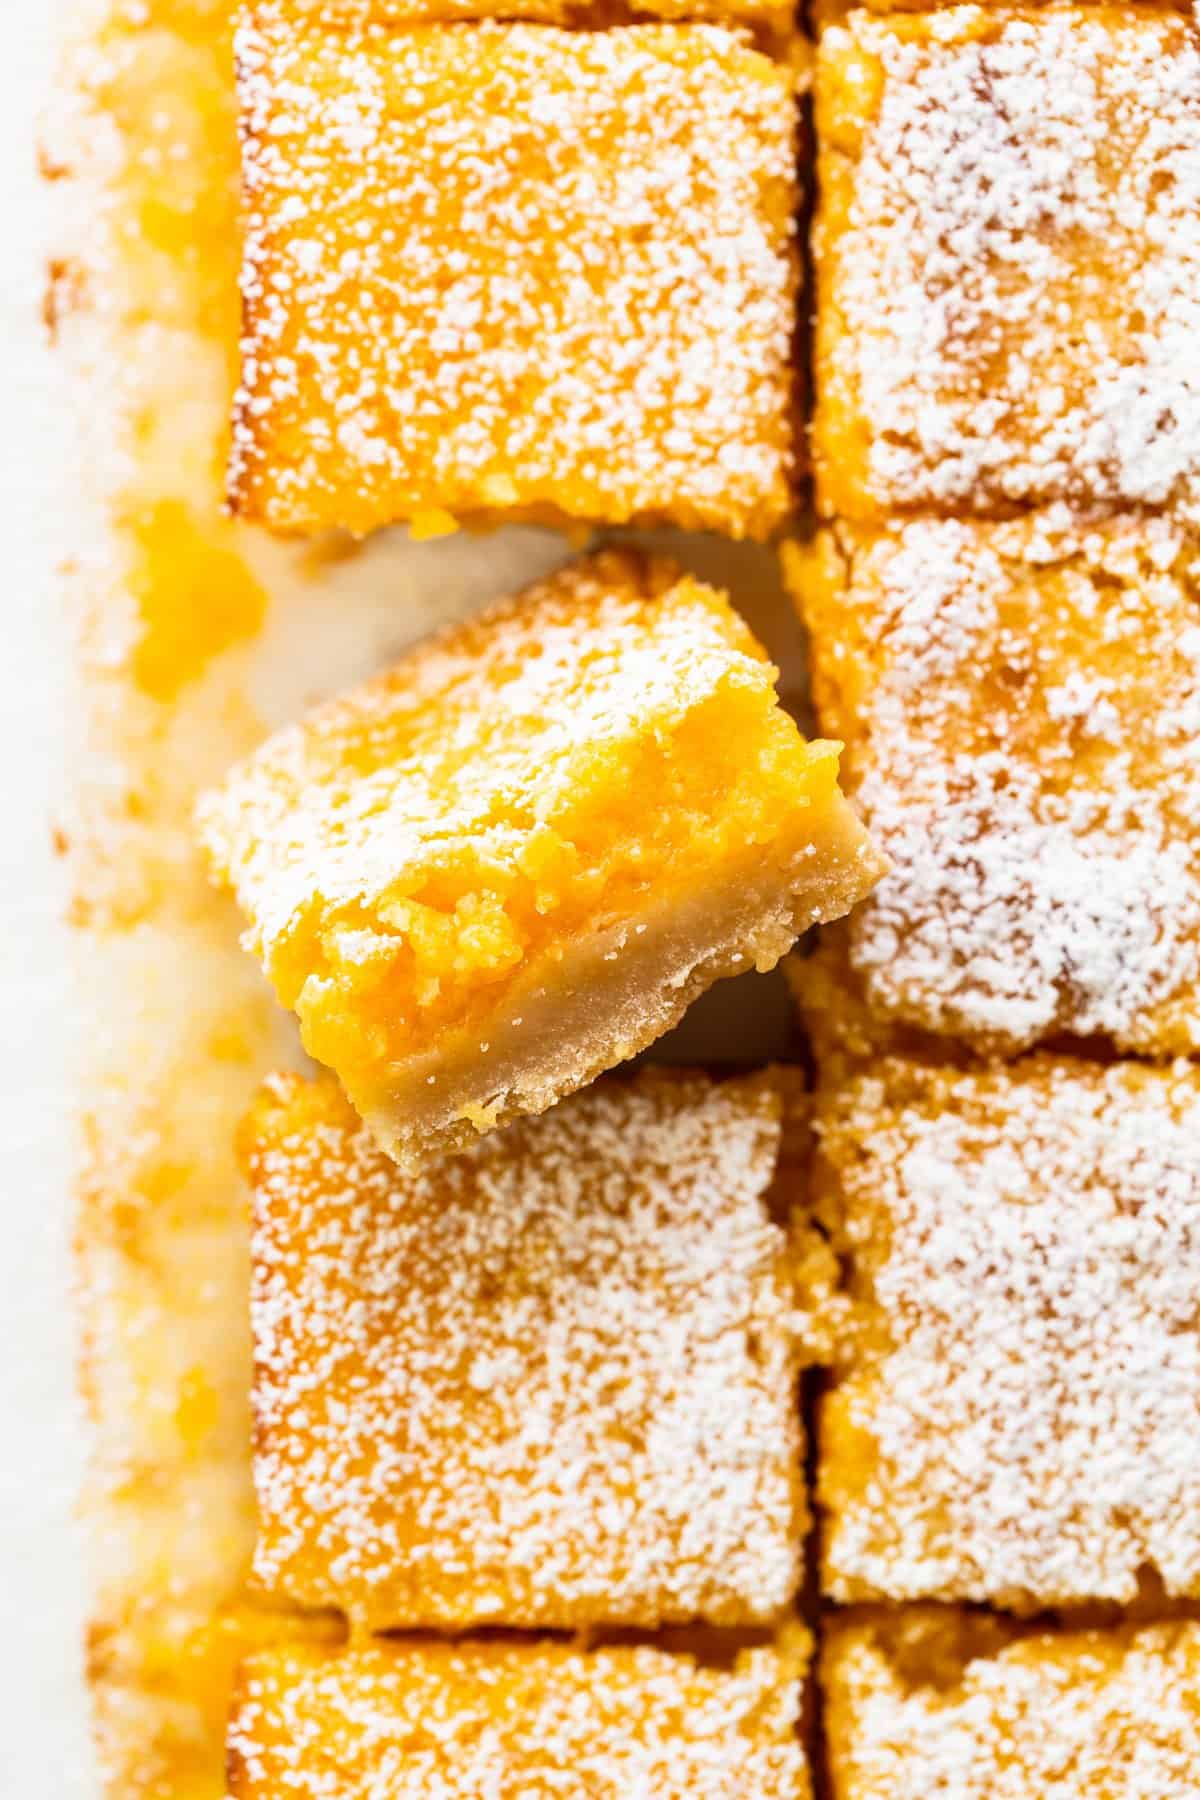
This recipe for lemon bars is classic, simple, and bursting with sweet, citrus flavors. Learn how to make lemon bars here!
Our Classic Lemon Bar Recipe
If you’ve made our healthier lemon bar recipe and you’re here for the real deal, welcome!
This is a classic lemon bar recipe made with a buttery crust and perfect lemon curd filling. Lemon bars are great for sharing at any party, bbq, or gathering and will have your guests coming back for seconds.
The real question is, do you eat your bars with fresh whipped cream or a sprinkle of powdered sugar like us?
Why you’ll love them!
Perfect for sharing
Slightly sweet
A classic made easy
How to Make Lemon Bars
The Crust
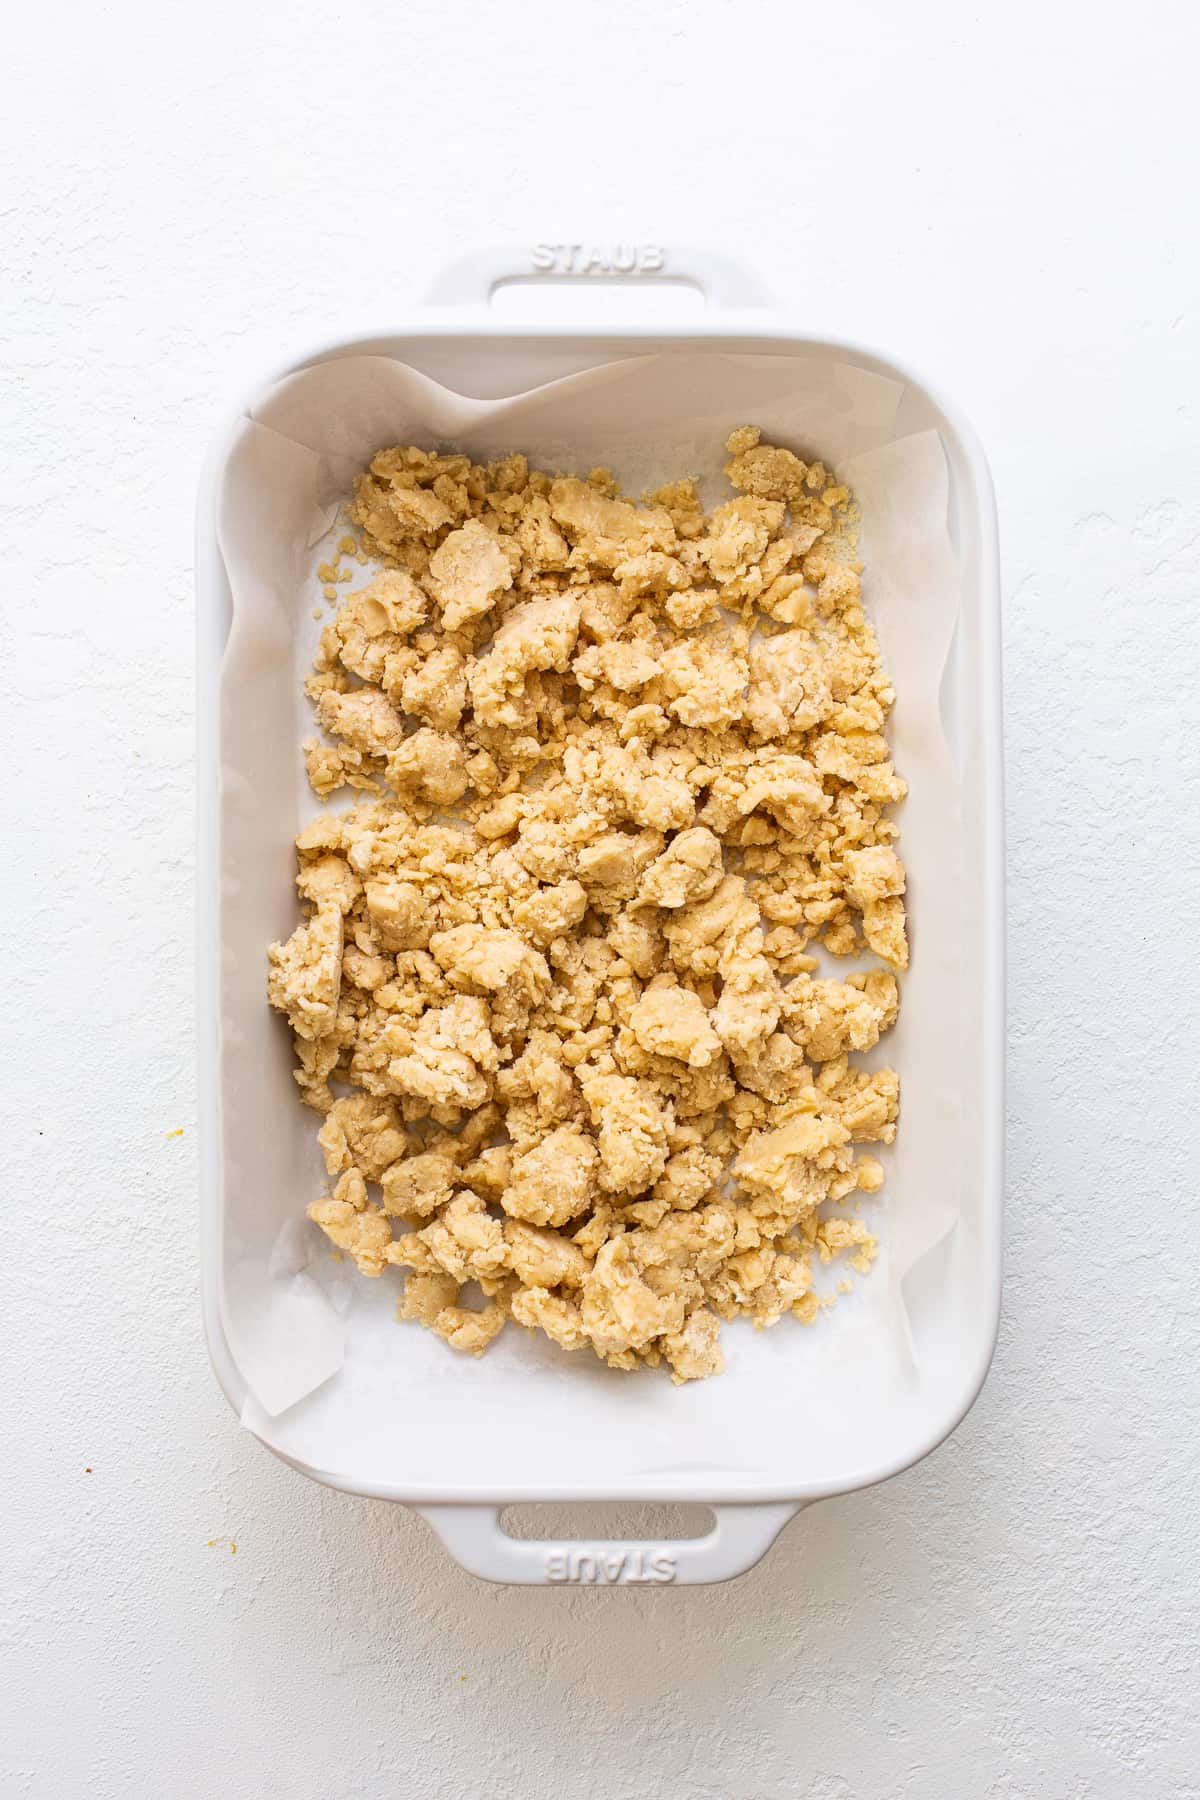
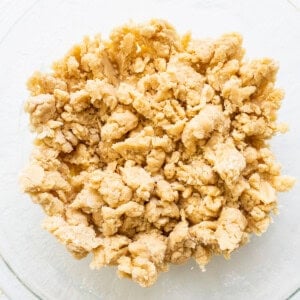
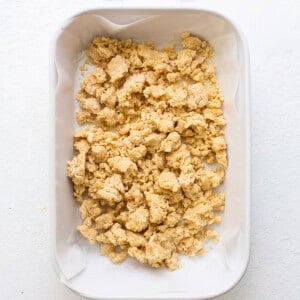
Every lemon bar starts with a buttery crust, slightly sweet crust and ours is no exception. It may seem like your crust needs to be wetter, but do note that once it’s baked for the second time, it will retain a lot more moisture.
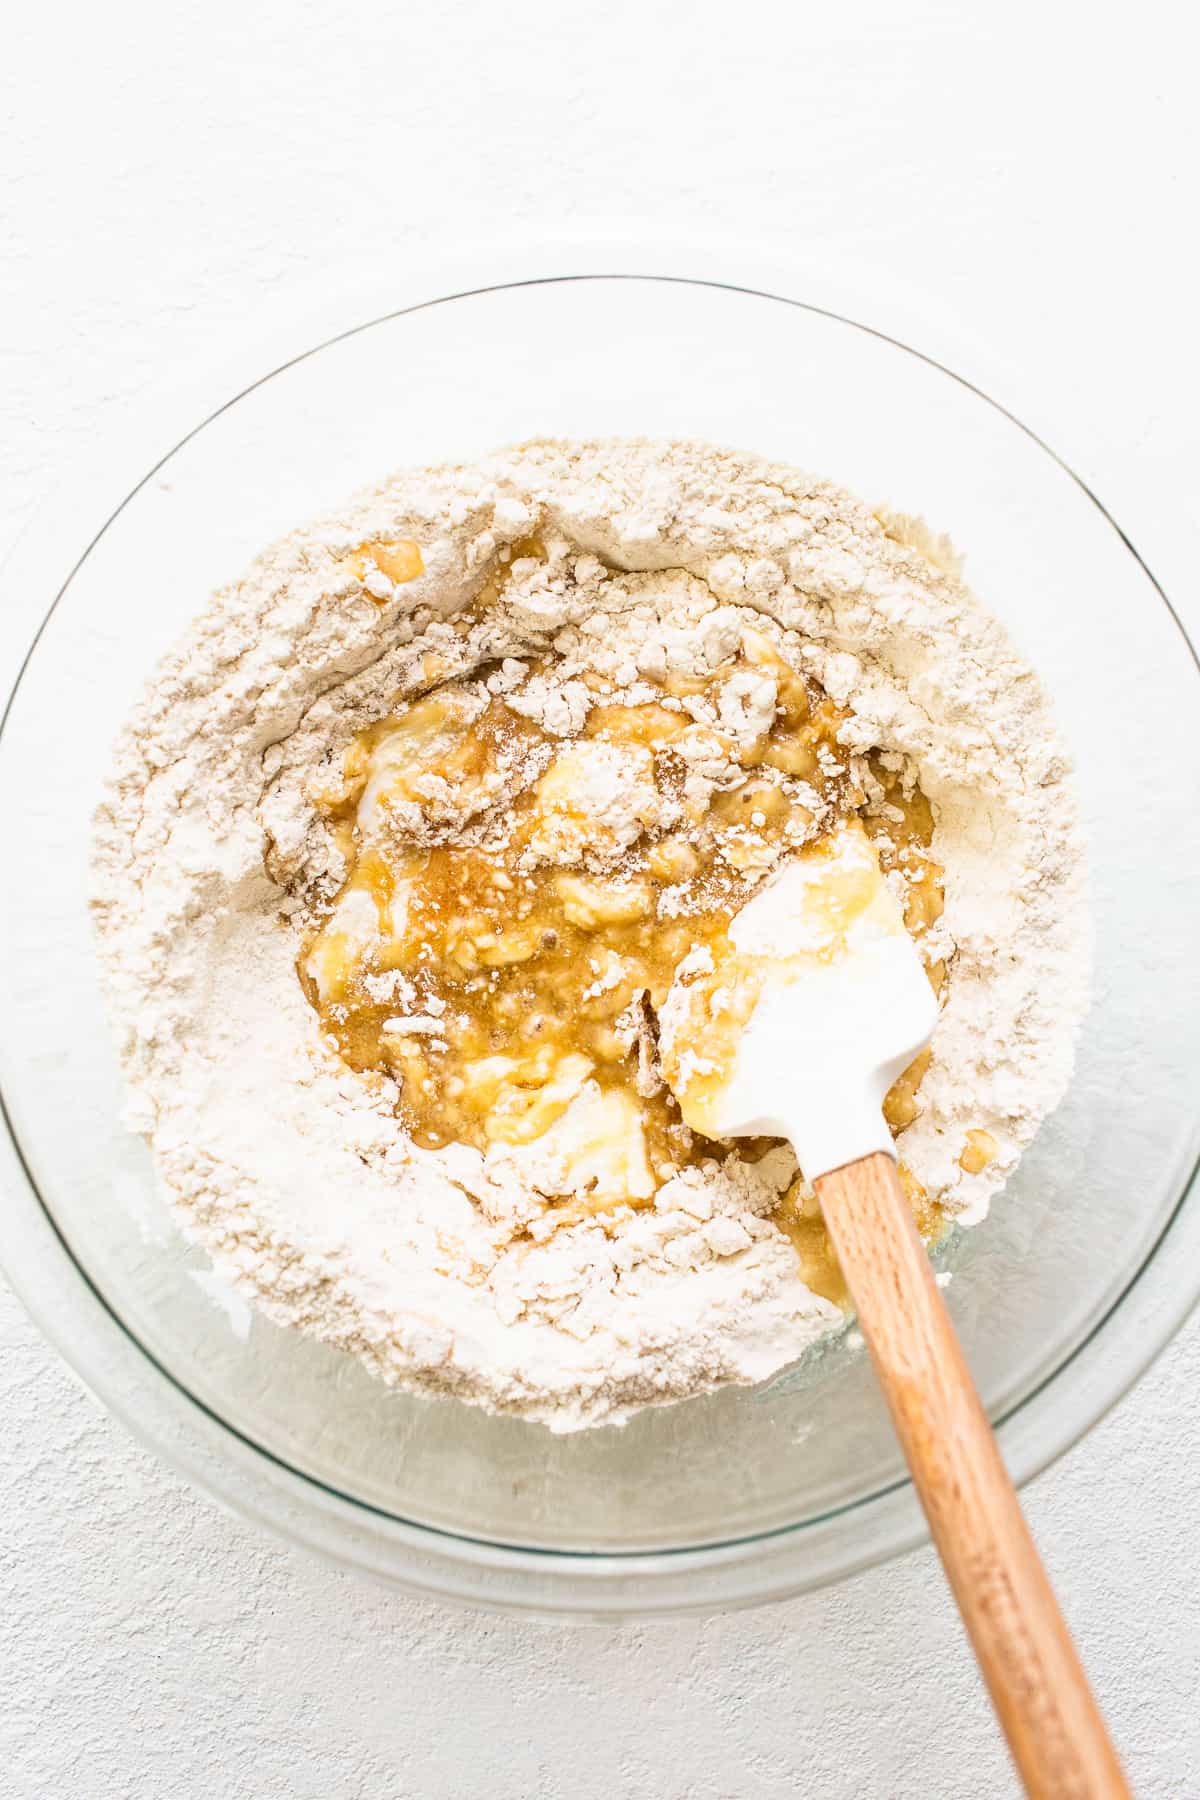
- Mix dry: in a large bowl, combine the dry ingredients — flour, salt, and sugar.
- Add wet: add in the melted butter, maple syrup, and Greek yogurt and mix until a crumble forms.
- Transfer & press: transfer the dough into a greased 9×12-inch baking dish and firmly press it down to create a solid crust.
- Bake: bake the crust at 350ºF for 20 minutes. After 20 minutes take the crust out of the oven and pierce it with a fork all over.
The Lemon Curd
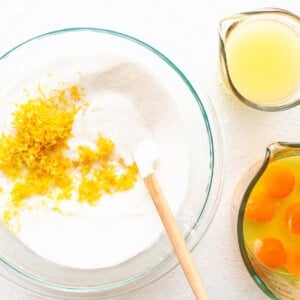
- Combine dry: mix sugar, flour, baking powder, and lemon zest in a large bowl.
- Add wet: add lemon juice and eggs and mix until combined.
- Transfer: pour the filling on top of the crust.
- Bake: bake the lemon bars at 350ºF for 20-25 minutes.
- Let cool: let cool at room temperature for 1-2 hours and then refrigerate for at least 2 hours.
Latest Desserts
Top Tips
The crust will seem dry: When all of the ingredients for the crust have been mixed together, it will look like it still needs something. It does not. When you push the crust together in the baking dish it comes together easily. It will take on a lot of moisture during the second baking process.
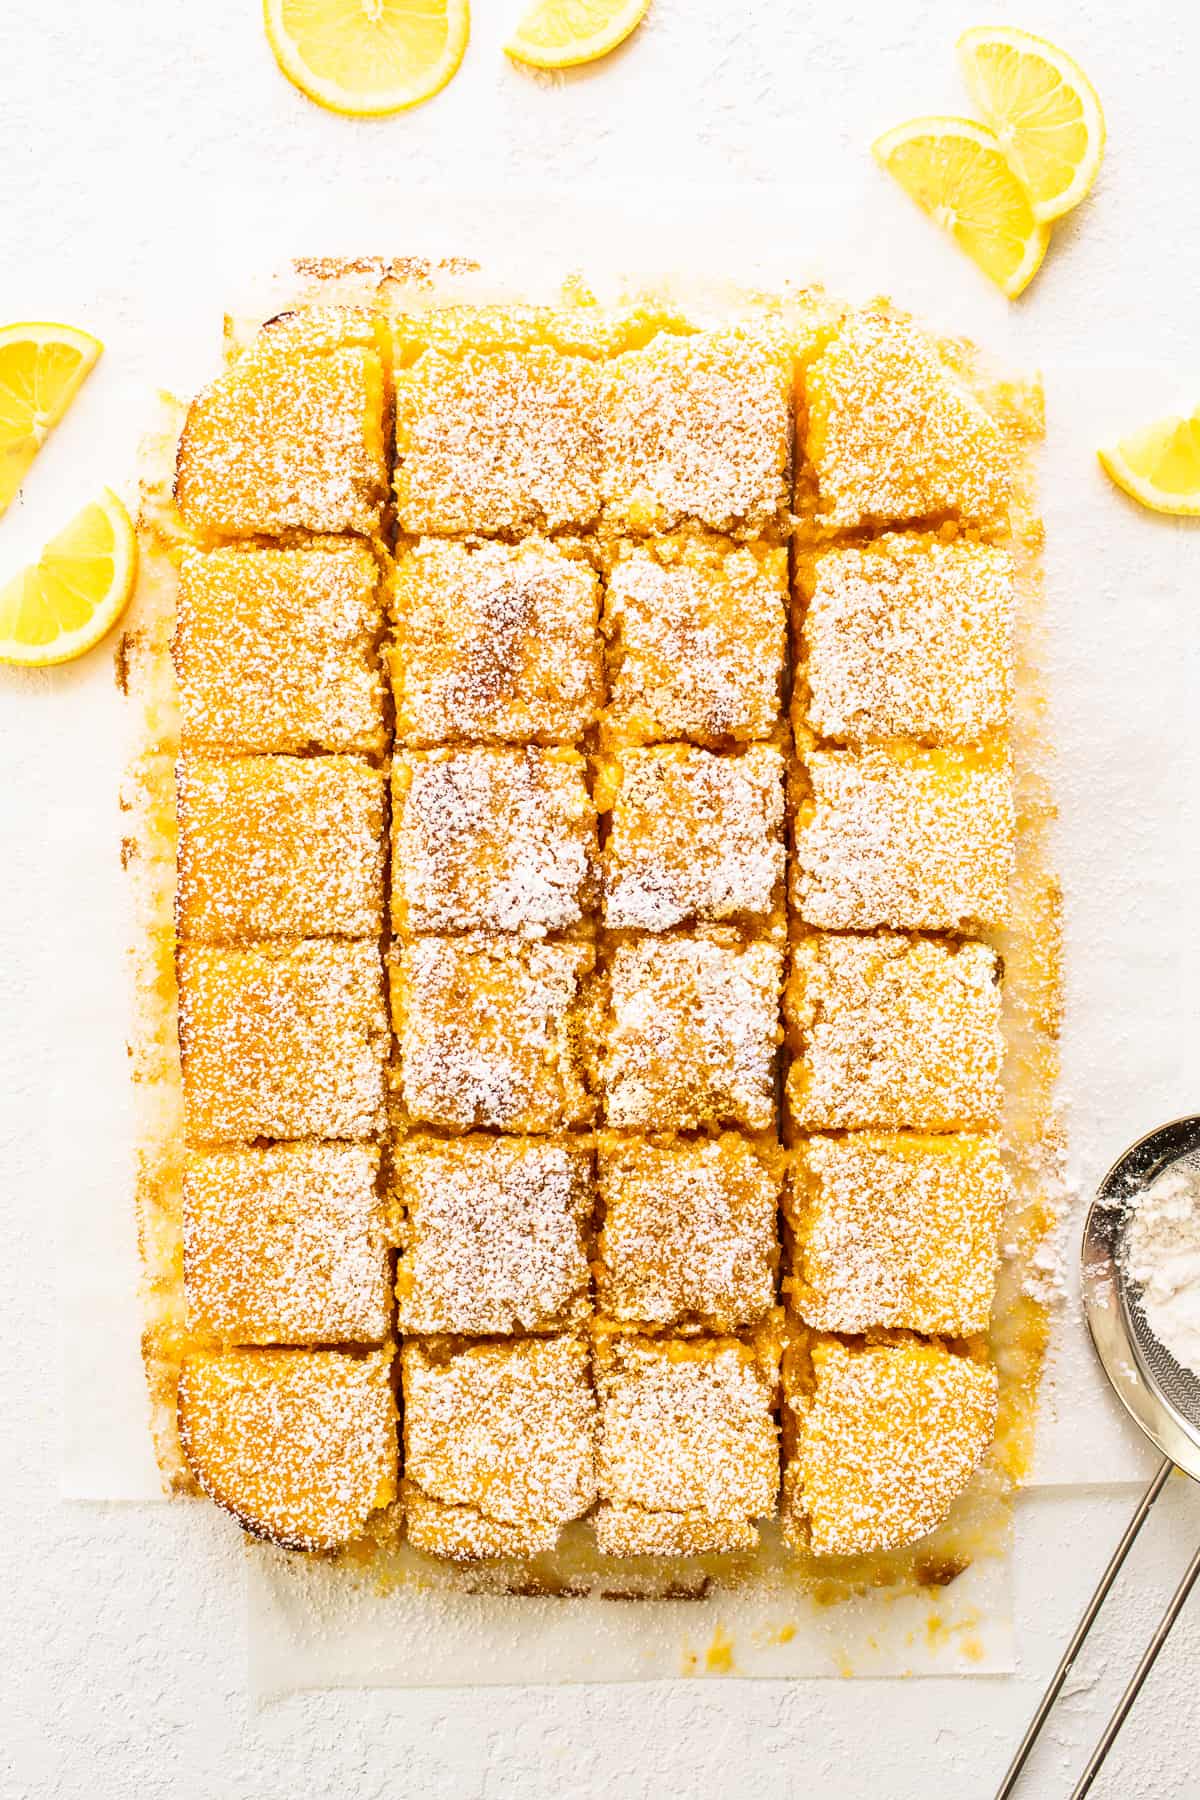
Leave the jiggle: For the second bake it is very touchy when the lemon bars are done. You still want a little bit of jiggle when you are taking it out of the oven. A completely firm lemon curd, while still good, is a bit chewier than the intended finished product.
Let them rest: You must let the bars rest for the suggested time or else they will not set.
Storage
Store leftover lemon bars in an airtight container in the fridge for up to 3 days. We recommend storing them right what you baked them in. Just cover them!
Classic Lemon Bars
Ingredients
Crust
- 2.5 cups all purpose flour
- ½ teaspoon salt
- ⅓ cup powdered sugar
- ½ cup unsalted butter, melted
- ¼ cup plain Greek yogurt, we used 5%
- ⅓ cup maple syrup
Filling
- 3 cups granulated sugar
- ½ cup all-purpose flour
- 1 teaspoon baking powder
- 3 tablespoons lemon zest
- 1 cup lemon juice, ~8 medium lemons
- 6 extra large eggs + 2 large egg yolks
Instructions
Crust
- Preheat the oven to 350ºF and prepare a 9×13-inch ceramic baking dish with cooking spray and parchment paper.
- In a large bowl add flour, salt, and sugar. Mix to combine.
- Next add the melted butter, Greek yogurt, and maple syrup to the flour mixture. Stir until you have a very coarse crumbly mixture.
- Pour the dough into the prepared baking dish and press down firmly to create a solid crust.
- Bake at 350ºF for 20 minutes. After 20 minutes take the crust out of the oven and pierce it with a fork all over.
Filling
- While the crust is baking, add the sugar, flour, baking powder, and lemon zest into a large bowl and mix to combine.
- Next, add the lemon juice and eggs into the sugar mixture and mix until fully combined. Pour the filling onto the pierced crust.
- Bake the lemon bars at 350ºF for 20-25 minutes. Let cool at room temperature for 1-2 hours and then refrigerate for at least 2 hours. Bars can be cut into squares or triangles.
Tips & Notes
- You can substitute honey for maple syrup in the crust.
- When all of the ingredients for the crust have been mixed together it looks like it still needs something. It does not. When you push the crust together in the baking dish it comes together easily. It will take on a lot of moisture during the second baking process.
- For the second bake it is very touchy when the lemon bars are done. You still want a little bit of jiggle when you are taking it out of the oven. A completely firm lemon curd, while still good, is a bit chewier than the intended finished product.
- You must let the bars rest for the suggested time or else they will not set.
Nutrition
Nutrition information is automatically calculated, so should only be used as an approximation.
Don’t forget to tag your posts on social media with the hashtag #fitfoodiefinds, we’d love to see what you’re up to!
Photography: photos taken in this post are by Ashley McGlaughlin from The Edible Perspective.


OMG! These were amazing and totally exceeded my expectations! I would highly recommend them! Soooo delicious! Thank you for an awesome recipe!!
Yay!