Homemade Granola Bars
8/22/2021
This post may contain affiliate links. Please read our disclosure policy.
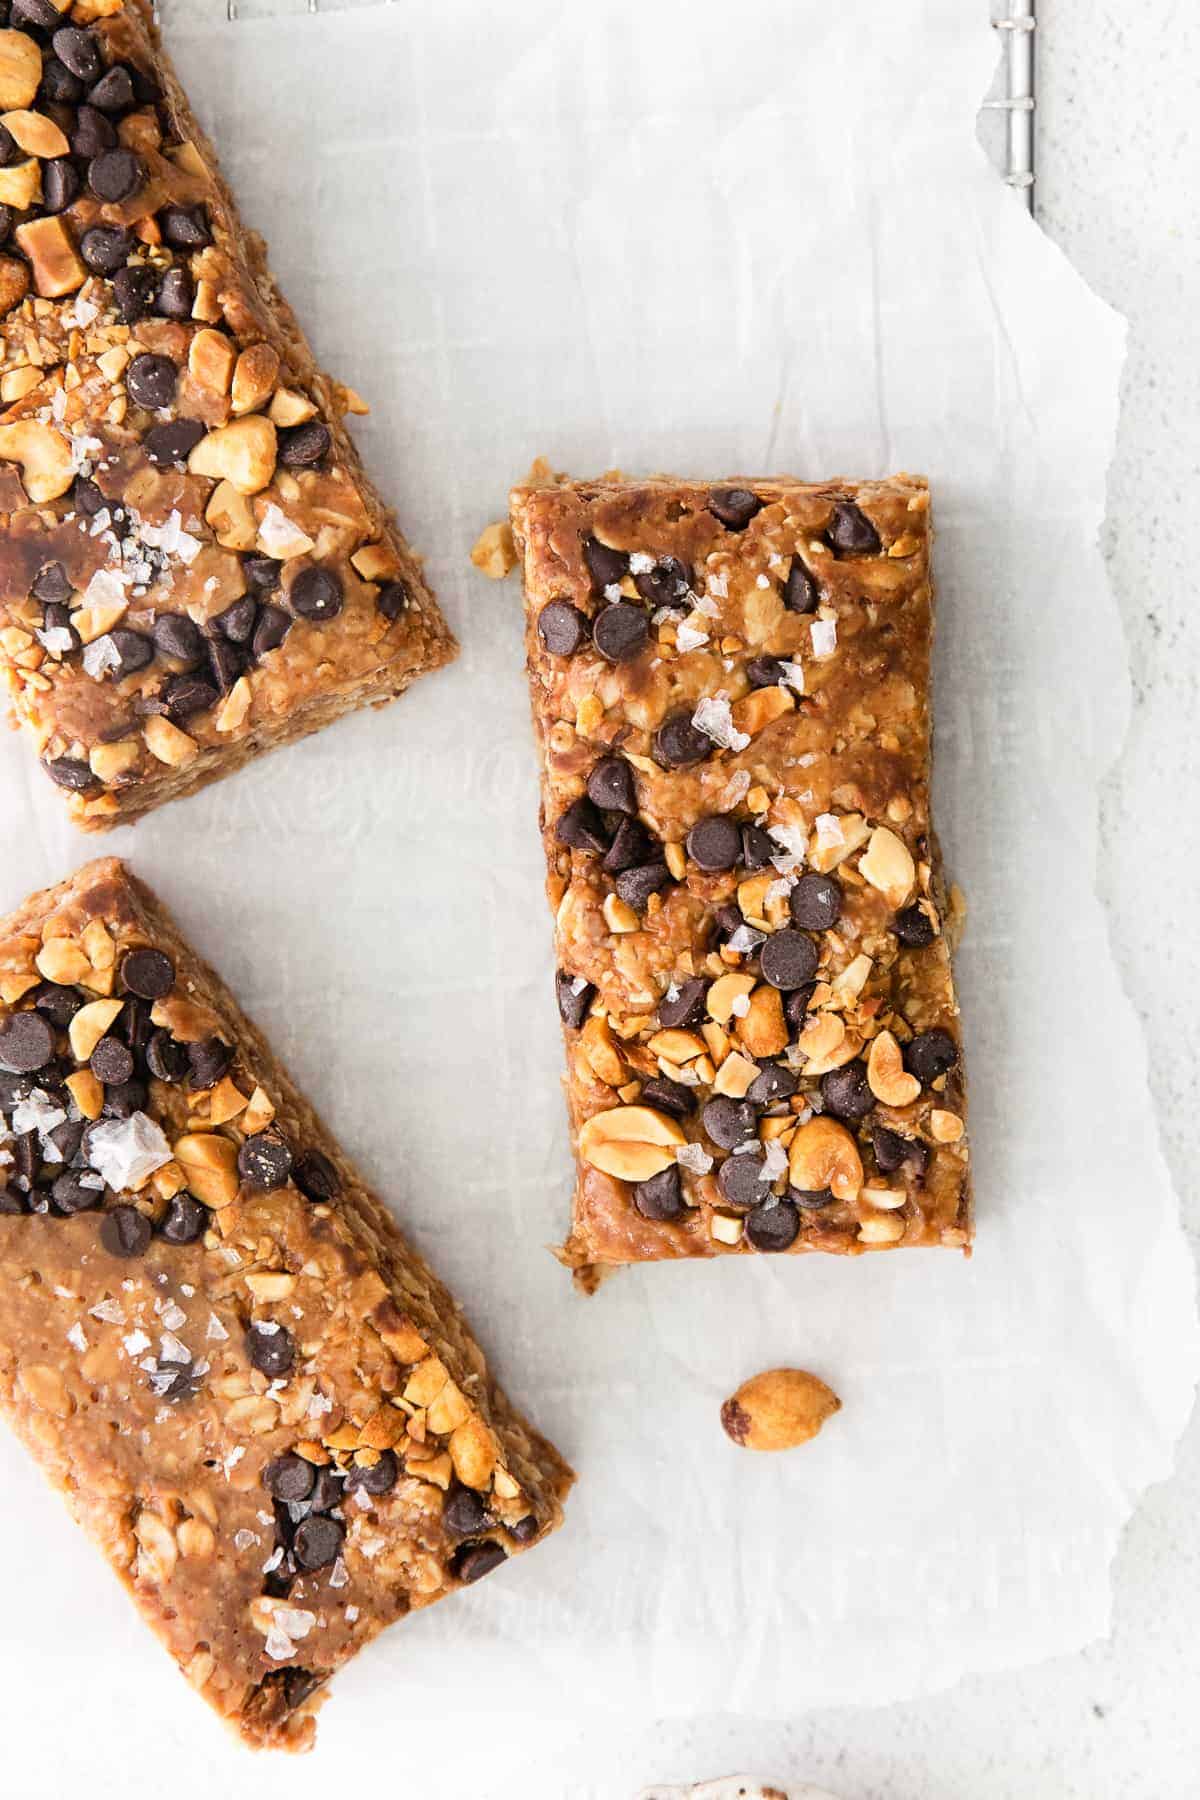
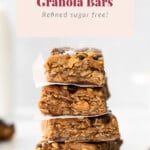
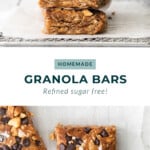
Looking for a homemade granola bar recipe? These healthy granola bars are a no-bake recipe made with rolled oats, peanut butter, honey, and chocolate chips for good measure.
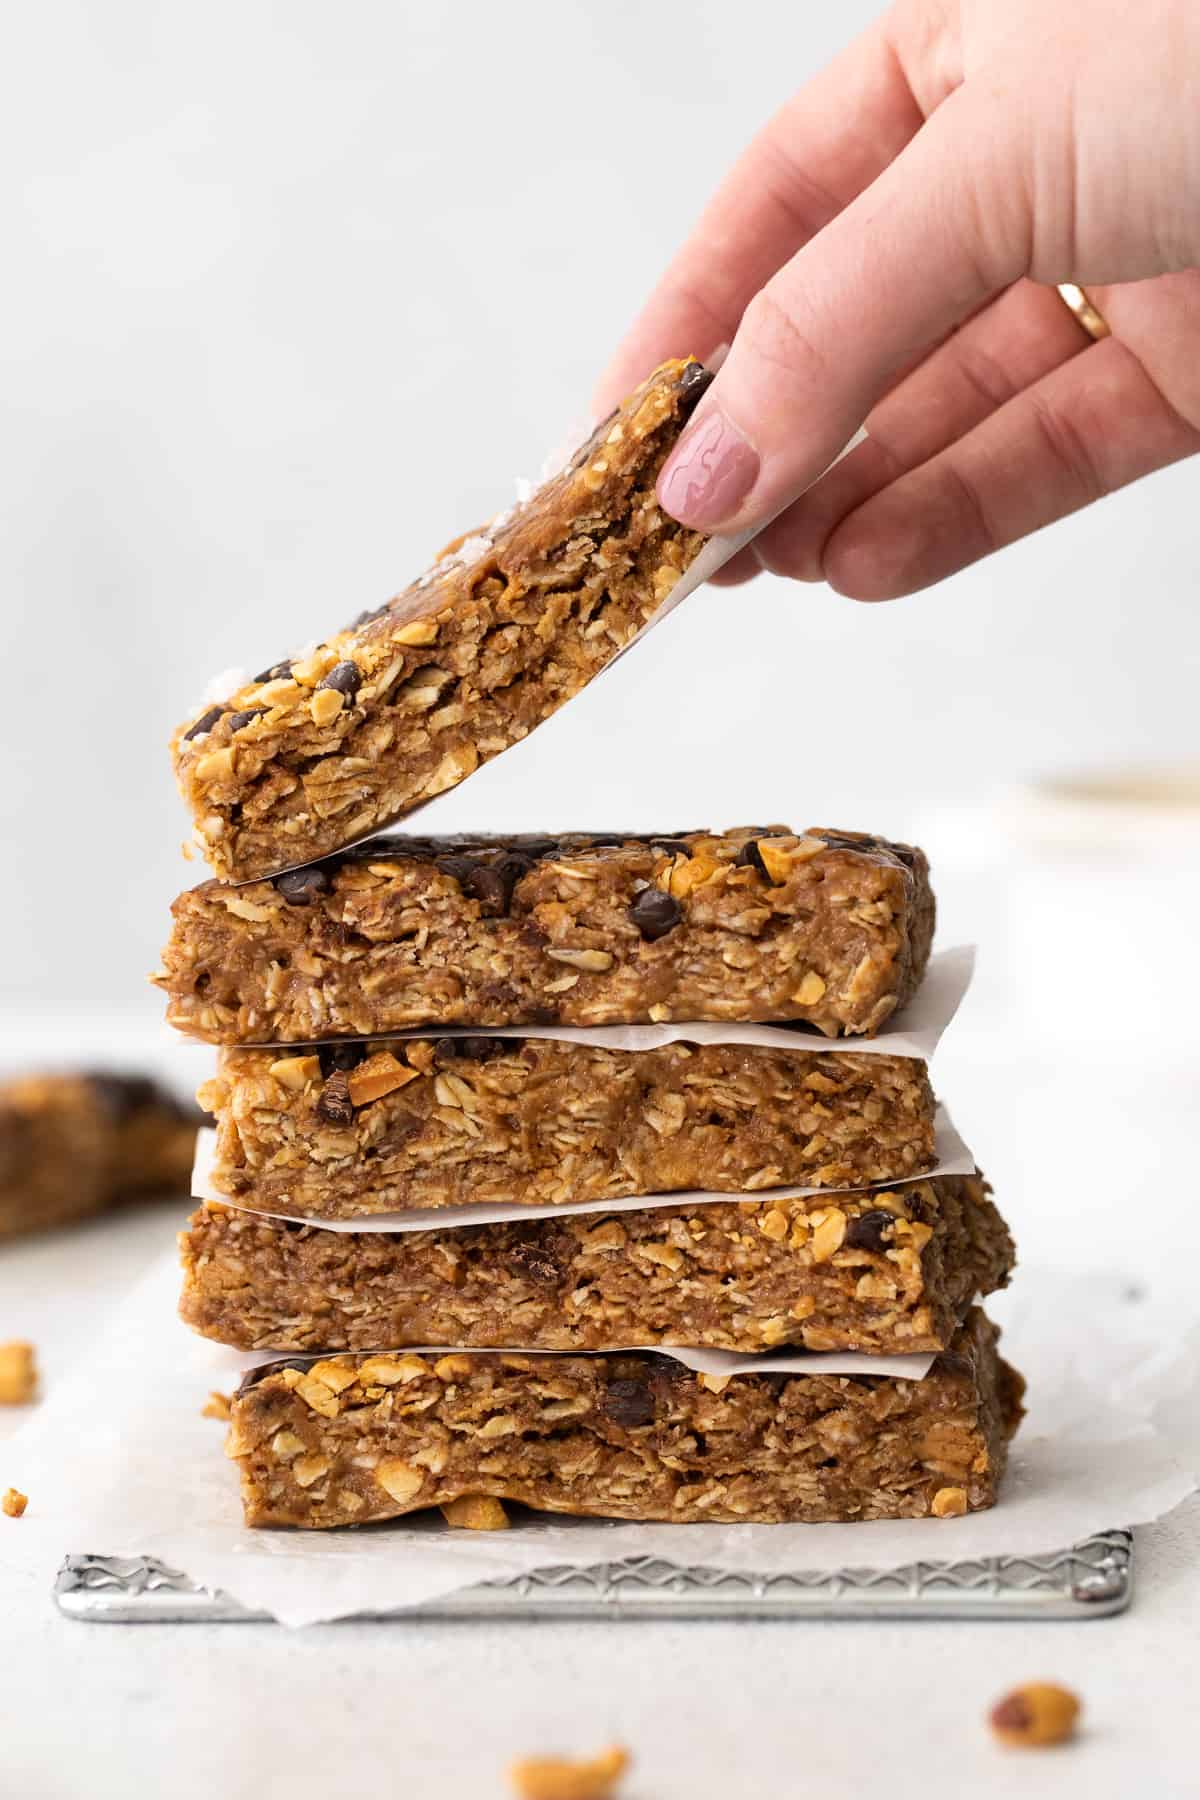
Make Your Own Homemade Granola Bars!
If you know anything about us, you know that we always like to have homemade snacks on hand for when hunger strikes. These homemade granola bars are similar to our protein ball recipes but are in bar form.
I’ve been a granola bar girl since I can remember. Chewy granola bars were my favorite growing up. I especially loved the chocolate chips.
Our homemade granola bars are made with all of our favorite things – peanut butter, oats, chocolate chips, and honey. They come together quickly, are perfectly chewy, and make for an excellent energy-boosting snack that the whole family will love.
These granola bars are…
- Naturally gluten-free
- High-protein (13g!)
- Easy to make
- Freezer-friendly
- Kid-friendly
- Better than dessert delicious
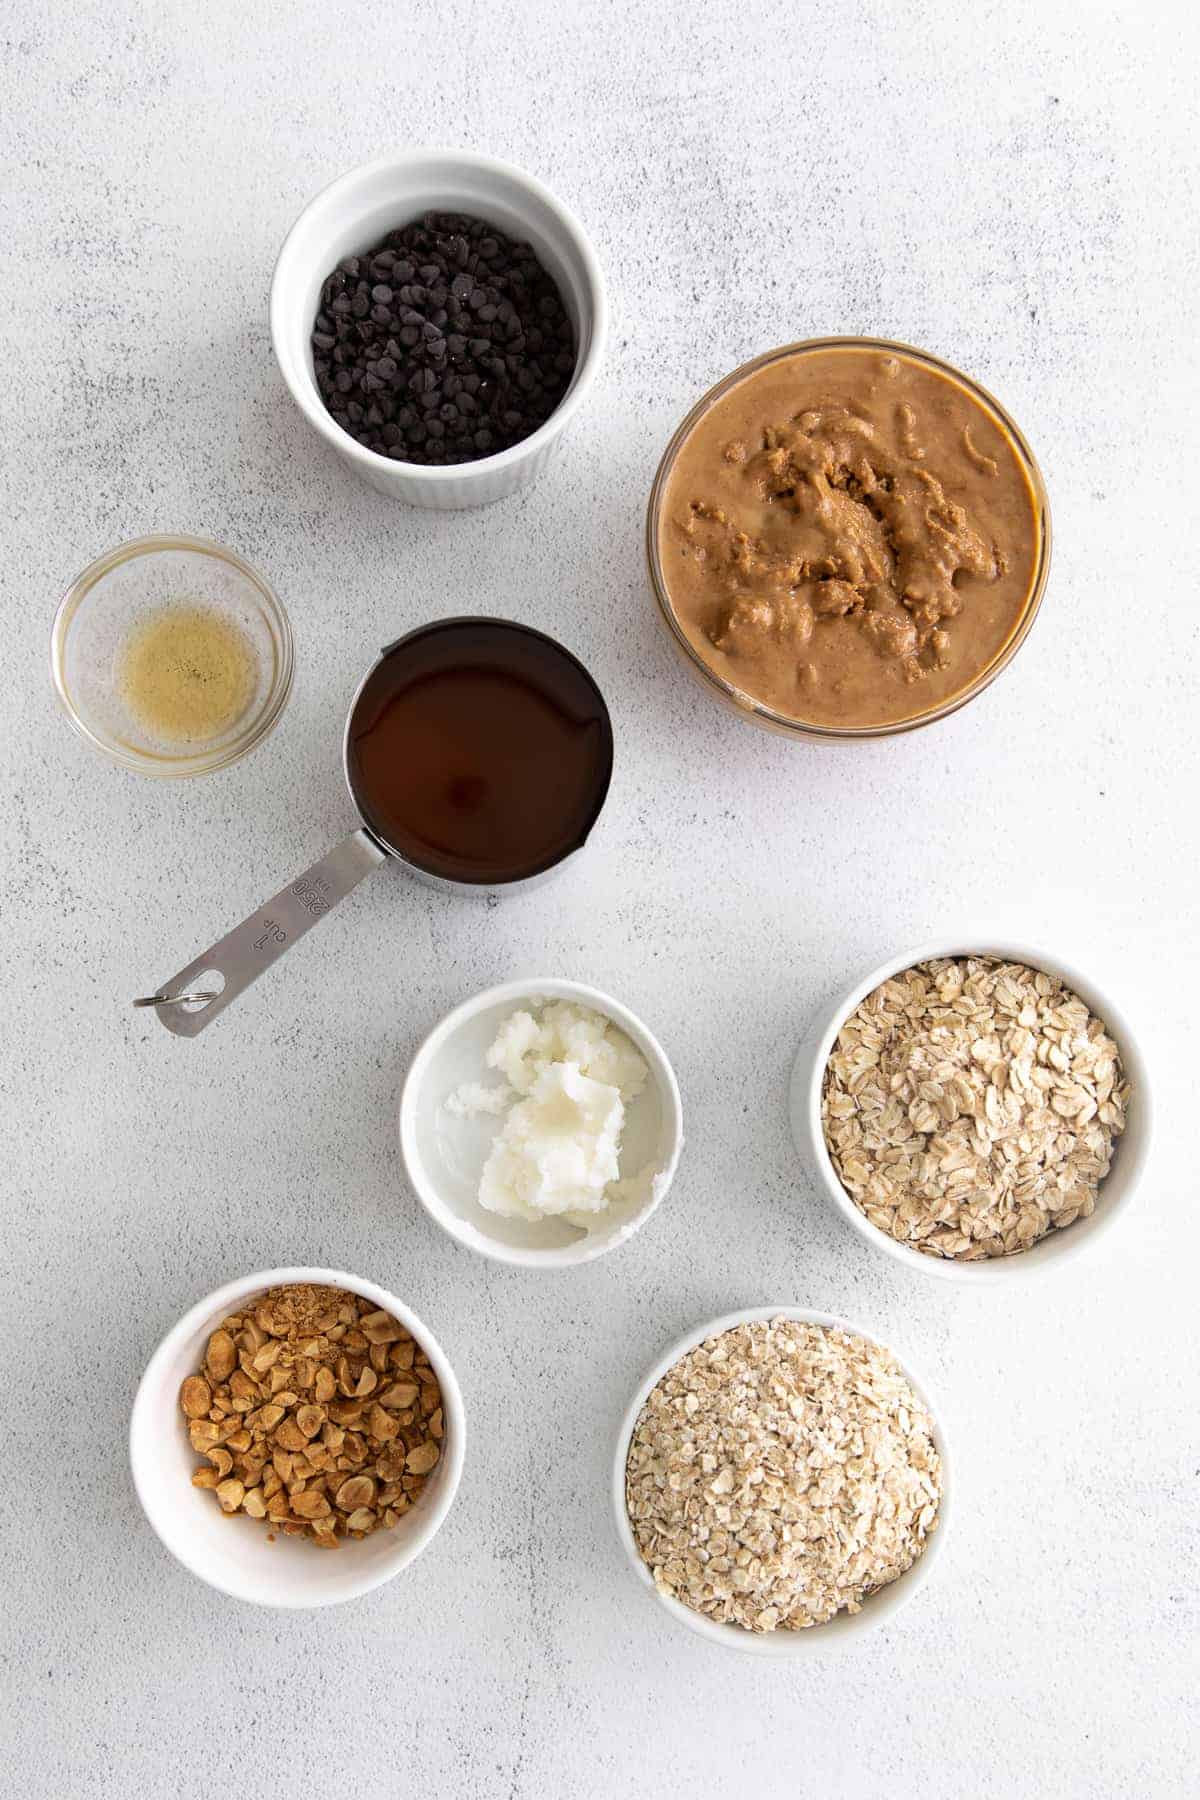
What You Need
Peanut butter oatmeal anything is a win in my book. It’s satisfying and sweet and salty all at the same time. Here’s what you need:
- All-natural peanut butter: make sure to use a drippy peanut butter. I like to stir my jar before using it in a recipe to combine the oil and nut butter.
- Rolled oats: rolled oats give these homemade granola bars a bite.
- Quick-cooking oats: quick cooking oats are easier to chew, so that’s why we used a combination of quick-cooking and rolled.
- Honey: honey is a wonderful all-natural sweetener and it’s stickier than maple syrup which holds these bars better together.
- Coconut oil: while coconut oil adds more fat to these bars, it also helps hold them together! Don’t skip this part.
- Chocolate chips: every granola bar recipe deserves chocolate chips.
- Peanuts: we added peanuts for an extra crunch.
Ingredient Substitutions
Peanut butter –> try using another drippy, all-natural nut butter such as almond butter or cashew butter.
Honey –> while we prefer honey because it’s sweet and sticky, you can also try another sticky sweetener such as brown rice syrup. We haven’t tested this with maple syrup, but I have a feeling it’s not sticky enough.
Oats –> you’ll notice that we used a combination of rolled oats and quick-cooking oats. This is because we love that they’re both chewy and have a bite. If you only have one or the other, feel free to use it.
Chocolate chips –> feel free to have fun with your add-ins. You can swap the chocolate chips or peanuts for dried cranberries, pepitas, other chopped nuts, white chocolate chips, cacao nibs, etc.
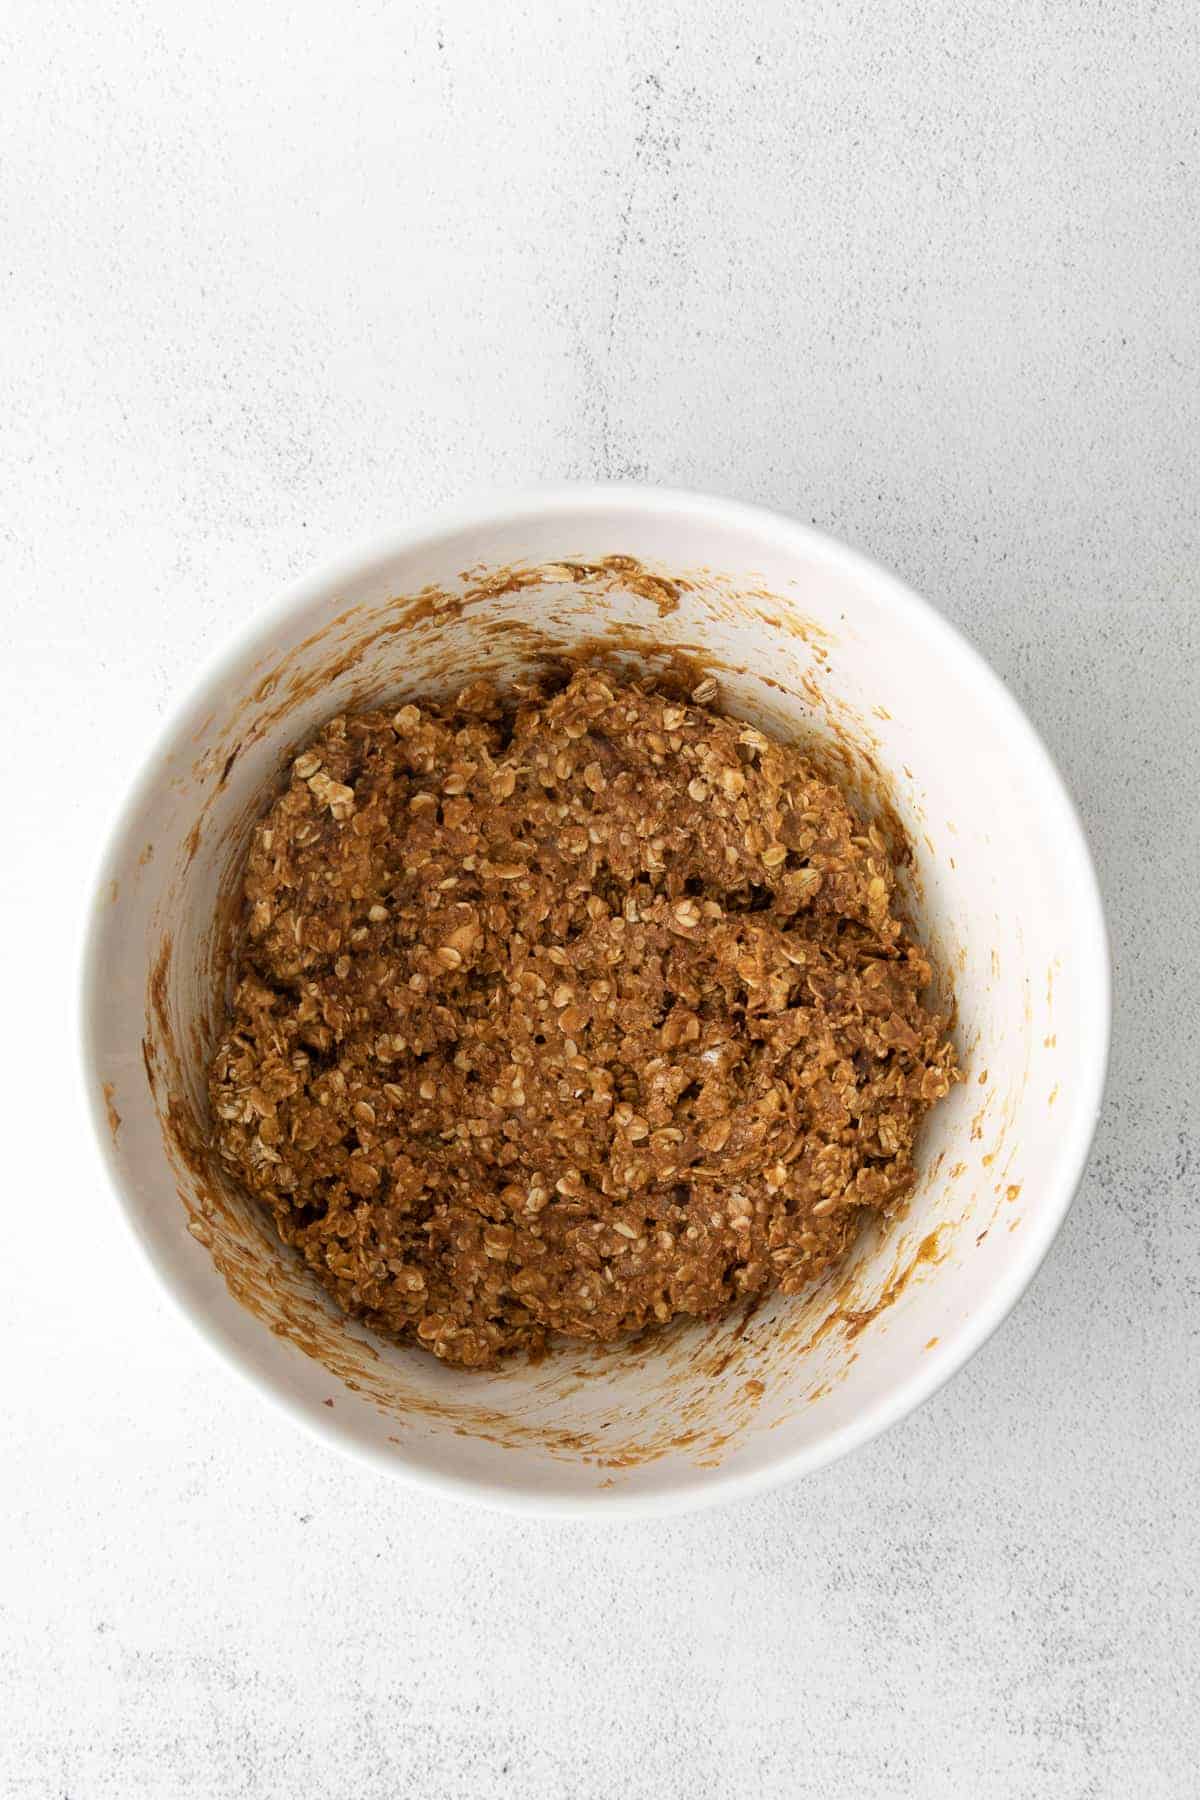
Easy Instructions
- Microwave liquids: place peanut butter, honey, and coconut oi, in a microwave safe bowl. Microwave for 1 minute. Then, stir to combine.
- Add oats: Add the oats to the liquid mixture and stir to combine.
- Add other flavors: Add other the other ingredients and stir to mix everything together.
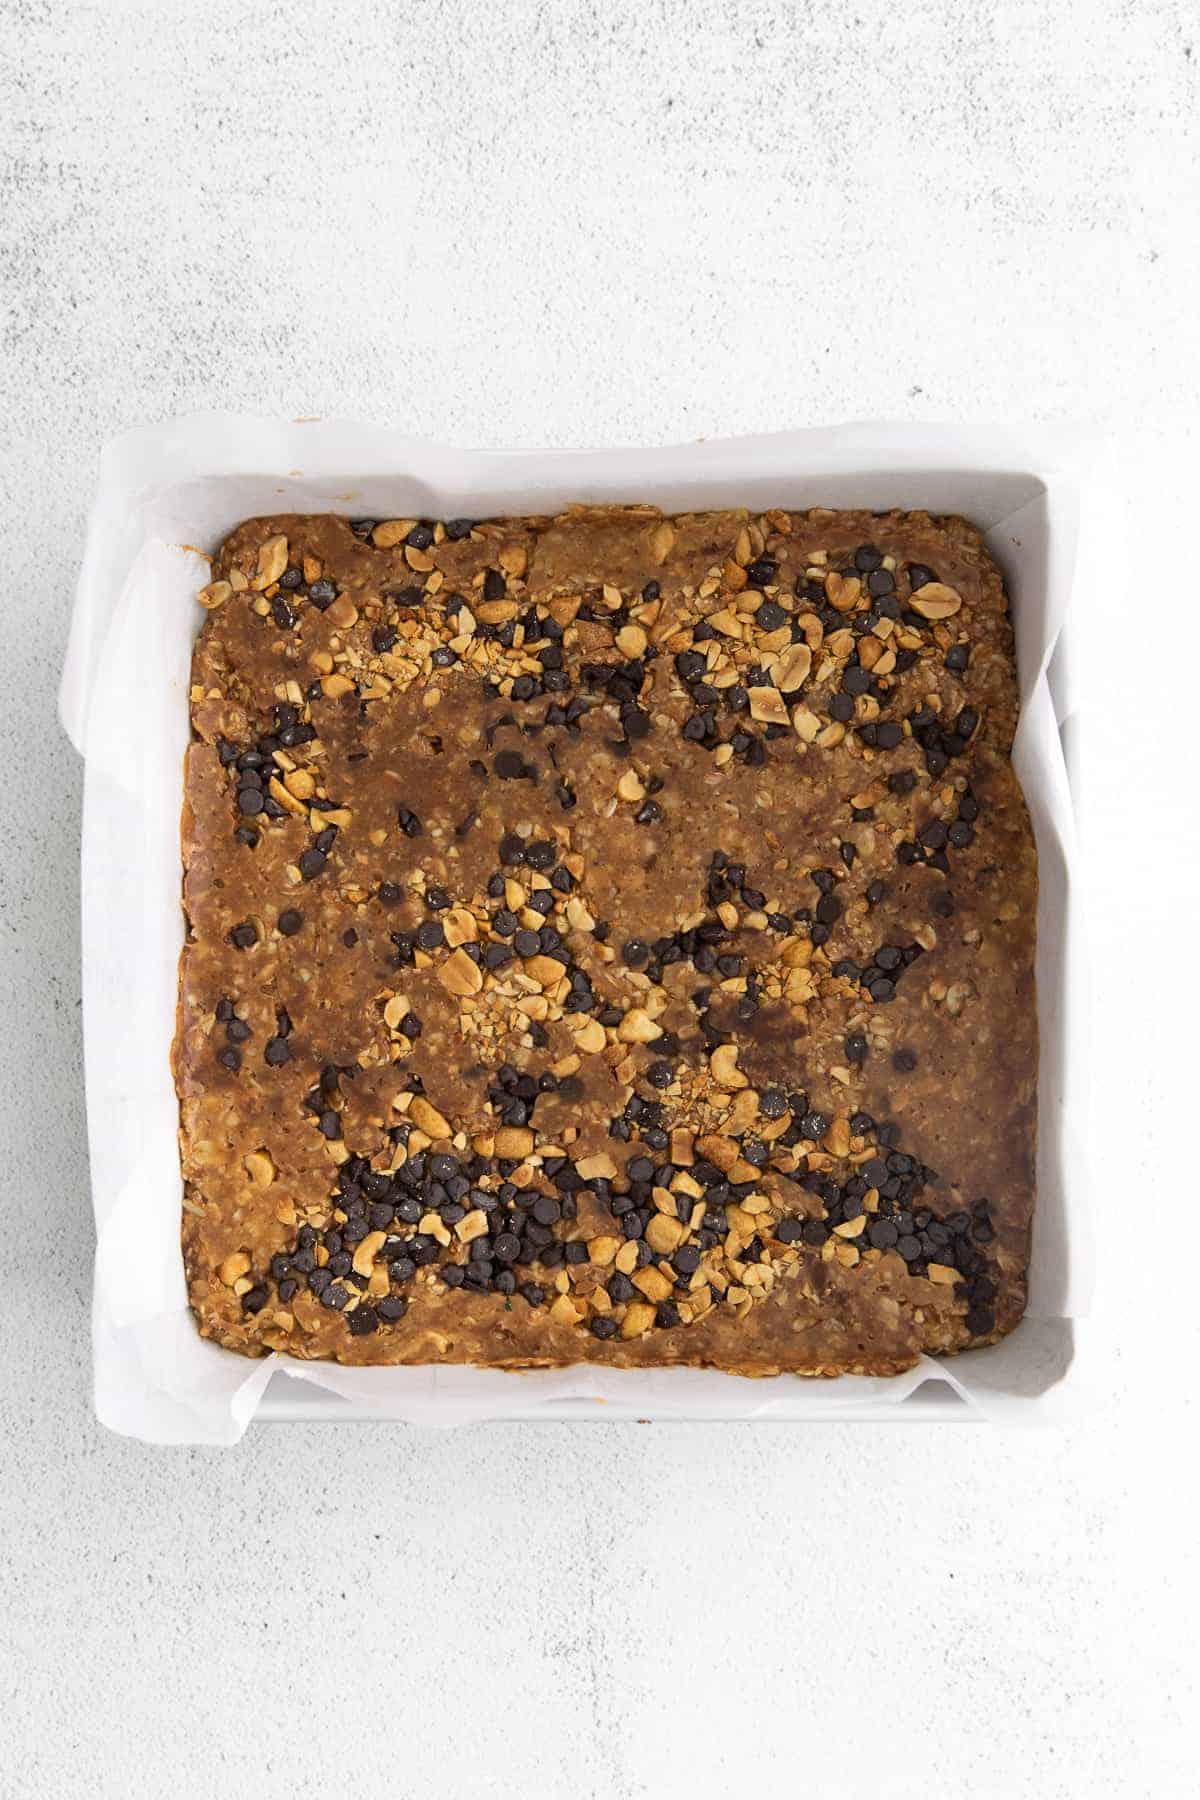
- Transfer dough to pan: transfer the granola bar mixture into your pan. Then place a piece of parchment paper on top (so your hands don’t get dirty) and press them into the pan.
- Chill: Chill bars for at least 2 hours so that the coconut oil can harden.
- Slice: Use a sharp knife to slice into granola bars and enjoy!
Quick Q&A
How do I get homemade granola bars to stick together?
Our trick in getting homemade granola bars to hold together is not only using a sticky sweetener but a little bit of coconut oil.
As coconut oil solidifies, it hardens and will help hold the bars together.
Are homemade granola bars healthy?
These homemade granola bars are healthier than store-bought because there are no additives you can’t pronounce. They’re 100% whole grain and sweetened with an all-natural sweetener (no white sugar!).
What is a good binder for granola bars?
We like using a combination of a sticky sweetener such as honey or brown rice syrup and a little bit of coconut oil. As the coconut oil hardens, it will help hold your bars together!
Can I use a different sized pan?
Yes! If you use a larger pan, your bars will be thinner and if you use a smaller pan, they will be thicker. Since this is a no-bake recipe, it really doesn’t matter what pan you use.
try it!
Don’t feel like making bars? Feel free to roll these into balls instead. They should hold together just the same.
Storage
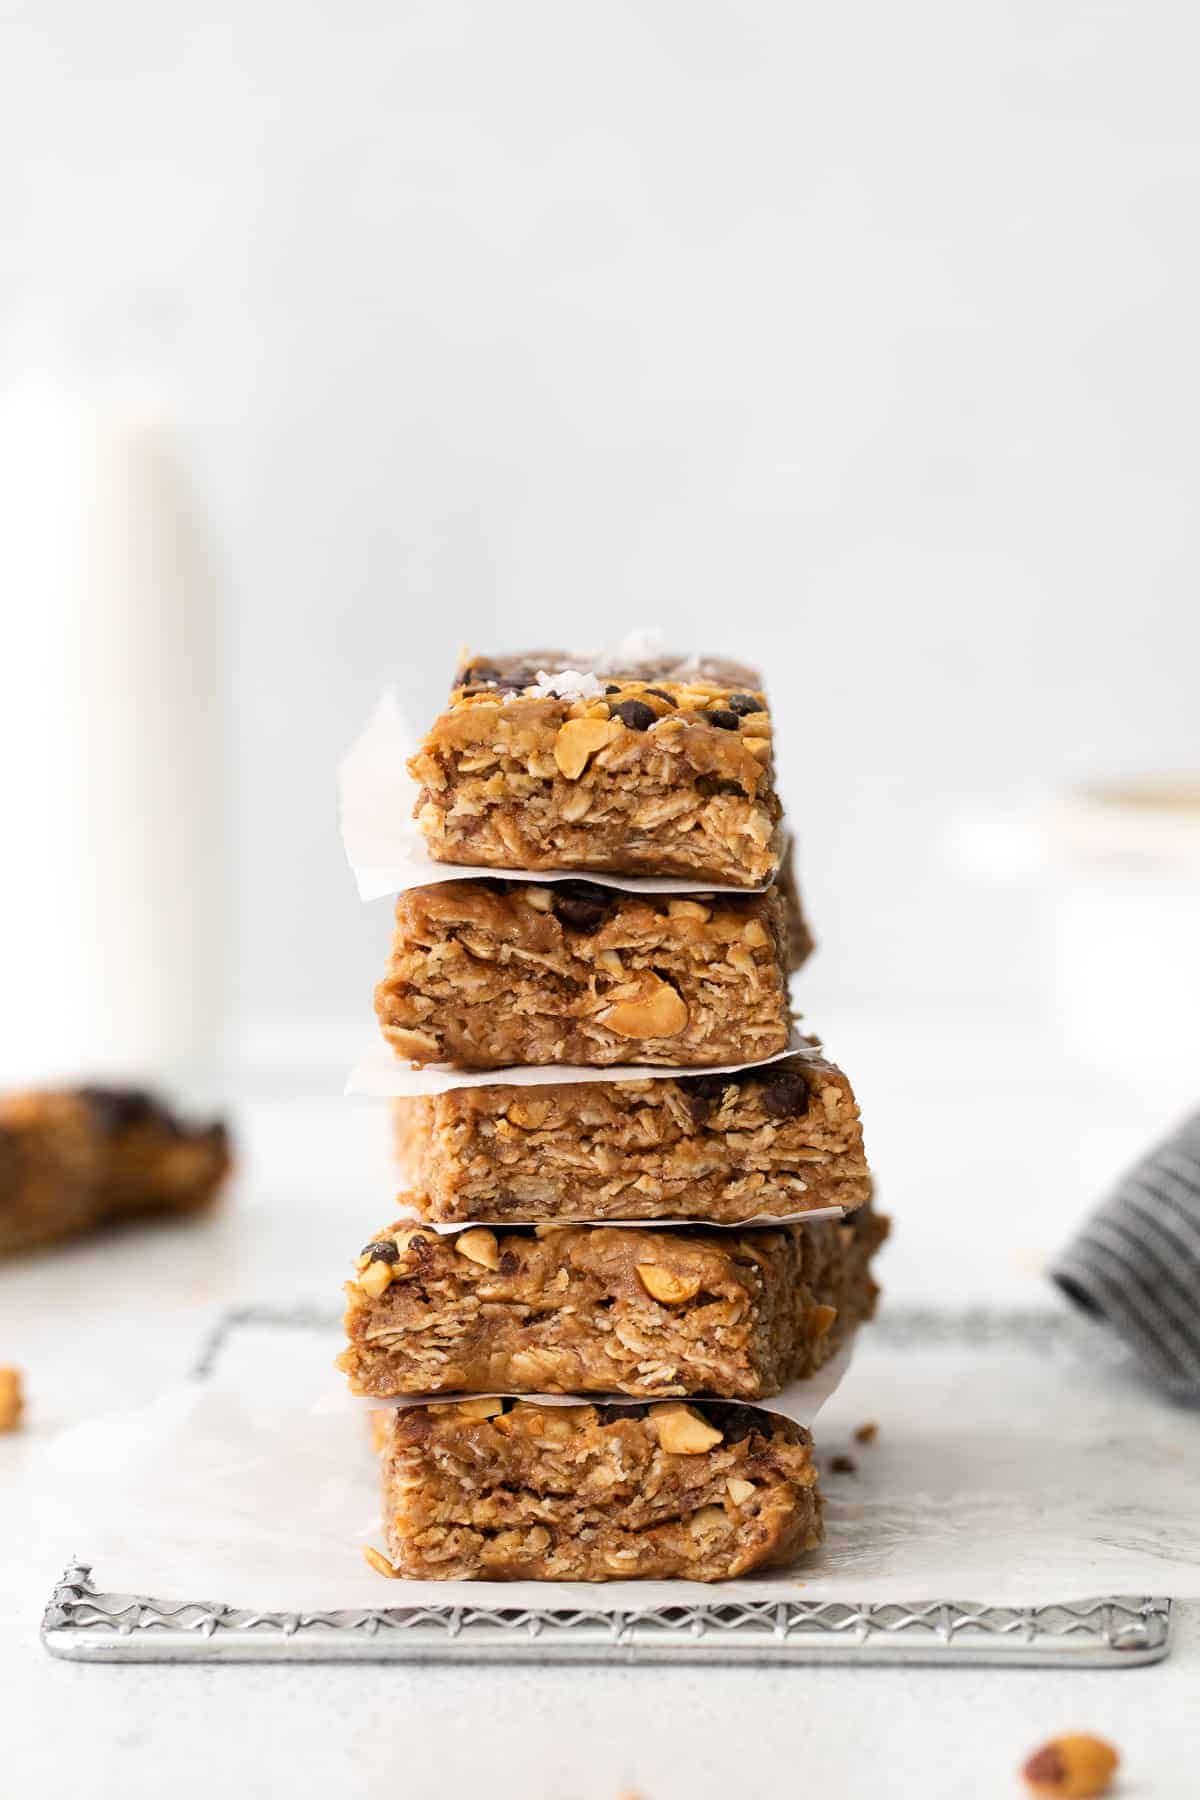
Once the bars have fully set in the fridge, slice them into bars. Then, transfer them into an airtight container and store them in the fridge for up to 7 days.
Freezer Instructions
- Transfer the sliced bars to a baking sheet and spread them out. This is so the bars don’t freeze together.
- Freeze for 30 minutes.
- Then, transfer bars into a gallon-size bag. Remove as much air as possible and seal.
- Freeze for up to 3 months.
Homemade Granola Bars (PB Chocolate Chip)
Ingredients
- 1.5 cups all-natural creamy peanut butter*
- 1 cup honey
- 2 tablespoons coconut oil
- 1 teaspoon pure vanilla extract
- 2 cups rolled oats*
- 1.5 cups quick cooking oats*
- ½ cup mini chocolate chips
- ½ cup chopped peanuts
- Flakey sea salt, for garnish
Instructions
- Line a square 9×9-inch pan with parchment paper and spray it very lightly with non-stick baking spray.
- Add the peanut butter, honey, and coconut oil to a large, microwave-safe bowl. Microwave for 1 minute.
- Stir together the peanut butter mixture until it is smooth and thick. Add the vanilla and stir to combine.
- Next add the oats and fold them, making sure to get the oats evenly coated with the wet ingredients.When the oats are almost fully incorporated, add half of the chocolate chips and half of the peanuts. Continue folding until they are fully combined.
- Transfer the mixture to your prepared pan and spread it out evenly with your spatula. Sprinkle over the remaining chocolate chips and peanuts.
- Place a piece of parchment paper on top of the granola bars and press them into the pan. You want to pack them very tightly so they stay together!
- Transfer the granola bars to the fridge to chill for at least 2 hours– make sure to leave them covered with the parchment paper on top!
- Remove the granola bars from the pan, slice, and enjoy.
- Store the granola bars in an airtight container in the fridge for up to five days.
Tips & Notes
- Make sure to use an all natural creamy peanut butter that has been stirred well. The extra moisture in all-natural peanut butter helps hold the granola bars together.
- I love the combination of rolled and quick-cooking oats in this recipe. It gives just the right amount of chewiness, but if you don’t have both feel free to swap one or the other.
Nutrition
Nutrition information is automatically calculated, so should only be used as an approximation.
Don’t forget to tag your posts on social media with the hashtag #fitfoodiefinds, we’d love to see what you’re up to!


Made these today and they are delicious! I think I allude maybe 1/2 cup of honey next time though. I used chocolate chips made with stevia and pumpkin seeds. I also added raisins and protein powder. I will be using this recipe for my base from now on. Perfect texture.
Funny but letting these “marinate” overnight in the fridge has made these even better. They seem almost too sweet the same day. Absolutely perfect today!!!! So good!
We made a double batch of these before a long camping trip and had a bar each morning! They are delicious, and our energy levels stayed high for hiking every day – amazing. Thank you, will be making these on repeat!!
Granola bars have always been my favorite. So excited to try it at home. Thanks for the recipe
Yum! These came together so quickly and I had all ingredients on hand. They are in the fridge now waiting for the kids to come home from school!
Glad you loved them! So good, right?!