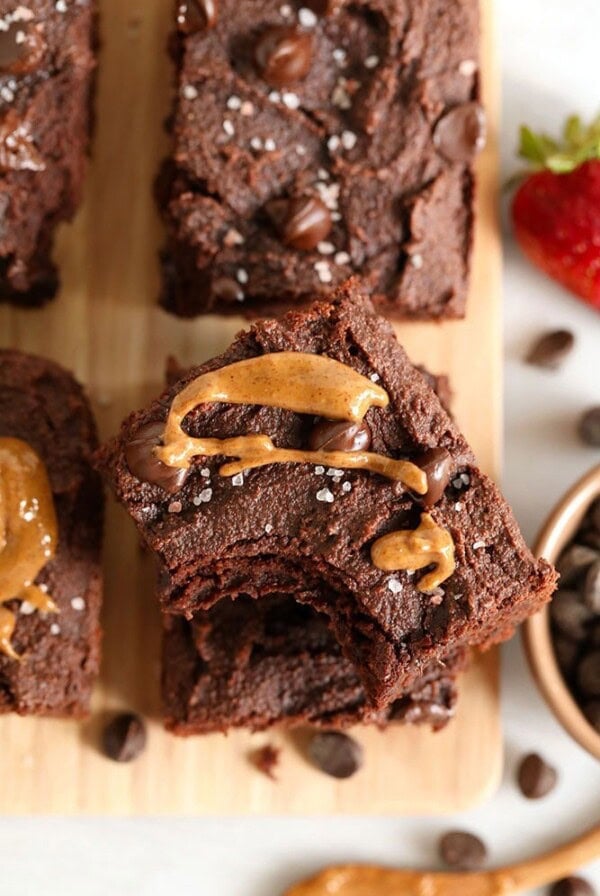
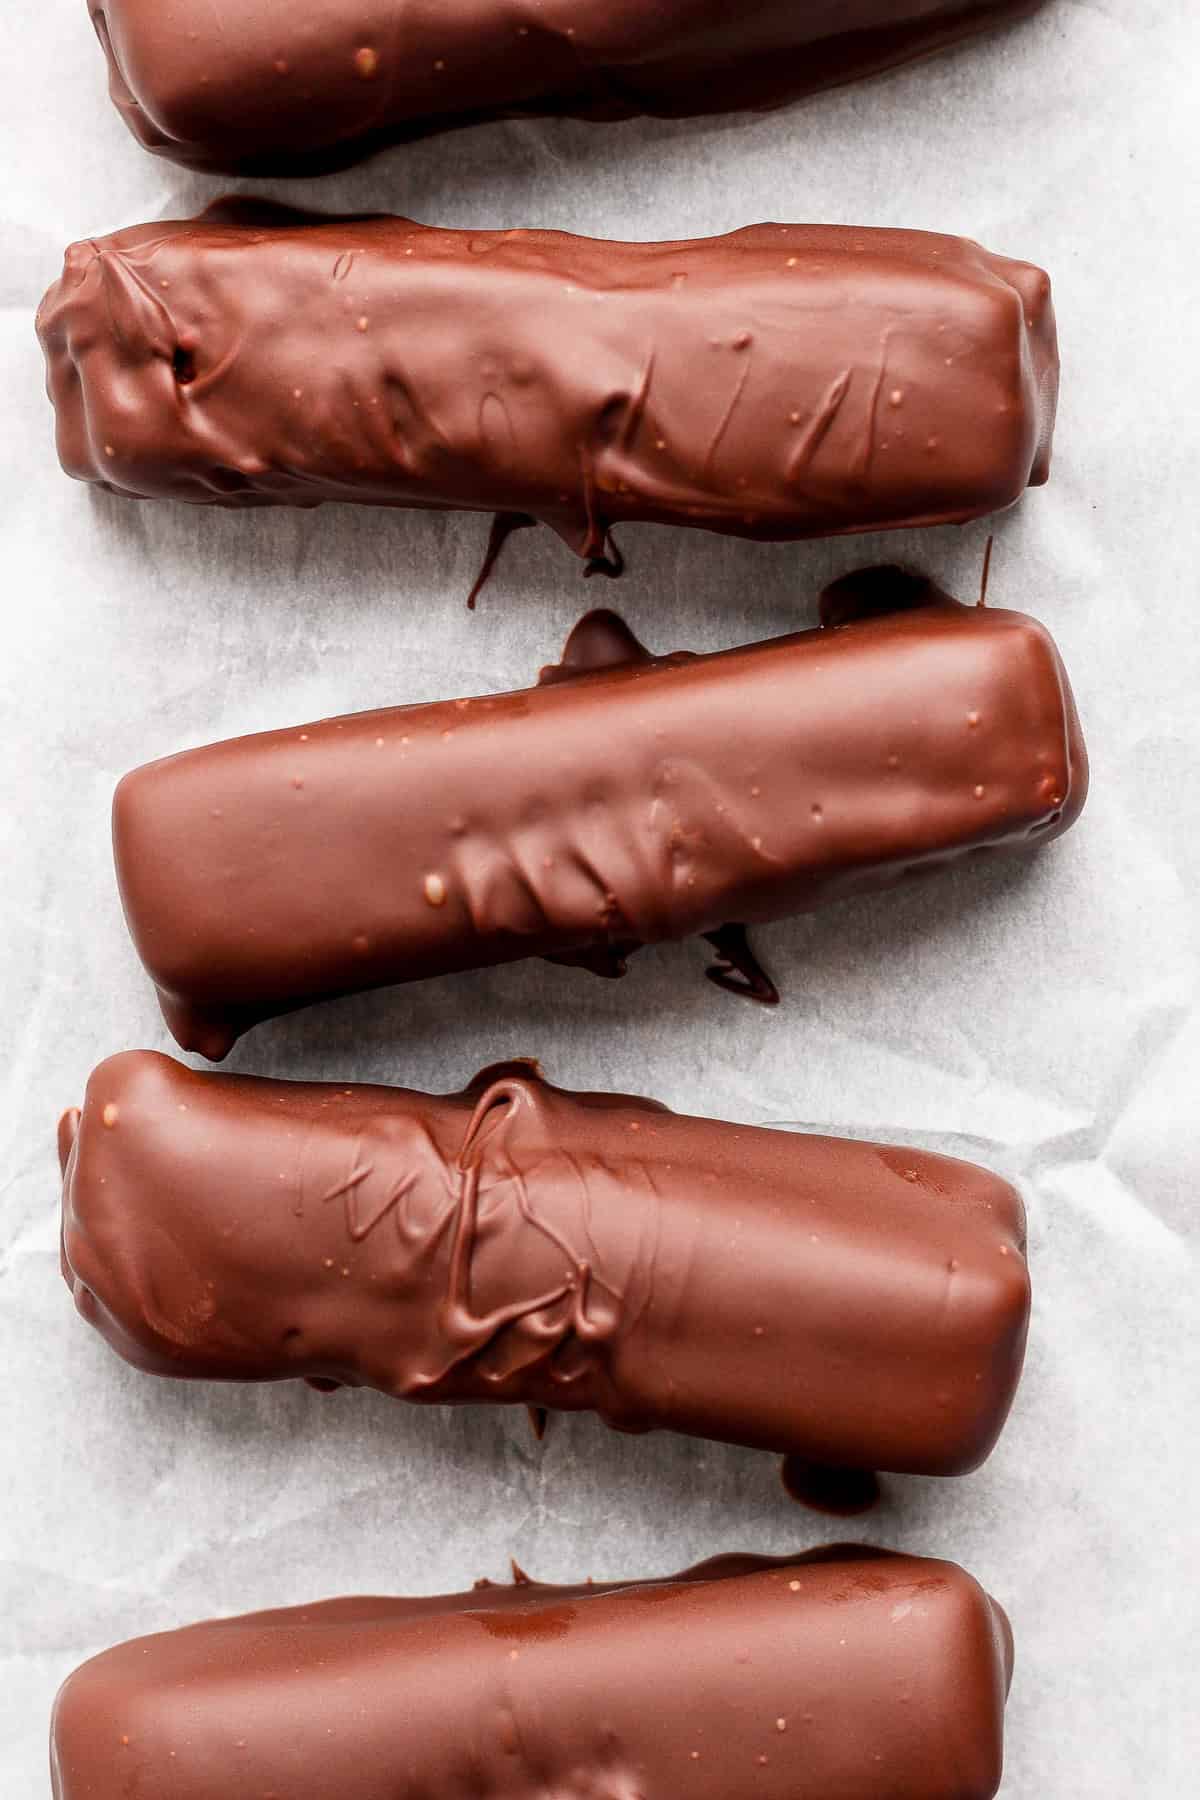
Protein Peanut Butter Twix Bars
Published 2/24/2025
This post may contain affiliate links. Please read our disclosure policy.
Love Twix bars? Us too! Love finding ways to sneak extra protein into your day? Again, us too! This Protein Peanut Butter Twix recipe was born out of our love for both. They’re crunchy, chocolatey, and packed with 6g of protein per bar thanks to the delightful addition of peanut butter and protein powder.
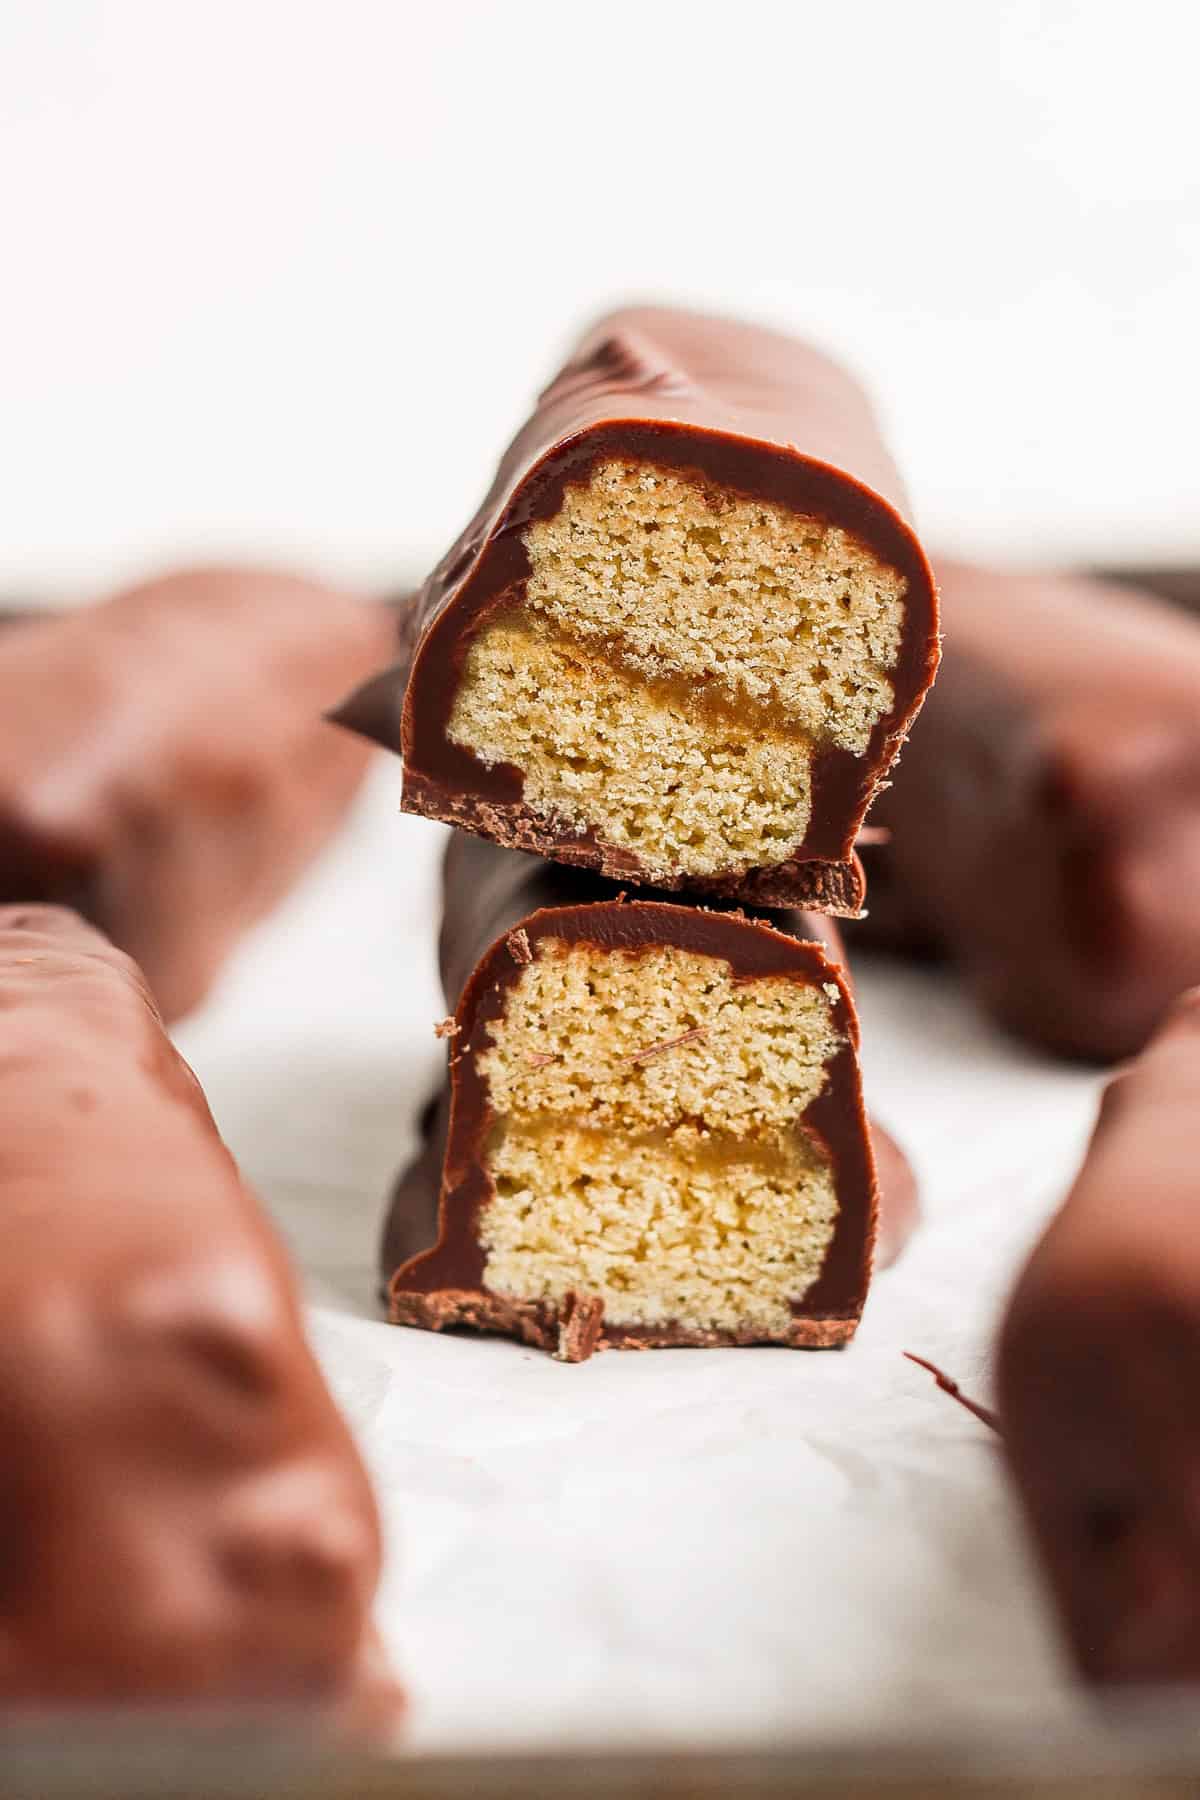

Rich chocolate, gooey caramel, and crunchy cookie layers… it’s one of the main reasons why Twix is my favorite candy bar. But we all know it’s loaded with sugar and not much else regarding nutritional value. That’s why we wanted to recreate this peanut butter Twix recipe! You all absolutely LOVED our Snickers protein bars, so we’re back with another candy bar favorite dupe 🤩.
Making these Twix bars is a bit of a labor of love, but assembling them is actually quite fun. Most of the rest of the time, you’ll be patiently waiting for these tasty treats to set in the freezer. And before you know it you’ll have a go-to frozen treat on hand for anyone looking for a candy bar fix.
top tips for peanut butter twix bars
We tested these Twix bars A LOT. And by a lot I mean at least 10 times 😋 And our top 3 tips to ensure a perfect protein Twix bar are as follows:
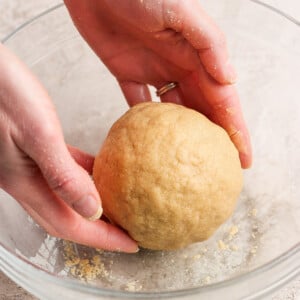
Use your hands: We find it easiest to switch to mixing the cookie dough with our hands when it starts to form a dough. It should resemble a crumbly texture when ready to go into the pan.
Keep uniform thickness for the cookie dough: When forming the bars, you want to ensure the dough doesn’t get thinner towards the edges, or it will burn.
Give the cookie sticks enough space: In step #8 in the recipe, be sure to separate the cookies from each other so they cook evenly. You may end up with a soft cookie if you do not separate them enough before baking.
What brand of protein powder should I use?
You can use whatever protein powder you prefer or have on hand, but make sure it is a neutral or vanilla-flavored powder. We used Teras Whey Organic Vanilla Protein Powder for this recipe.
Best Protein Powders
Check out our top protein powder recommendations for baking, smoothies, and everything in between.
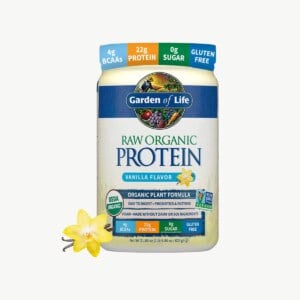
Garden of Life
Raw Organic Protein
Simply Tera's
Pure Whey Protein
Sun Warrior
Protein Powder

Garden of Life
Organic Whey Protein
Can I make these peanut butter Twix candy bars vegan?
Sure! Instead of using regular chocolate chips, you can use vegan chocolate chips. Our Vegan Chocolate Chips Recipe is super easy to make!

try it!
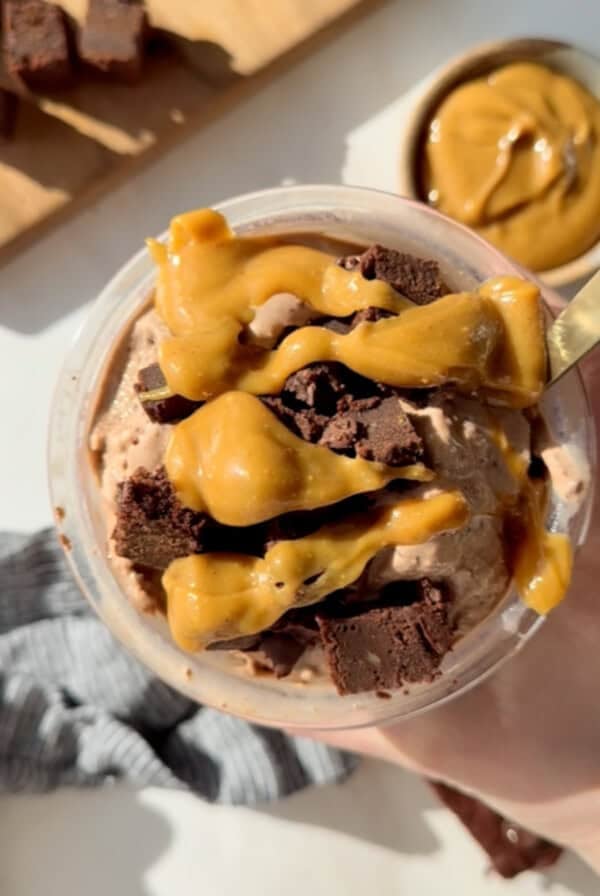
Peanut Butter Twix Cups
Love Twix? These peanut butter Twix cups are a fun twist on the classic candy bar with better for you ingredients.
Storage Tips
These peanut butter Twix bars can be stored in the freezer for up to 3 months. Just make sure they are in an airtight container or bag.
Protein Peanut Butter Twix Bars Recipe

Ingredients
Protein Cookie
- 1.5 cup all-purpose flour
- ⅓ cup vanilla protein powder, We used Garden of Life Vanila
- 1 teaspoon baking soda
- ⅓ cup light brown sugar
- 5 tablespoons cold water
- ¼ cup coconut oil, melted
Peanut Butter Caramel
- ½ cup all-natural, drippy peanut butter
- ½ cup maple syrup
- ¼ cup melted coconut oil
Chocolate
- 1.5 cups semi-sweet chocolate chips
- 1 tablespoon coconut oil
Instructions
- Preheat the oven to 350ºF.
- Whisk together the all-purpose flour, protein powder, baking soda, and brown sugar.
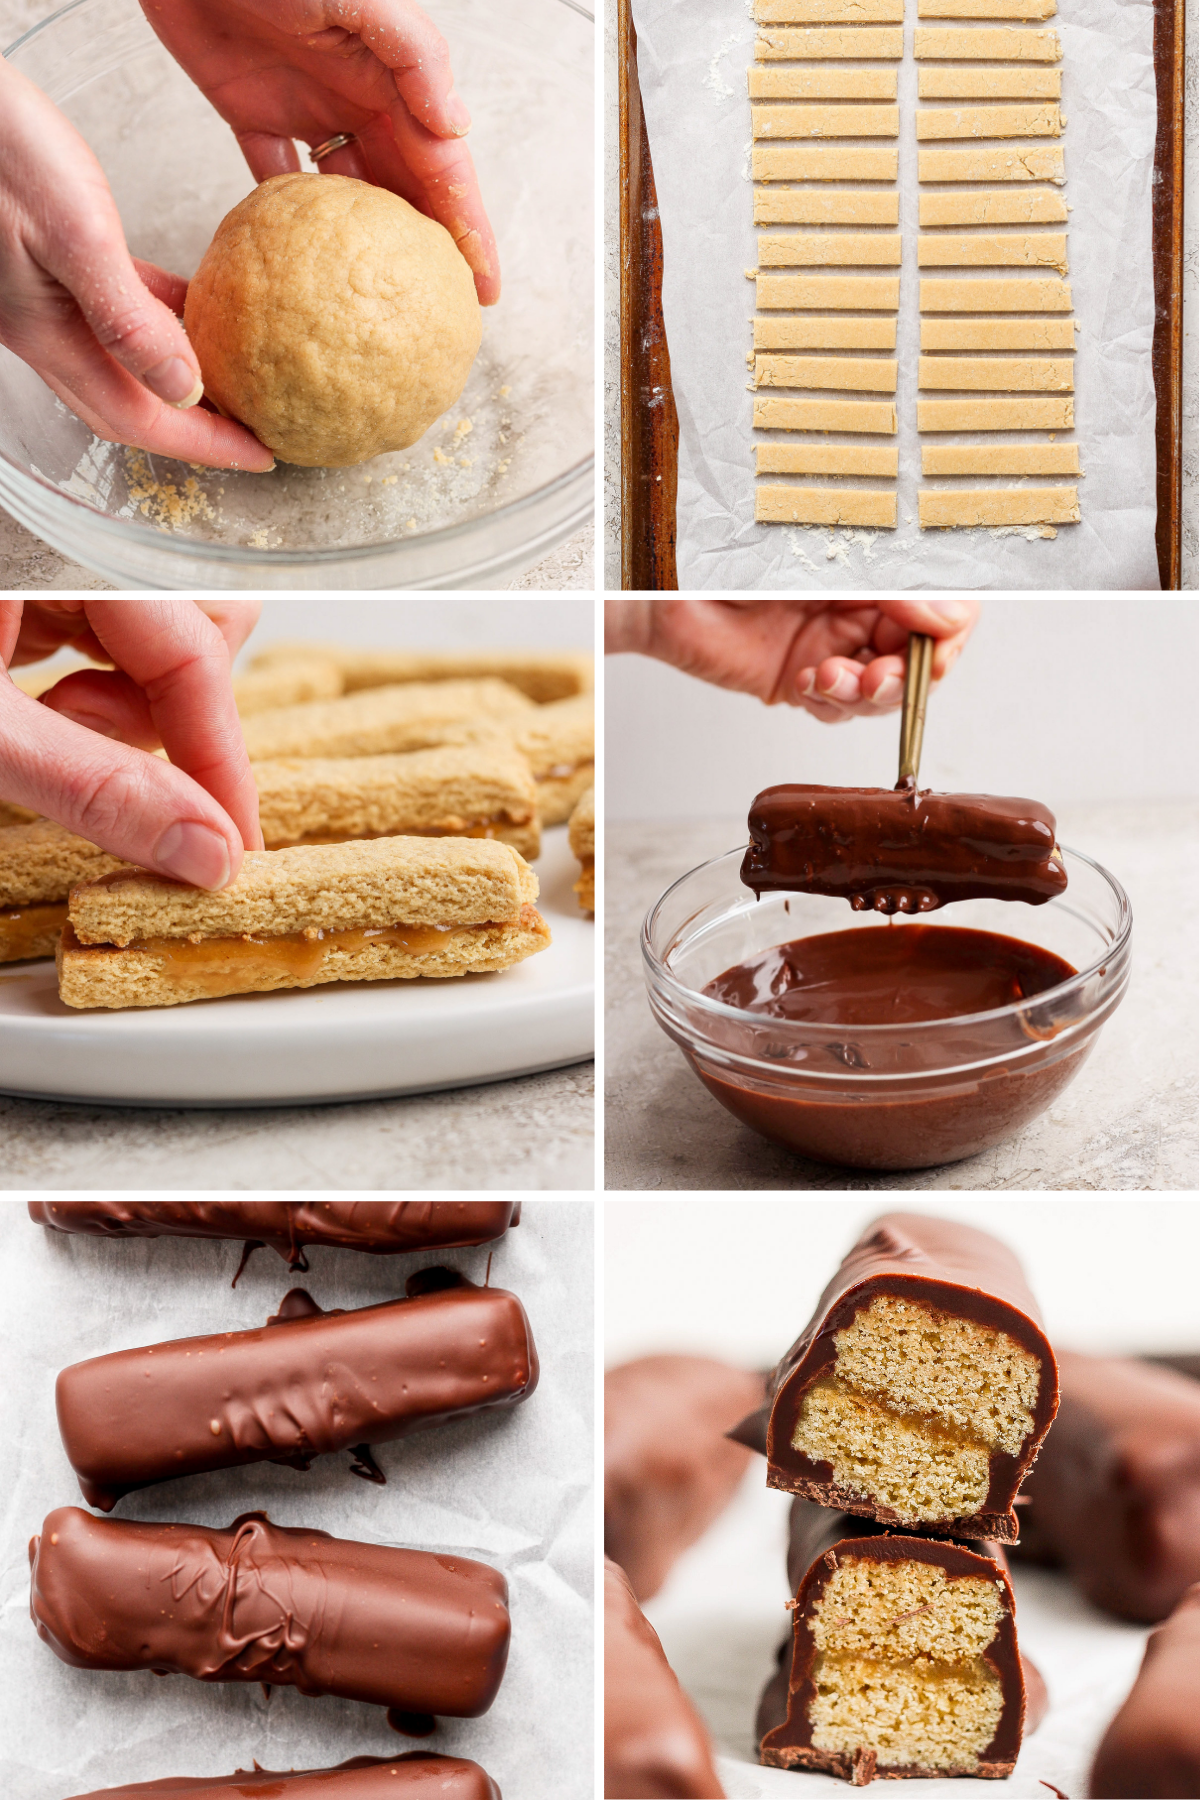
- Add the cold water to the dry ingredients and mix together until combined. Then, add the coconut oil and mix again. The dough should begin to come together. We find it easiest to switch to mixing with our hands. Bring the dough together into a ball.

- Lay a piece of parchment paper down and lightly flour the parchment. Roll the dough out into a rectangle shape that is about 4 inches by 10 inches (the measurements don’t have to be exact).
- Gently pick up the parchment paper and transfer it to a baking sheet.
- Cut the dough edges so that they are all straight and mostly square. You want to make sure the dough doesn’t get thinner towards the edges or they will burn.
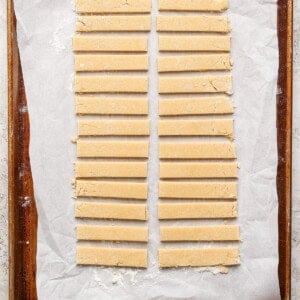
- Next, slice thin ½-inch strips widthwise and then one long cut down the middle of the strips lengthwise to create on long center line. This will create pairs of the same size cookies.
- Gently move each cookie strip so it is not touching any of the other dough. This will ensure each cookie strip with cooked evenly. Transfer the pan to the oven and bake for 8-10 minutes or until golden brown.
- Remove the cookies from the oven and set aside to allow them to cool completely.
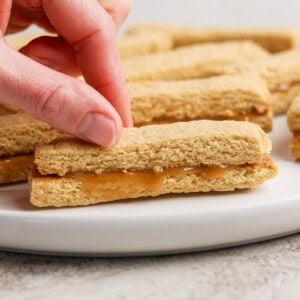
- While to cookies are cooling, make the peanut butter caramel layer. Stir together the peanut butter, maple syrup, and coconut oil. The mixture should be thick like caramel.
- When the cookies are cool, Add 1 teaspoon of the peanut butter caramel to the top of the cookie. Top with the matching cookie and gently press the cookie together. Clean up the edge of the cookie and place it on a plate. Repeat until all the cookies are used.
- Transfer the plate to the freezer to allow time for the peanut butter caramel to set.
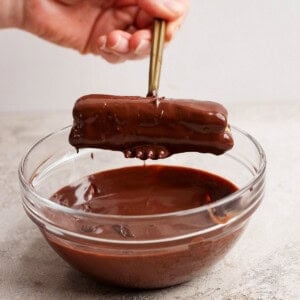
- Meanwhile, add the chocolate chips and coconut oil to a microwave-safe bowl. Heat on high for 20-second intervals, stirring after every interval, until the chocolate is melted and glossy.
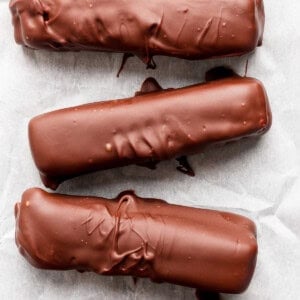
- Remove the Twix from the freezer. Using a fork, dip each twix into the melted chocolate. Allow excess chocolate to drip from the cookie. Place on parchment paper and repeat until all cookies have been coated.
- Transfer to the freezer to set. Store the Twix in a freezer-safe container or bag.

Tips & Notes
- In step #8, be sure to separate the cookies from each other on the baking sheet so they cook evenly. You may end up with a soft cookie if you do not give them enough space.
Watch It
Nutrition
Nutrition information is automatically calculated, so should only be used as an approximation.
Don’t forget to tag your posts on social media with the hashtag #fitfoodiefinds, we’d love to see what you’re up to!
Photography: photos taken in this post are by Erin from The Wooden Skillet.