Spatchcock Chicken
Published 3/17/2024 • Updated 8/16/2024
This post may contain affiliate links. Please read our disclosure policy.
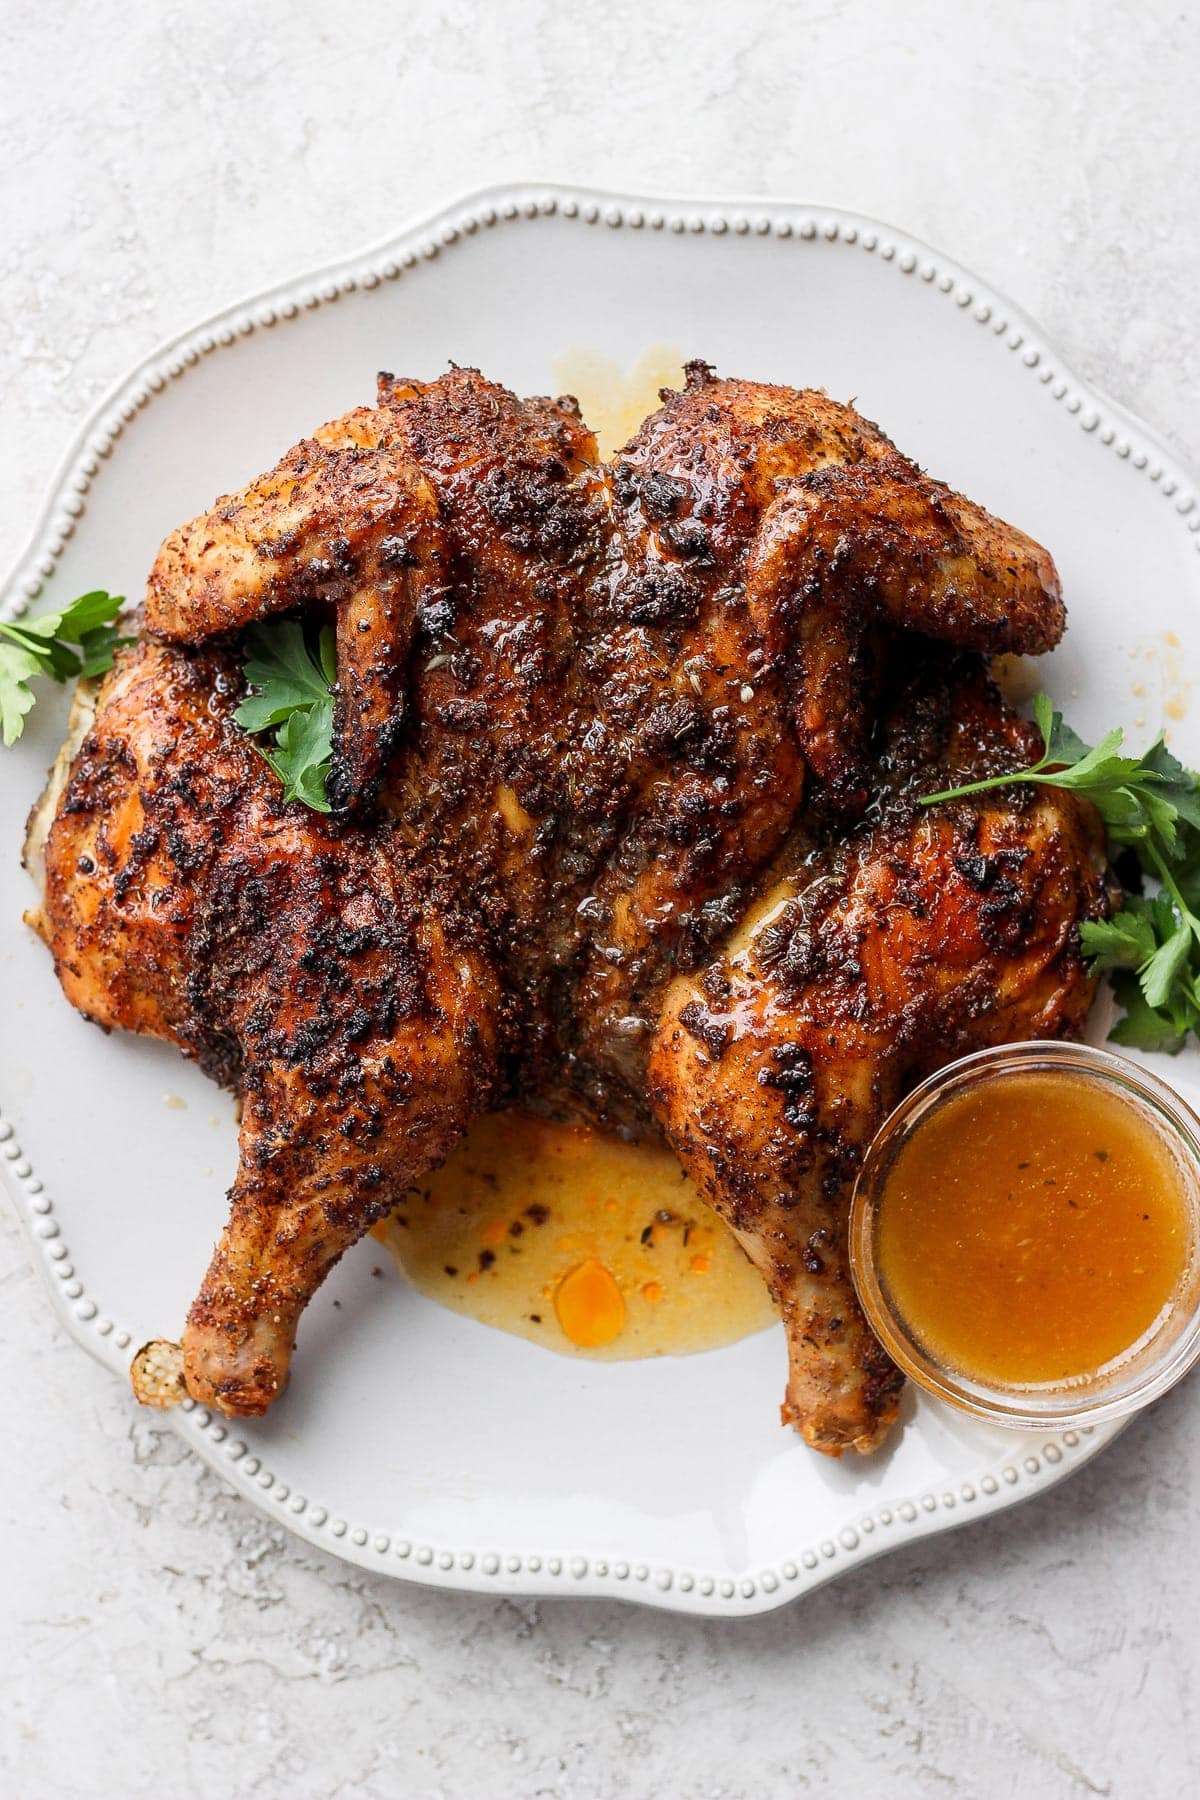
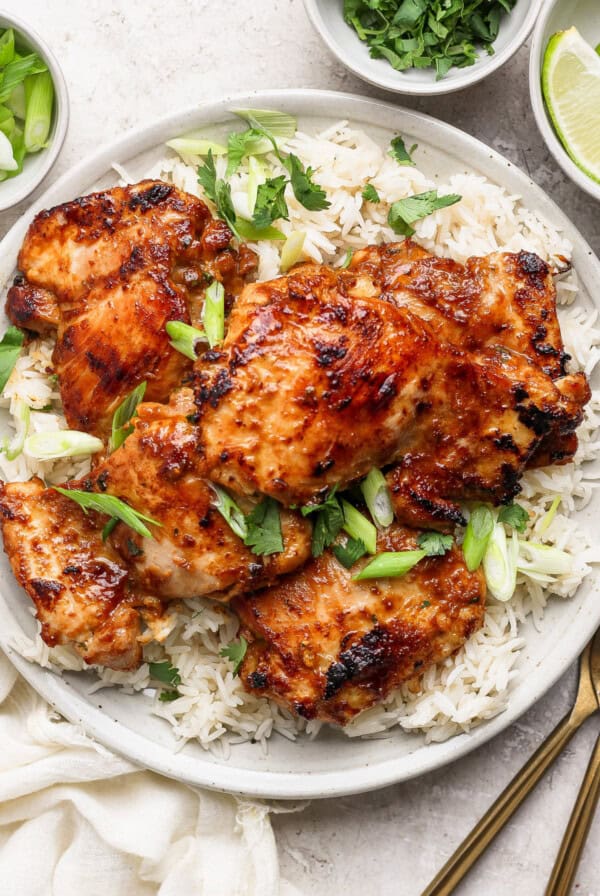
Spatchcock chicken is the fastest way to cook a whole chicken. Our recipe leaves you with the juiciest herbed chicken meat and super crispy skin.
I love making this recipe for my family during the week because the meat comes out so tender and cooked evenly. You can eat it as-is or shred it up to use in future meals like our chicken tacos! I highly recommend saving the drippings from this chicken because you can make an incredible sauce/gravy from it 😍
Featured Comment
“This is my first time cooking a whole chicken in the oven and doing it spatchcock was less daunting. So happy that the recipe was a success the first time. I got crispy skin and juicy inside without brining the chicken. Would use the recipe again and will adjust the chili powder to my liking. Thank you for this fabulous recipe!” -Merivale
We’ll get right to it, the secret to our spatchcock chicken recipe is 1. the incredible chicken seasoning and 2. the sauce/gravy. In this spatchcock chicken recipe, we’ll teach you how to get amazing crispy skin AND how to take the chicken drippings and turn it into an incredible gravy that you can serve your chicken next to.
PS: there is no chicken brine involved and you can make this meal in less than 60 minutes.
What You Need to Make this Spatchcock Chicken Recipe
- Whole chicken: this recipe calls for a 3-4 lb. whole chicken. We’ve found that the higher quality the meat (free-range, organic, etc.) the better the chicken tastes.
- Oil: oil is what helps get the skin nice and crispy.
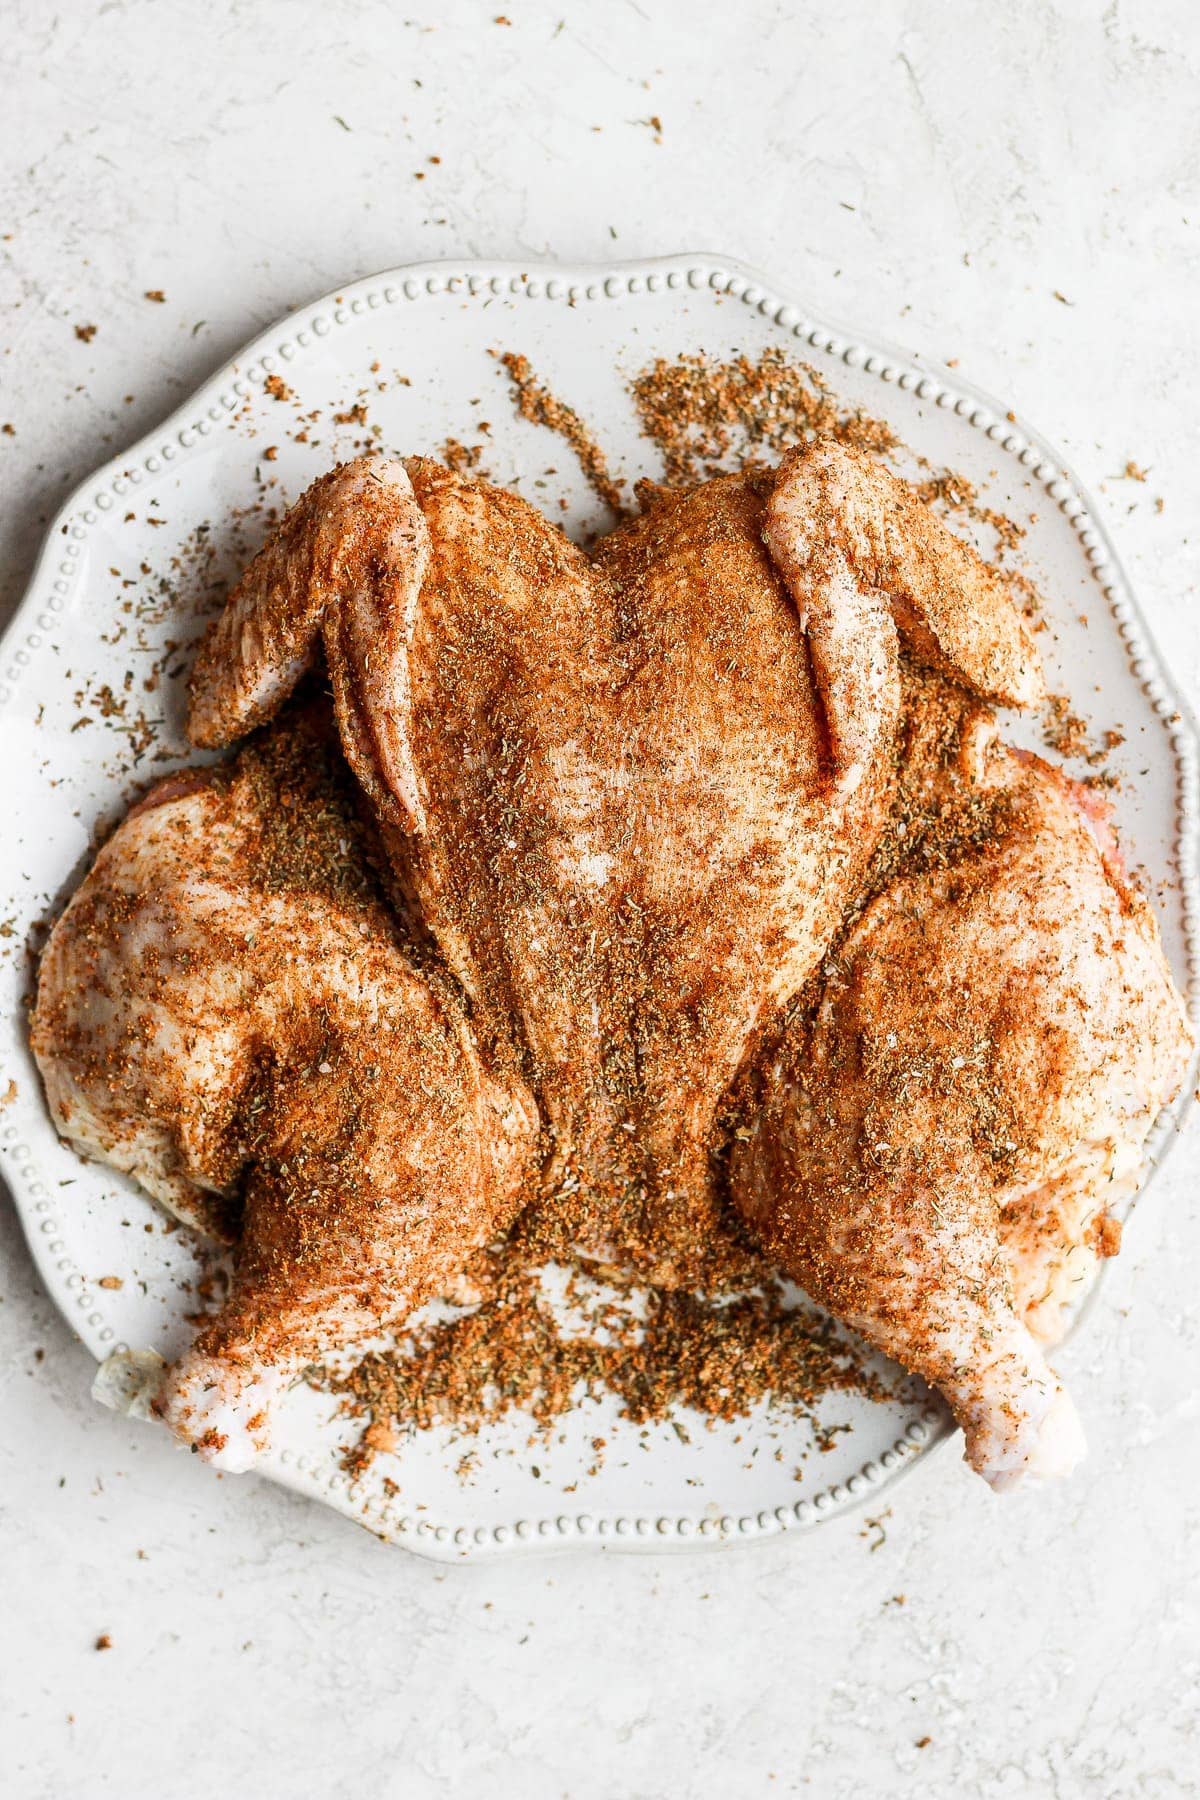
- Chicken seasoning: the spices used in this seasoning are similar to our chicken dry rub. You need garlic, chili, cumin, thyme, mustard, basil, black pepper, paprika, and brown sugar.
- Garlic and fresh herbs: these cook under the chicken and when mixed with the drippings, turn into the gravy.
PS: check out our spatchcock turkey recipe for similar flavors!
Kitchen tools you’ll also need:
Before you get started, make sure you assemble the following kitchen tools:
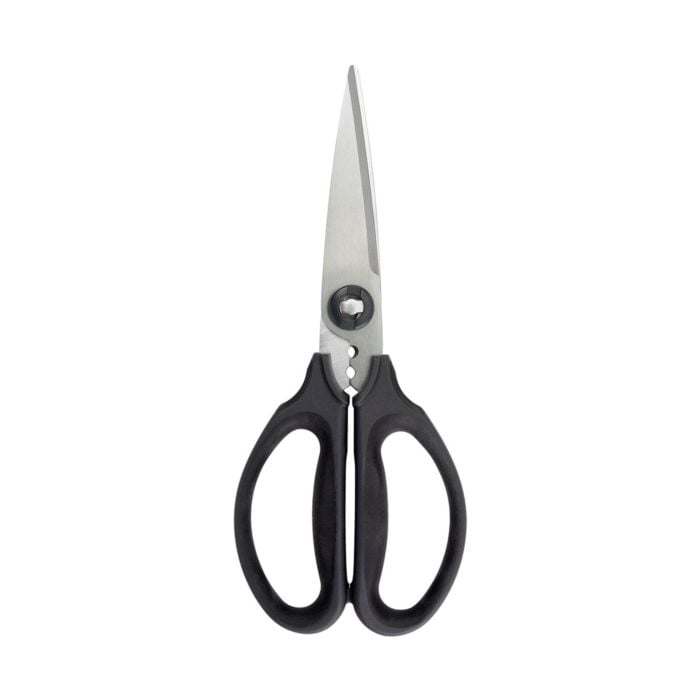
- Sharp kitchen sheers
- Large plate
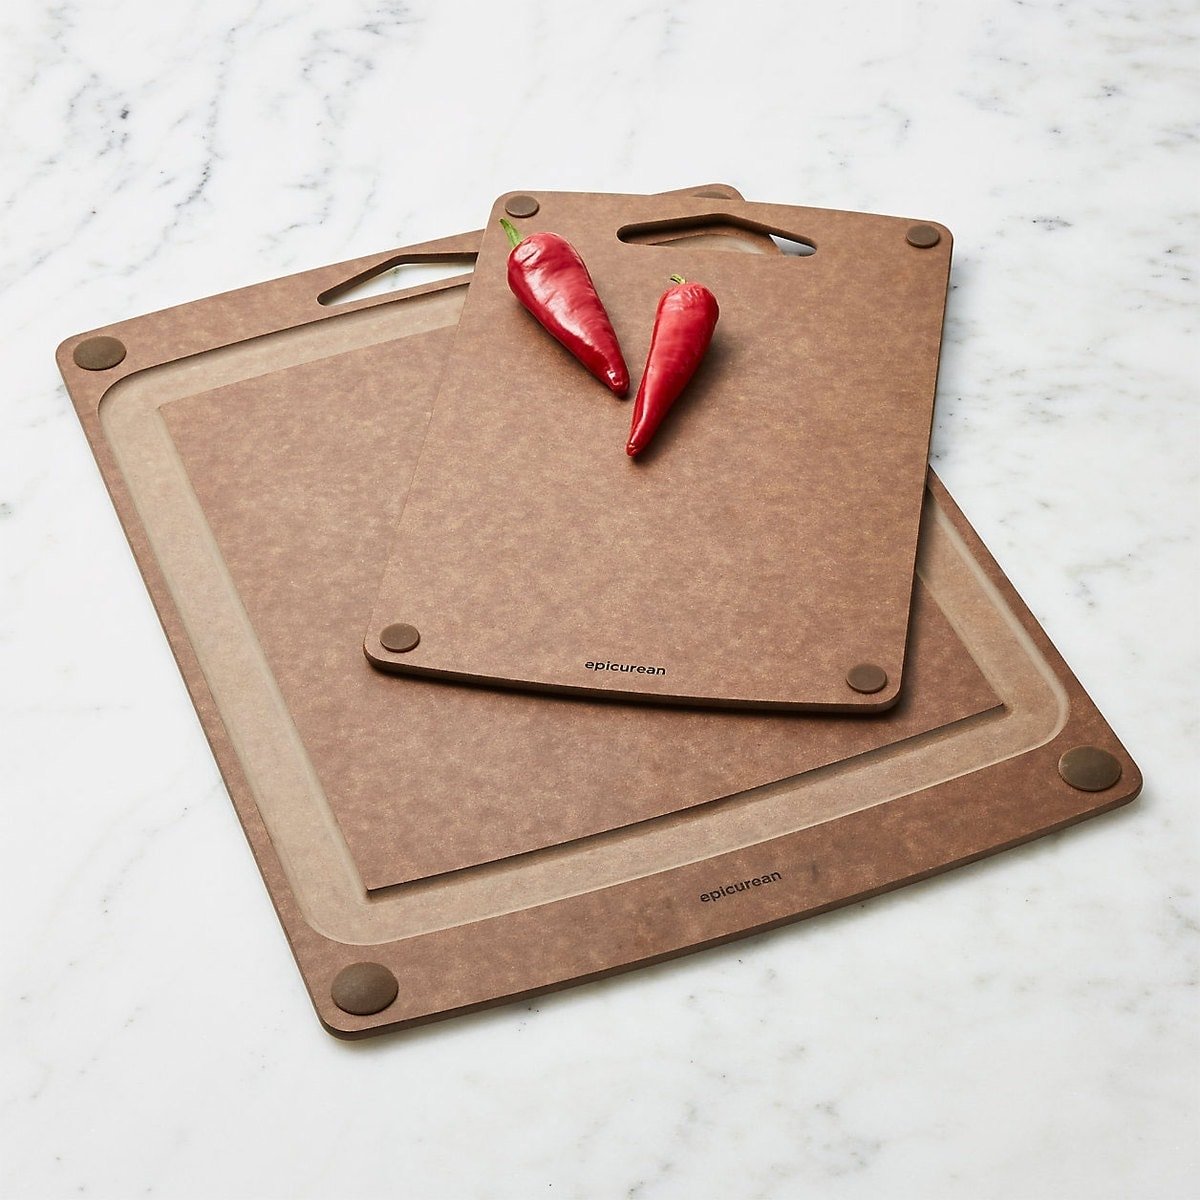
- Cutting board
- Paper towel
- Wire rack
- Baking sheet
- Tin foil
- Medium pot
- Chef’s knife for slicing
How to Spatchcock a Chicken
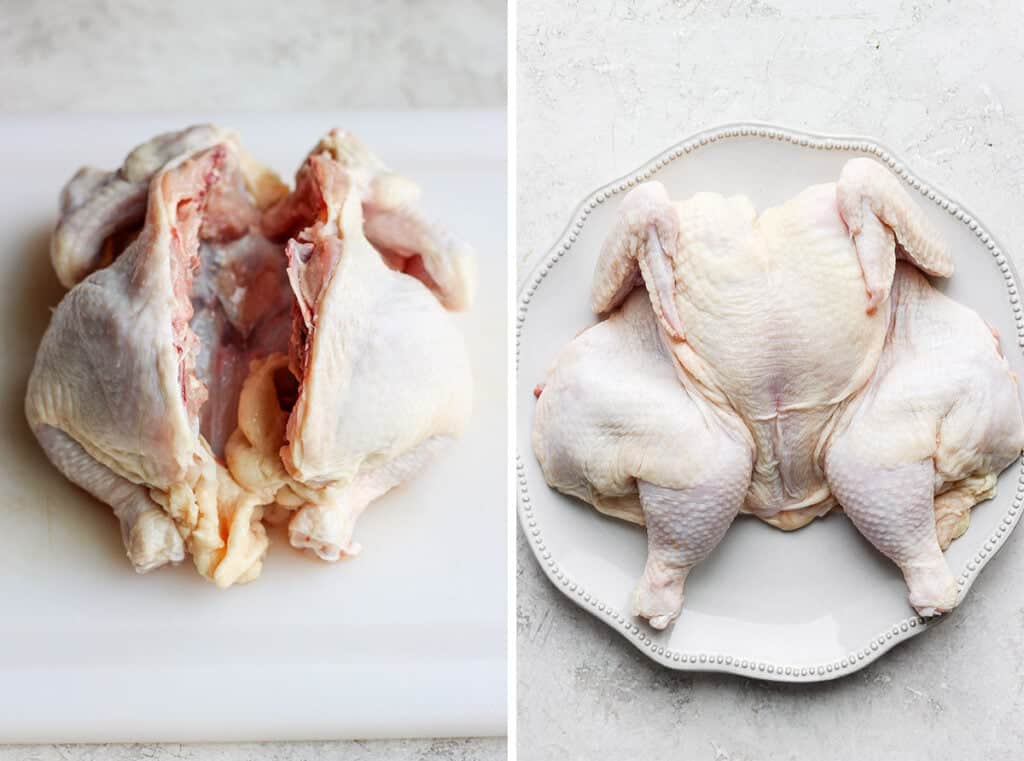
Don’t be afraid to spatchcock your chicken. It is SO much easier than you think! There are really only 2 steps to get your spatchcock chicken flat.
Cut out the spine
Before removing the backbone of the chicken, make sure you have a pair of very sharp kitchen shears or poultry shears. It makes this whole process easier than using a knife.
Place the chicken flat on its breasts. Starting from the back of the bird, cut along one side of the spine of the bird. Then, repeat on the other side of the spine.
Once the spine is completely removed, the bird should fall open.
Flatten the Chicken
After you have removed the spine from the chicken, flip the chicken over and spread the chicken out so that the opening of the chicken is facing the flat surface.
Place your hand on the middle of the chicken and press down so that the breast bone breaks and the chicken is flat on the surface.
That’s it! You have spatchcocked a chicken! Now it’s time to flavor and roast the chicken.

The best
Kitchen Shears
These kitchen shears are the sharpest and most affordable kitchen shears on the market! Get yourself a pair for easy kitchen cutting.
Switch Up the Seasonings
Use a store-bought seasoning: if you’re going to skip the homemade rub, we recommend using a salt-free seasoning and then adding your own salt so you can control the saltiness.
Instructions for Grilled Spatchcock Chicken
We’ve also tested this recipe on the grill and it’s quite delightful because you get a hint of char,
- Prepare the chicken with the seasonings.
- Then, grill the chicken at 450ºF skin-side down for 3-4 minutes.
- Flip the chicken over and continue to cook for around 45 minutes or until the internal temperature reaches 165ºF. Check out our grilled whole chicken recipe.
Chicken internal temp
According to the USDA, the safe cooking temperature for poultry is 165ºF.
Let rests: Remember that after cooking chicken let it rest for 5 minutes so that the internal temperature can continue to rise around 5ºF.

Try it!
Thermoworks Thermapen
We swear by using a meat thermometer when cooking any cut of meat. The Thermapen is our go-to meat thermometer that works every time.
FAQ
Spatchcock chicken and butterfly chicken are the same thing. Butterfly is just a fancy word for spatchcock.
The temperature recommendation for poultry is 165ºF. We like to take our chicken out around 160ºF, let it sit, and it continues to cook for a while after which leaves you with a juicy spatchcock chicken.
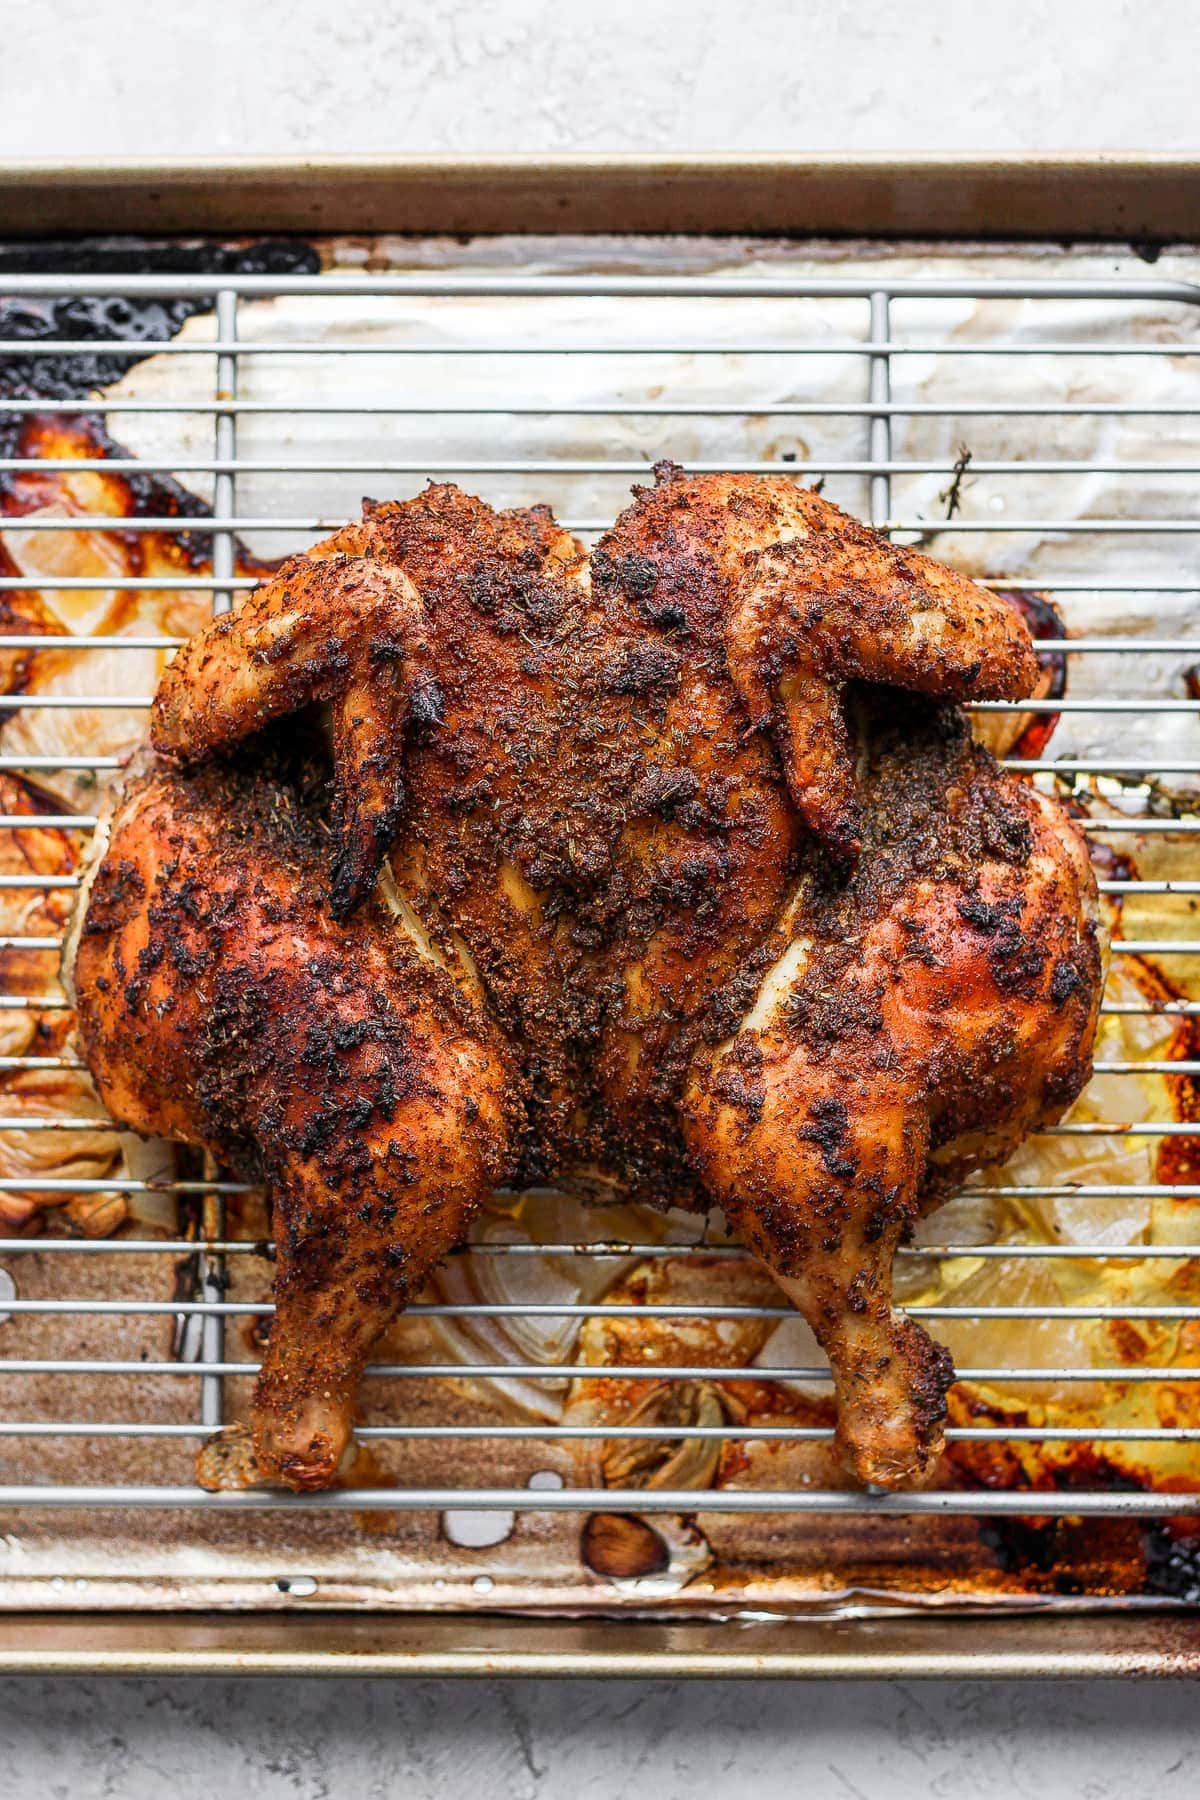
Roast your spatchcock chicken at 425ºF for 35-45 minutes or until the internal temperature reaches 160ºF.
Spatchcock chicken is the fastest way to cook a whole chicken. By removing the spine and flattening it out, it cooks nice and evenly in less than 45 minutes.
Serving Suggestions
Storage & Leftovers
Store the chicken in an airtight container in the fridge for up to 5 days in the refrigerator.
Shred the chicken and use the leftovers it in cobb salad, chicken noodle soup, or chicken tacos.
Spatchcock Chicken Recipe
Ingredients
Chicken Seasoning
- 2 teaspoons garlic powder
- 1 teaspoon chili powder
- 1 teaspoon cumin
- 1 teaspoon dried thyme
- 1 teaspoon ground mustard
- 1 teaspoon dried basil
- 1/2 teaspoon ground pepper
- 1/2 teaspoon red pepper flakes
- 1/2 teaspoon sea salt
- 1/2 teaspoon paprika
- 1 teaspoon brown sugar
Instructions
- First, prepare the chicken seasoning. Mix together all spices and set aside.
- Next, remove the chicken from the packaging and place the chicken on a clean, dry cutting board.
- Remove excess moisture from the chicken with a paper towel.
- To spatchcock the chicken, set the chicken breast-side down on a cutting board and use very sharp kitchen shears to begin cutting down one side of the spine through the ribs and then repeat on the other side of the spine. Discard the spine.
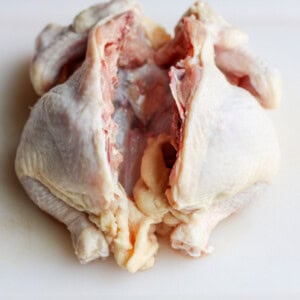
- Flip the chicken over onto the chicken breasts and use your hands to press on the middle of the bird pressing down firmly to flatten the chicken.
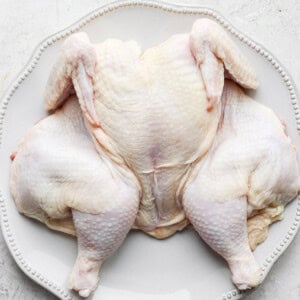
- Place the chicken on a large plate and carefully separate the chicken meat from the chicken skin with your hand.
- Carefully rub 1 teaspoon salt on the chicken meat under the skin being sure the chicken meat is covered with salt.
- Next, season the whole chicken with the chicken seasoning. Be sure the whole chicken is covered (skin, legs, thighs, etc.). Then, refrigerate the chicken for at least 15-minutes or up to 2 hours (recommended).
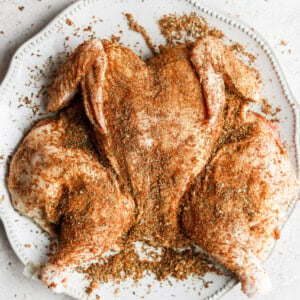
- When you are ready to cook, preheat the oven to 425ºF and line a baking sheet with aluminum foil.
- Remove the chicken from the refrigerator and let it come to room temperature.
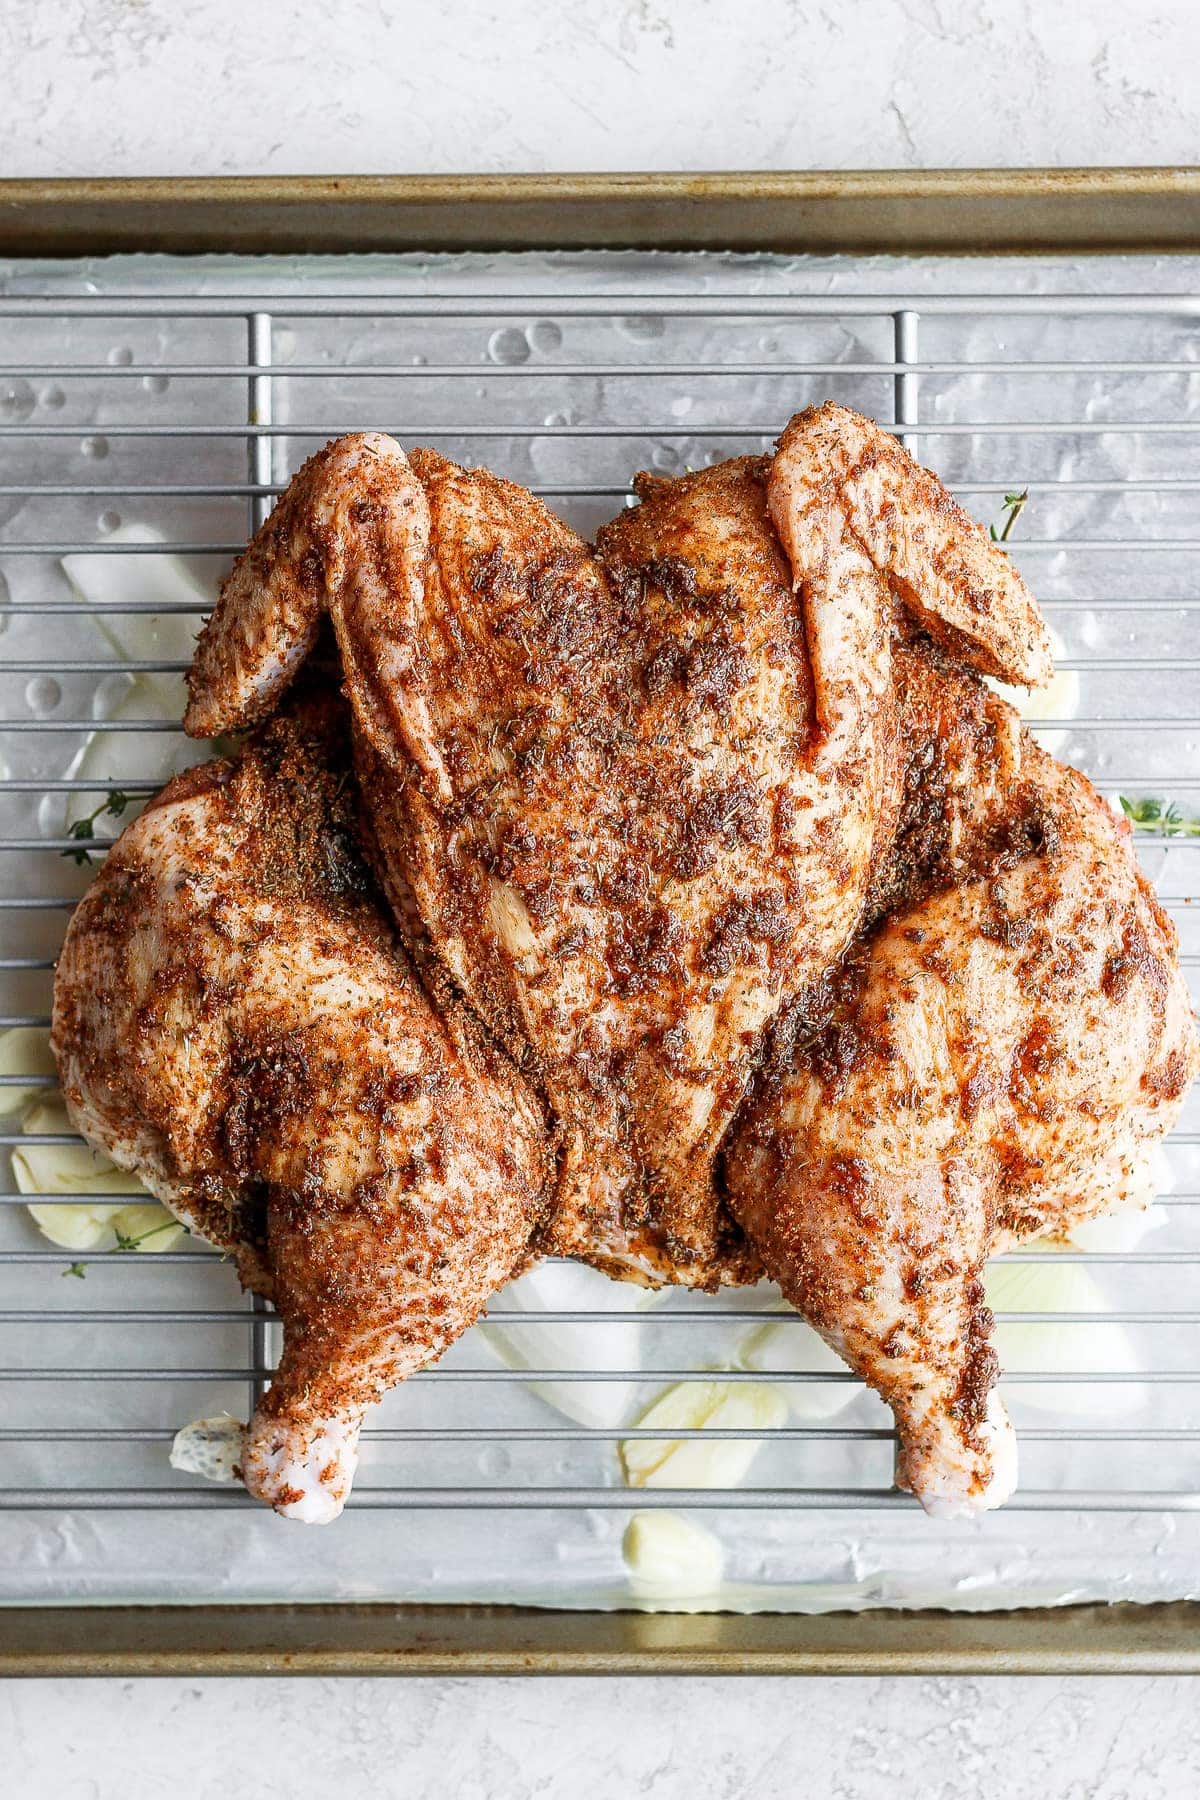
- Place the onion, garlic, thyme, white wine, ½ cup of broth, and 1 tablespoon olive oil on top of the aluminum foil and sprinkle with the remaining ½ teaspoon salt.
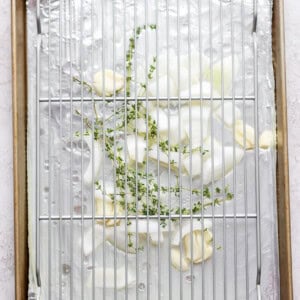
- Place a metal rack on top of the foil and vegetables and carefully place the whole chicken flat on top of the metal rack breast-side up.
- Rub the chicken with the additional 2 tablespoons of oil. Be sure to really massage the oil into the chicken.
- Place the chicken in the oven and bake at 425ºF for 35-45 minutes or until the whole bird has an internal temperature of at least 160º. Make sure to take the temperature at the thickest parts.
- Remove the chicken from the oven and let the chicken rest for at least 15 minutes. Your chicken should continue to cook 5ºF to make the internal temperature 165ºF.
- While the chicken is resting, prepare the sauce. Add all of the cooked vegetables, liquid, and herbs from the bottom of the pan into a small saucepan along with the rest of the broth (1 cup).
- Bring the sauce to a boil and then turn the heat to medium/low and add the lemon juice.
- Then, carefully sprinkle the cornstarch into the sauce and whisk. Let the sauce cook over medium heat until thick. Remove from heat and discard the herb stems.
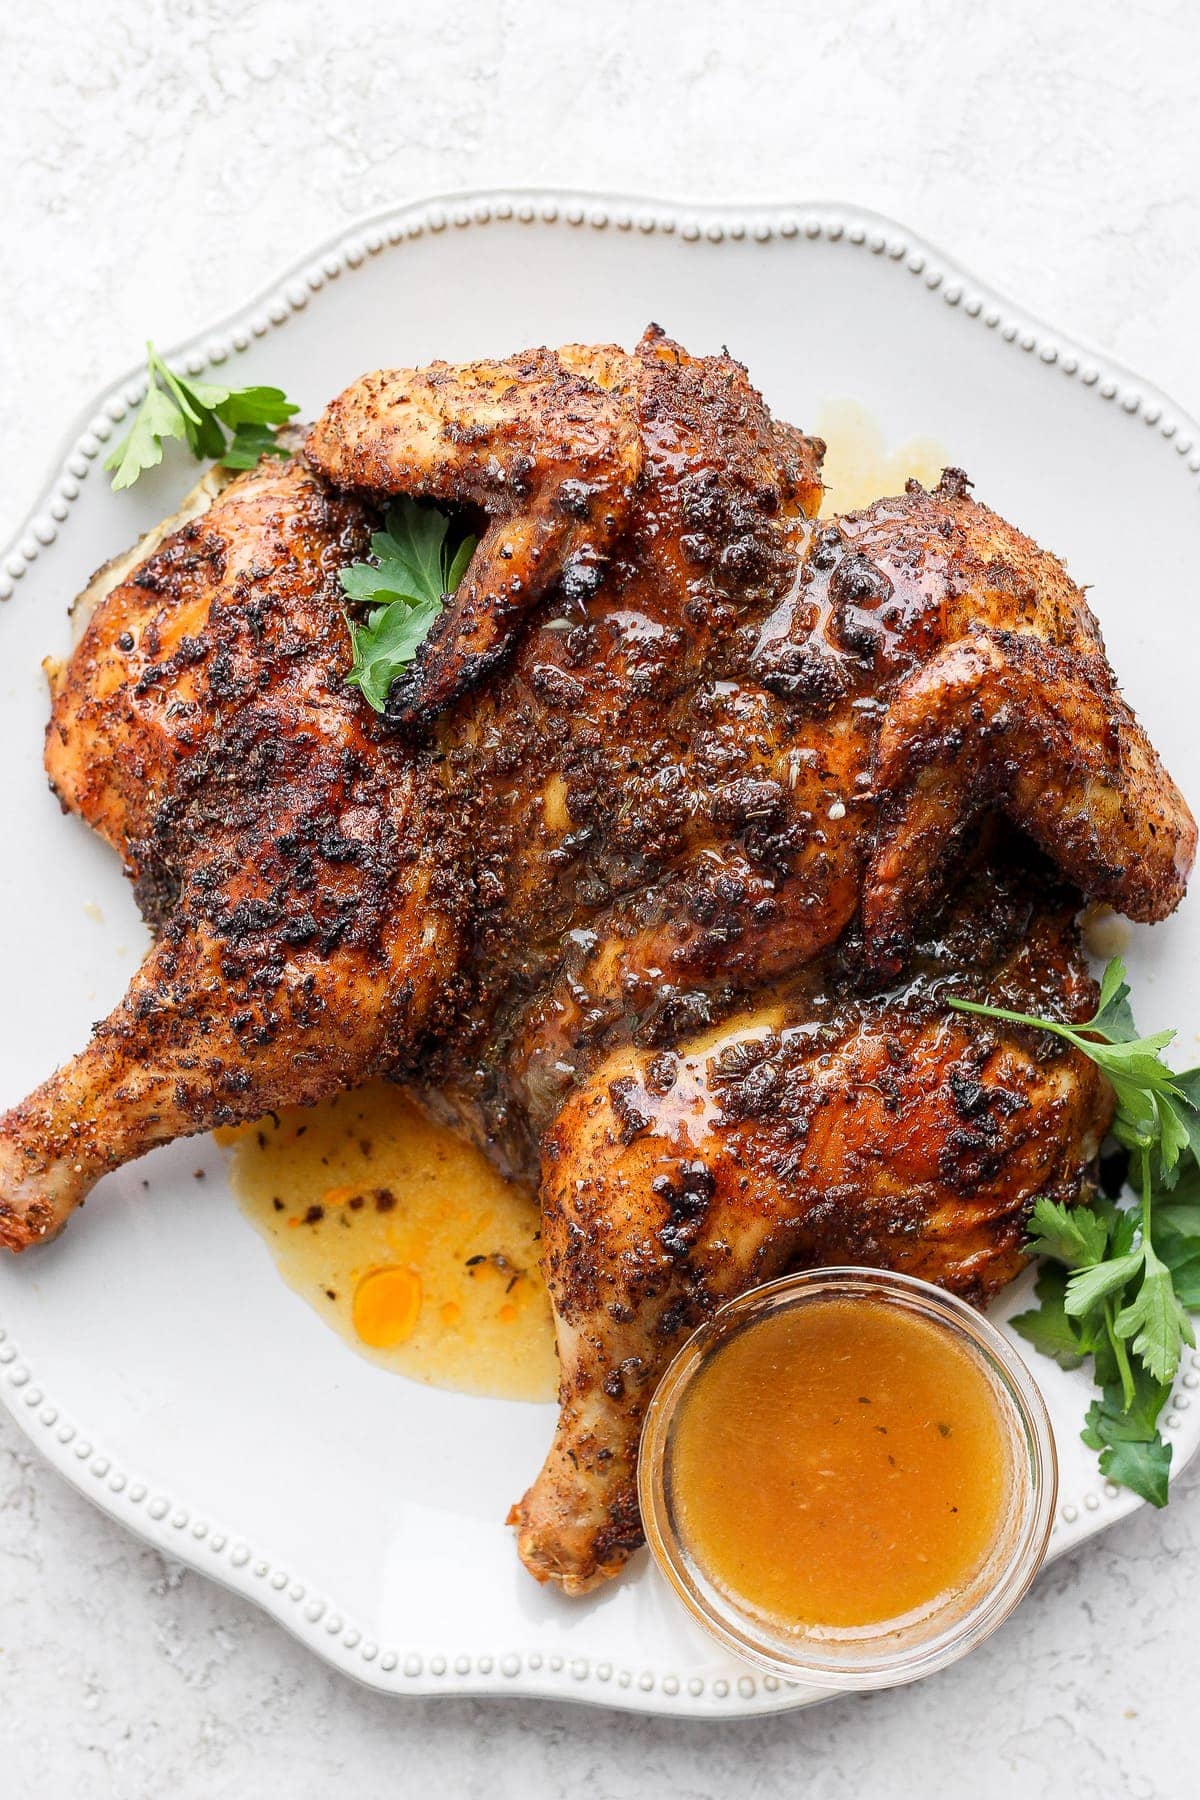
- Carve the chicken and serve with the sauce.
Tips & Notes
- We recommend refrigerating the seasoned chicken for the full 2 hours. Refrigerating the chicken helps the spices really absorb into the skin and helps to dry out the skin of the chicken (which makes it perfect for crisping). However, if you’re in a time crunch, 15 minutes works, too!
- Baking rack: This is important! Do not skip the wire rack that the chicken is baked on. Baking the chicken flat on a rack within a rimmed baking sheet is crucial to crispy skin!
Watch It
Nutrition
Nutrition information is automatically calculated, so should only be used as an approximation.
Shop This Post
Don’t forget to tag your posts on social media with the hashtag #fitfoodiefinds, we’d love to see what you’re up to!
Photography: photos taken in this post are by Erin from The Wooden Skillet.



This was a very straightforward recipe. The flavors were great. We didn’t put it on a rack, but rather on a bed of potatoes and chickpeas. The skin still turned out nice and crispy too. Can’t wait to make this again.
Spatchcock magic! Tried it once, and now I’m a believer! Faster cooking, crispy skin, and that gravy? Genius move. Who knew simplicity could taste this good
Best recipe ever thanks for sharing it.
This is my first time cooking a whole chicken in the oven and doing it spatchcock was less daunting. So happy that the recipe was a success the first time. I got crispy skin and juicy inside without brining the chicken. Would use the recipe again and will adjust the chilli powder to my liking. Thank you for this fabulous recipe!
Look at that delicious chicken!!
delicious.
Very good…but don’t throw away that backbone! Use it along with the other bones to make a wonderful stock.
Just throw everything into a slow cooker with carrots, celery, or other veggies. Cover with water and cook on low for around 6 hours.
So easy, so good. The skin came out super crisp, and the chicken was very moist. Baked it for 30 minutes, then I brushed on some Nando’s sauce at the end, and baked it for 5 minutes. I will definitely make this again!
Woo hoo!
I didn’t follow this recipe exactly but the rub deserves 10 stars. This was so juicy and so crispy with a lovely flavor. Will be making it again!
My variation was to first cook skin side down on high heat in a preheated cast iron skillet. Then I flipped it breast side up to bake in the same cast iron skillet at 400 for 45 minutes. Drizzled some honey towards the end. Perfection!
Absolutely delicious. A definite keeper.
So happy to hear it!
A chicken lover want to say: it’s so delicious