Chicken Enchilada Casserole
Published 10/11/2019 • Updated 10/18/2023
This post may contain affiliate links. Please read our disclosure policy.
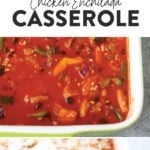
This is the best chicken enchilada casserole you will ever eat! Throw everything into a casserole dish, raw, and in just 60 minutes you’ll have a healthy chicken casserole ready to go!
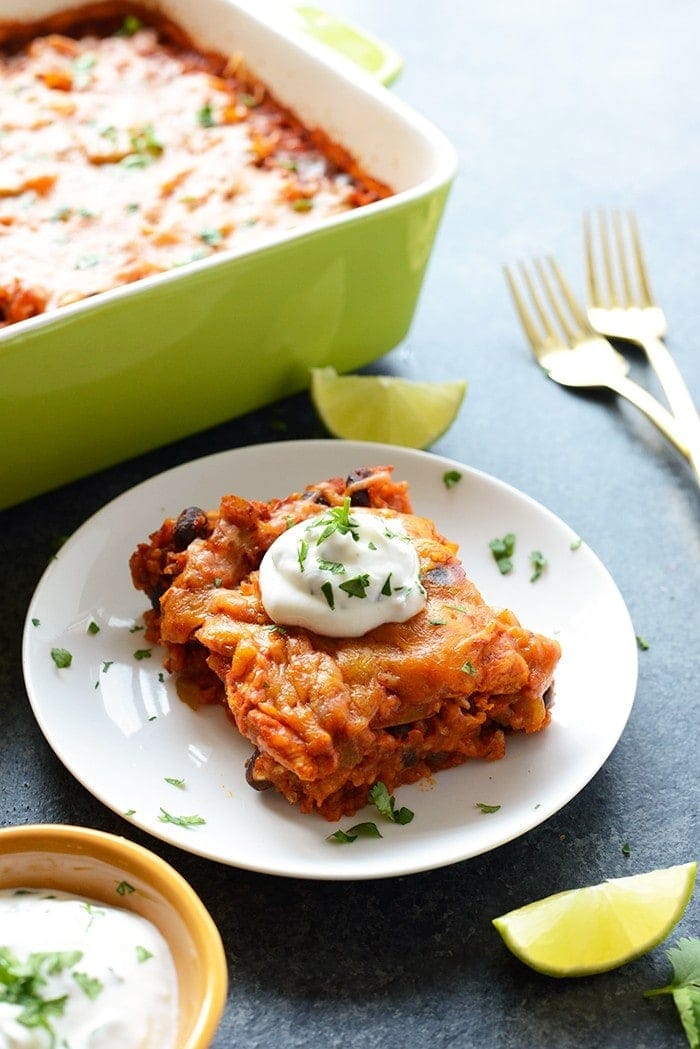
We like to call this easy chicken enchilada casserole the “everything but the tortilla chicken enchilada casserole.” We ditched the soggy tortilla and swapped it with brown rice to make an extraordinary casserole that all will love!
PS: 1 serving of this deliciousness has over 30g protein and is packed with lean protein and vegetables. SCORE!
Everything Goes in Raw!
The number one thing I love about this casserole is that everything goes in raw. There is no additional sautéing or cooking involved other than chopping and mixing and baking.
Chicken
For this recipe, we are using chicken breasts, but boneless skinless chicken breasts also work! We chose to chop ours into bite-size pieces for even cooking, but you can always leave the breasts whole if desired
Veggies
Bell peppers, onions, and beans help make this casserole packed with veggies and flavor. Get creative with your veggie choices and add whatever you have on hand. Here are some suggestions that would work really well!
- potatoes
- sweet potatoes
- butternut squash
- kale
Enchilada Sauce
Your choice in enchilada sauce is what’s going to give you your saucy flavor. So? Make sure you know what the enchilada sauce tastes like before you use it. Some sauces are blander than others, so just keep that in mind!
Our favorite enchilada sauce is Frontera Red Chile Sauce, but any kind will work…even a homemade sauce!
Rice
Last but not least, we’ve ditched tortillas for RICE! Rice really makes this a “casserole” if you ask me. Keep scrolling to read a long-winded answer on what kind of rice you should use for this casserole because we’ve tested many kinds!
Let’s Talk About Rice
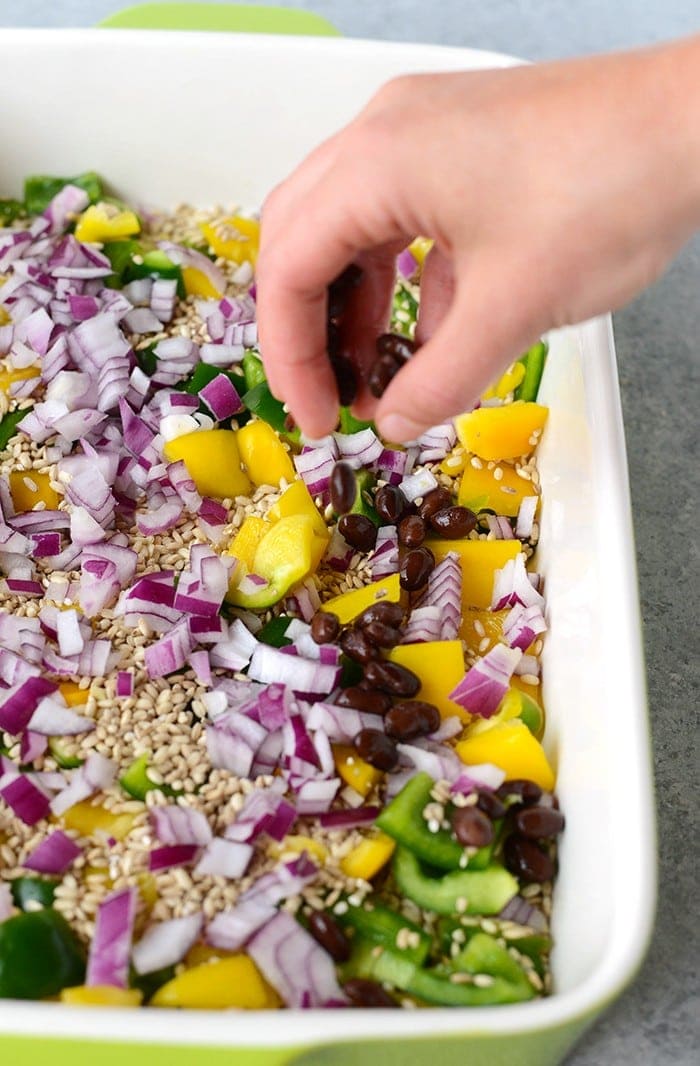
The first time we made this casserole we used something called germinated brown rice. What is germinated brown rice? Germinated brown rice is sprouted rice that has had very little processing. This is done to keep as many nutrients and as much texture in the rice as possible!
We noticed that germinated brown rice actually cooks faster than other brown rice, which is why it’s perfect for this casserole. 60 minutes and DONE!
Rice Substitutions
Long-Grain White Rice: Swap out the germinated brown rice for long-grain white rice 1:1. We have tested this method and it is by far the best substitution we’ve found.
Long-Grain Brown Rice: If you choose to use classic long-grain brown rice, you cook time will need to increase by 30 minutes to an hour. This is because long-grain brown rice takes longer to cook than germinated brown rice. We suggest
Quick-Cooking Rice: While we have not tried this, I am hopeful that quick-cooking brown/white rice will work. We use this product in another one of our similar casseroles (Southwest Chicken Casserole). The one thing that would need to change is the liquid amount. I would decrease the amount of enchilada sauce by 1 cup and broth to 1/2 cup.
How do you reheat chicken enchilada casserole?
To reheat chicken enchilada casserole, you have a few options.
- Microwave: Place a serving of this chicken enchilada casserole recipe into a microwave-safe bowl and cook on high for 1.5 to 2 minutes.
- Oven: Preheat oven to 350ºF. Place the entire chicken enchilada casserole back into the oven (in its casserole dish) and reheat for around 20 minutes or until warm.
- Stove-Top: Add 1/2 tablespoon of olive oil to a large skillet. Then, transfer the casserole to the skillet and sauté over medium/high heat for around 5 minutes or until warm.
Can you freeze chicken enchilada casserole?
Chicken enchilada casserole is the perfect recipe to freeze. We suggest making this casserole in a disposable casserole dish so that once it’s cooked you can pop it right into the freezer. We also recommend holding off on the cheese until reheating for best results.
Directions: let the casserole cool completely. Then, cover it with a piece of plastic wrap and press it down into the casserole, removing as much air as possible. Cover that with a piece of tin foil and write the best by date (3 months from when you made it) and the name of the casserole. Then, freeze for up to 3 months!
Reheat: to reheat, let thaw completely, then use any of the reheat methods above to reheat!
Storage
Store this casserole in a glass, airtight container for up to 5 days in the refrigerator. We recommend portioning out this casserole into single servings for an easy grab-and-go meal prep option!
More Chicken Casserole Recipes
Best Chicken Enchilada Casserole Recipe
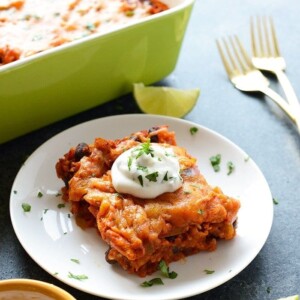
Ingredients
- 1.5 cups germinated brown rice*, see below for other options
- 1 medium yellow pepper, diced (1 cup)
- 1 medium green pepper, diced (1cup)
- 1 cup purple onion, finely diced (1 cup)
- 1 4.5- oz can green chiles
- 1 15- oz can black beans, drained
- 1 lb. boneless, skinless chicken breast
- 3 cups enchilada sauce
- 1 cup chicken broth*
- 1 tablespoon garlic powder
- 1 tablespoon ground cumin
- 1/4 teaspoon salt
- 1 cup Mexican shredded cheddar cheese
Optional Toppings:
- fresh cilantro
- a squeeze of lime
- Greek yogurt/sour cream
Instructions
- Preheat the oven to 375ºF and spray a large ceramic casserole dish with nonstick cooking spray.
- Next, prep veggies by dicing the yellow and green peppers and finely dicing the purple onion. Sprinkle veggies into casserole dish.
- Prep chicken breast by cutting it into 1-inch chunks and then placing that on top of vegetables.
- Add in germinated brown rice, green chiles, and black beans.
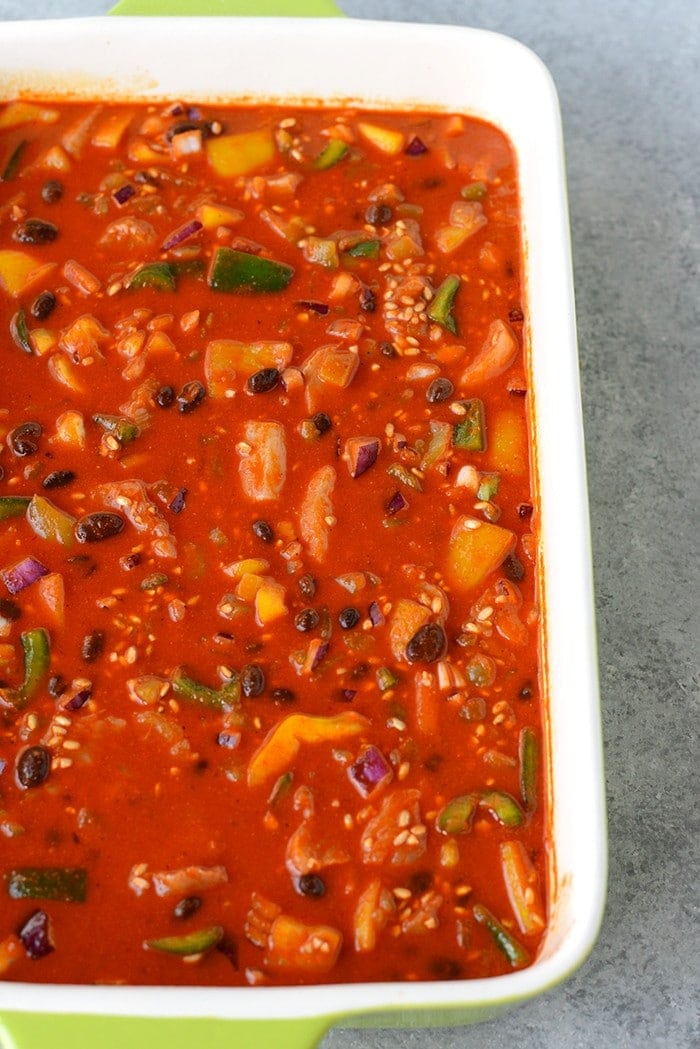
- In a large pyrex or glass bowl, add enchilada sauce, chicken broth, and spices and mix. Then, pour mixture on top of veggies and chicken.
- Using a large spoon to mix everything together. Use your hands to press all solid contents into the liquid so that everything is (mostly) covered.
- Cover with aluminum foil (do not skip this part) and bake for 30 minutes. Then, remove and stir. It will still be a little soupy, but don’t worry this is how it’s supposed to be! Place back in the oven for 30 more minutes, covered.
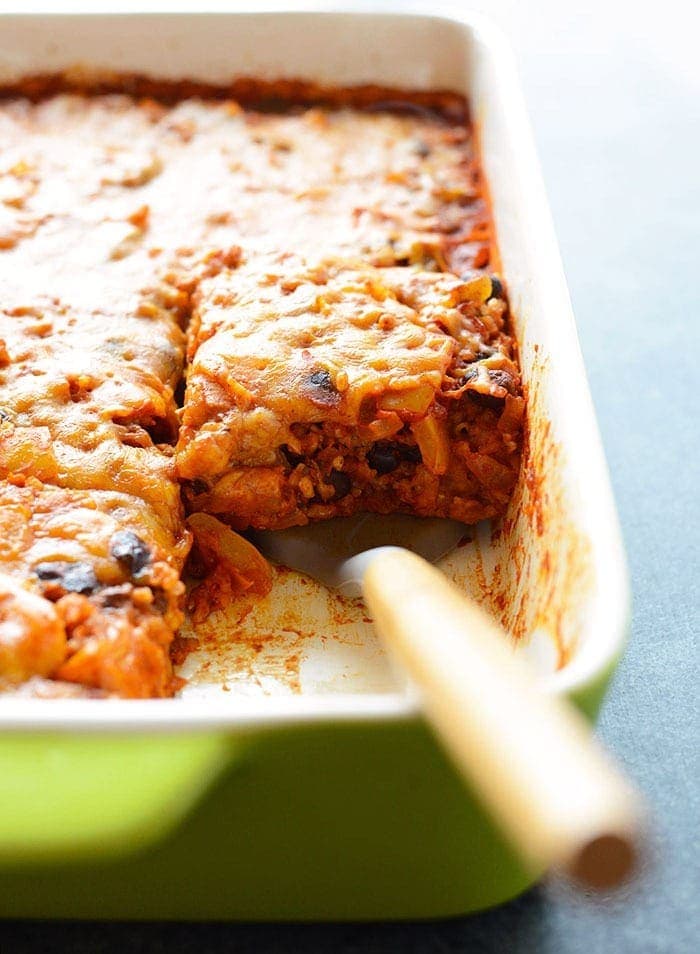
- Remove from oven and sprinkle with shredded cheese and place back into the oven for 3-5 minutes to fully melt the cheese.
- Remove and let sit** for about 5-10 minutes before slicing and serving. Top with fresh cilantro, Greek yogurt/sour cream, and a squeeze of lime.
Tips & Notes
- Germinated brown rice cooks very differently than short grain or long grain brown rice. The one subsitution we have found that works best is long grain white rice. We have personally tested this recipe using long grain white rice and you can substitute this 1:1. If you decide to long grain brown rice, however, you will need to cook your casserole for an additional 30 minutes to an hour due to do the variations in cook time between rice.
- Option to sub water or vegetable broth for chicken broth
- Make sure you let your casserole sit for at least 5-10 minutes to both cool and continue cooking. If your brown rice is still a little crunchy, letting it sit (covered) will help it continue to cook.
Watch It
Nutrition
Nutrition information is automatically calculated, so should only be used as an approximation.
Don’t forget to tag your posts on social media with the hashtag #fitfoodiefinds, we’d love to see what you’re up to!




Made this tonight. Used short grain brown rice….2 C enchilada sauce & 2 C chicken stock. It was SO good!!!!! Excellent recipe! Thank you!
Hi I wanted to know what the serving size is? It says 1/8 but is that 1/8 of the whole dish? Like a slice? Do you have an ounces size?
It’s 1/8 of the whole dish!
Hi Lee, was planning on making this tonight. I bought sprouted brown, red and black rice from Trader Joe’s. Is this the same as germinated? Just wondering how my cook time will be affected. Thanks from a fellow Minnesota girl-on the other side of the river though 😉
Hi! I haven’t used that brand in particular. I know this works with TruRoots (the only sprouted brown rice I’ve ever used). I made this a few weeks ago with long grain white rice and that worked. I do know people have had issues with normal brown rice, so hopefully, it worked for you! Let us know how it went <3
You need to tell people what size dish you’re using. I’m using every ingredient and exact measurements. But I’m using 9×12 glass casserole dish and at an hour and a half it is still soupy. Cook time will depend on what dish you use.
I made this vegetarian. I used a package of the fake beef crumbles. Also, I used quinoa instead of rice. It needed a little adjusting of liquids. Cooking time was still 1 hr. It turned out pretty tasty!
Interesting! I’ve never heard of fake beef crumbles. Glad it worked out <3
THIS looks delicious! I’d love to make it with quinoa. Do you know what I need to change in the recipe?
We haven’t tried this recipe with quinoa, but try lowering the amount of liquid! Try 1.5 cups enchilada sauce and 1 cup broth, to 1 cup quinoa! Let us know how it turns out. 🙂
Because I usually meal prep in a slow cooker, would this recipe work in my crockpot? Thank you!
Hey Jane! This is a good question. We haven’t tried this method! If you do end up trying it, please let us know if it worked!
It took about 2:15 in my crappy oven with regular brown rice… next time I’m going to try parcooking the rice or maybe just soaking it. Otherwise it was delicious!
I soaked the brown rice overnight and it took just over an hour to cook in my crappy oven!
Genius! I don’t know why I’ve never thought to soak the rice.
I made this last night for dinner and my family loved it! It is very easy and absolutely tasty! I used regular brown rice because I don’t know where to find the rice you used here in the UK, so I just let it cook for another good 30 minutes. I will be making this again soon!
Hey Evan! Glad everything worked out with the regular brown rice <3
This is currently in the oven! I’m nervous though because mine doesn’t look like your photos. It looks like you drained your black beans before you added them (even though it doesn’t say that in the recipe).
Hey Brittany, that is correct! I hope yours still turned out even with a little extra liquid. Honestly, mine tasted better on day 2 and 3!