Healthy Peanut Butter Cups
Published 6/8/2024
This post may contain affiliate links. Please read our disclosure policy.
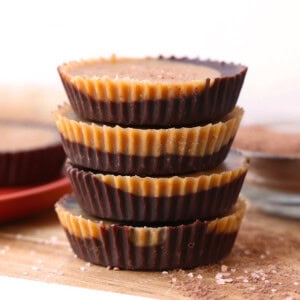
These healthy peanut butter cups are nutritious, delicious and made with good-for-you ingredients. All you need are a few simple ingredients including all-natural peanut butter, cocoa powder, maple syrup, and Himalayan sea salt! You read that correctly, there are no chocolate chips or refined sugar involved!
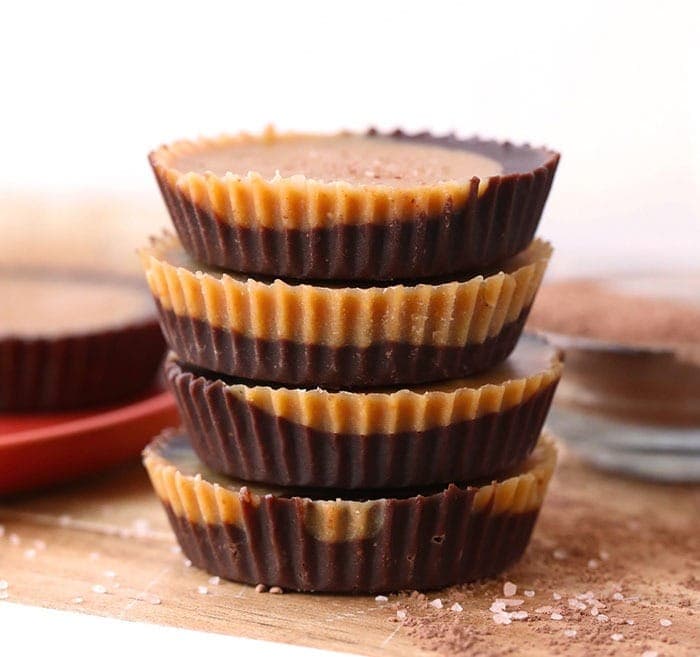
These healthy peanut butter cups are an FFF OG recipe and reader favorite. This recipe was originally published in 2013 (how has it been over 10 years?!) and they’ve been made and rated 5-stars by so many of you and we can’t wait for you to make them.
Why are these healthy peanut butter cups?
This peanut butter cup recipe is amazing for so many reasons, but mostly because everybody loves peanut butter cups. I’m totally the type of person that always needs something sweet after dinner and these for sure hit the spot.
These healthy peanut butter cups double as a healthy freezer fudge because, well, they’re made with coconut oil! They live in the freezer until you need to sink your teeth into them, but don’t worry, they don’t even need to thaw in order to eat them!
Last and most certainly not least, we love that these healthy peanut butter cups are made without chocolate chips or any refined sugar. They’re actually sweetened with maple syrup and the base is made from coconut oil.
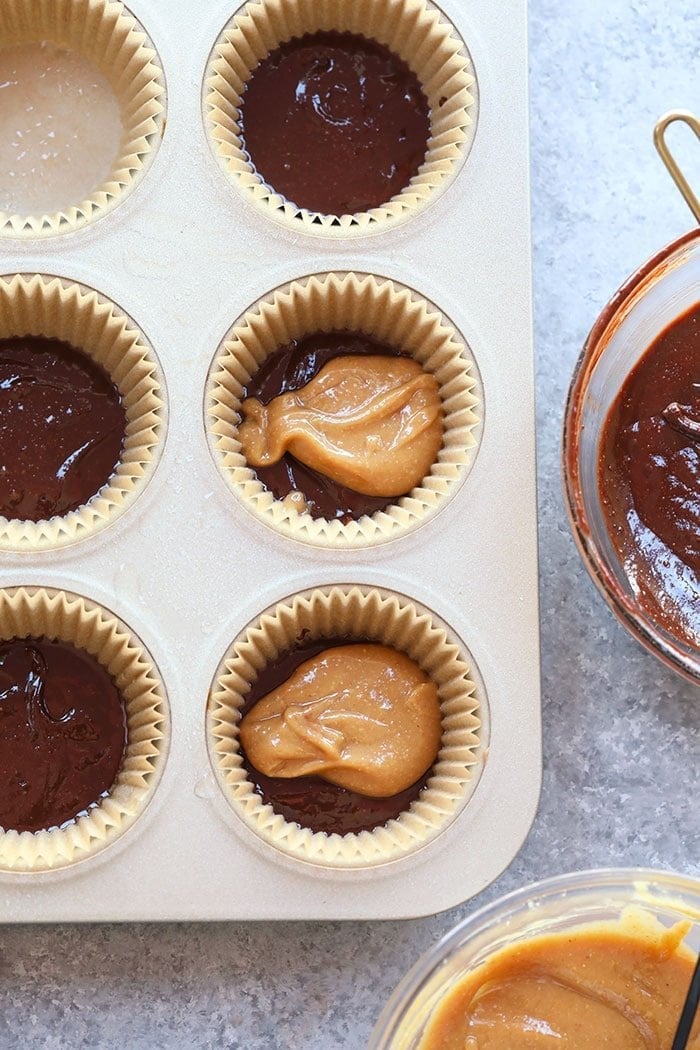
Ingredients for Healthy Peanut Butter Cups
You need 6 total ingredients for this healthy dessert recipe.
- All-Natural Peanut Butter – make sure to use drippy, all-natural peanut butter. The kind that you can easily stir. We love Smuckers or Kirkland brand.
- Coconut Oil – you’ll be using coconut oil in both the chocolate and peanut butter layers. JUST TRUST US.
- Maple Syrup – maple syrup is an all-natural sweetener that adds warmth and the perfect sweetness to this recipe. We’ve also made these with honey, but we love the warmth maple syrup adds.
- Unsweetened Cocoa Powder – make sure to buy unsweetened cocoa powder.
- Himalayan Sea Salt – don’t skip the salt! Salt will bring out the peanut butter + chocolate flavors of these peanut butter cups.
- Vanilla Extract – vanilla is like the cherry on top. It adds just the right flavor profile.
ingredient swaps
peanut butter – can’ t do peanut butter? Feel free to use any kind of drippy nut butter such as cashew or almond.
maple syrup – honey is an easy 1:1 swap for maple syrup.
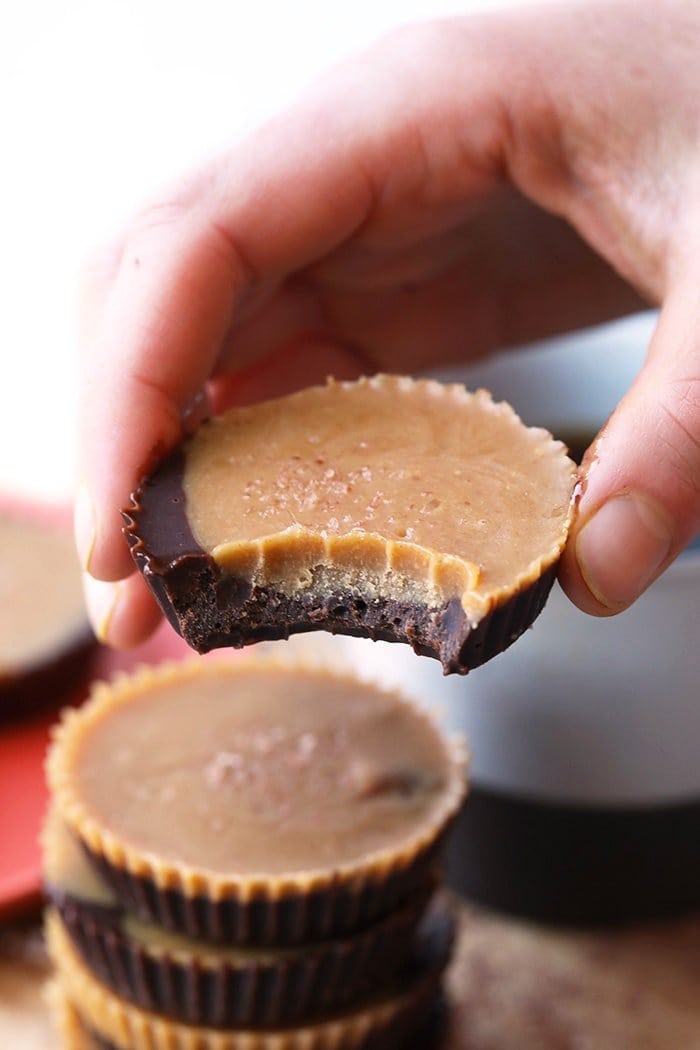
Homemade Peanut Butter Cup Tips
Since these are a fan favorite and have been made time and time again, I thought I would give some tips on how to have the most success when making these homemade peanut butter cups.
Coconut Oil: Unfortunately we don’t recommend swapping any other oil for the coconut oil in these healthy peanut butter cups. The only other alternative that I can think of is using extremely oily peanut butter, which essentially has more peanut oil in it than actual peanut butter!
Peanut Butter: We recommend using an all natural, drippy peanut butter for this recipe. Brands we love include Smuckers All Natural, Trader Joe’s All Natural, or Fresh Thyme All Natural.
Freezer: You’ll notice in the recipe that these homemade peanut butter cups need to live in the freezer. This is because they are part coconut oil, which can melt easily at room temperature. With that said, these cups will last in the freezer for up to 3 months!
Consistency: If your peanut butter cups are too thick, add a tablespoon more of coconut oil. If they are too thick add a tablespoon more of peanut butter!
Storage
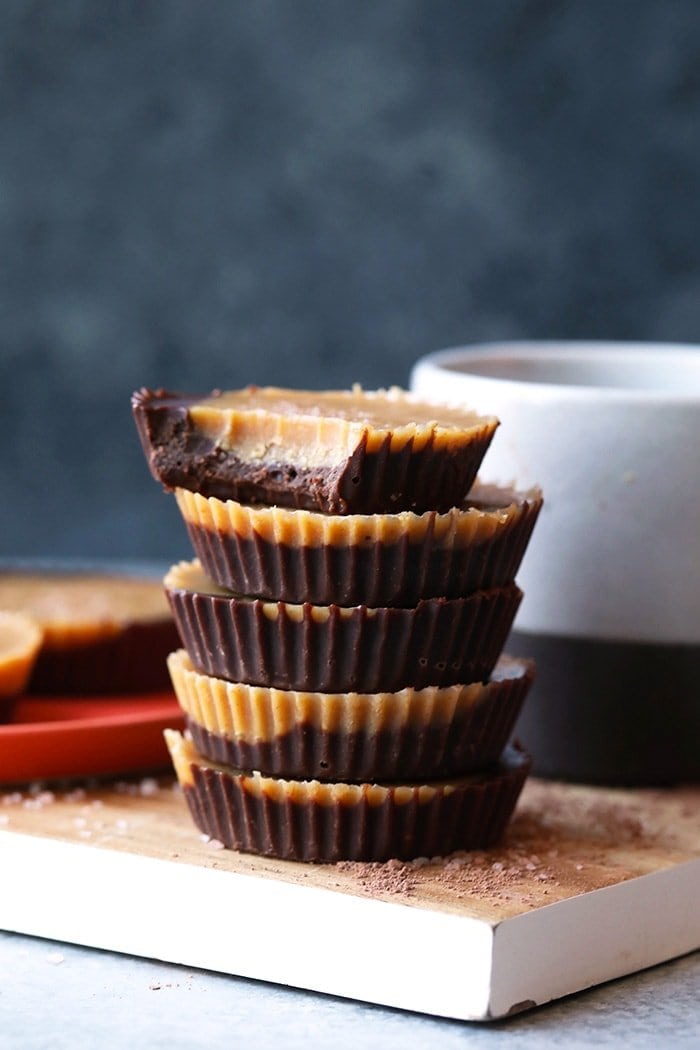
Once your peanut butter cups have frozen, we suggest transferring them out of the muffin tin and into a large, freezer-safe gallon-size bag and storing them in the freezer. They should last for about 3 months or longer.
Healthy Peanut Butter Cups
Ingredients
Bottom Layer (chocolate)
- 1/3 cup all-natural creamy peanut butter*
- 2.5 tablespoons melted coconut oil
- 1 teaspoon vanilla extract
- 3 tablespoons unsweetened cocoa powder
- 2 tablespoons maple syrup
Top Layer (peanut butter)
- 1/3 cup all-natural creamy peanut butter
- 2 tablespoons melted coconut oil
- 1 teaspoon vanilla extract
- 2 tablespoons maple syrup
- Himalayan sea salt
Instructions
- Line a muffin tin with 12 muffin liners and then spray with coconut oil cooking spray and set aside.
- In a medium bowl, stir all ingredients for the bottom layer (chocolate) together until smooth. Set aside.
- In another medium bowl, stir all ingredients for the top layer (peanut butter) together until smooth. Set aside.
- Scoop a heaping 1/2 tablespoon of the chocolate layer into each muffin cup. Repeat until you’ve filled 12 cups. Then, pick up the entire muffin tin and shake/tap it until the layer is set evenly.
- Repeat the same thing with the peanut butter layer, adding around a heaping 1/2 tablespoon on top of the chocolate layer. Pick up the entire muffin tin one more time and shake/tap it until your cups are even.
- Finally, sprinkle each cup with some Himalayan sea salt.
- Place the muffin tin in the freezer for 30 minutes or until firm. Enjoy!
- Store healthy peanut butter cups in the freezer to enjoy for later.
Tips & Notes
- Make sure you are using an all natural, drippy peanut butter for this recipe. We recommend Smuckers All Natural, Trader Joe’s All Natural, or Fresh Thyme All Natural.
- Store healthy peanut butter cups in the freezer to enjoy for later.
Watch It
Nutrition
Nutrition information is automatically calculated, so should only be used as an approximation.
Don’t forget to tag your posts on social media with the hashtag #fitfoodiefinds, we’d love to see what you’re up to!



Absolutely delicious!! I can’t believe how amazing. Followed the recipe exactly.
Delicious!
I always crave something sweet after lunch and at some point I just decided to stop fighting it, but instead look for healthy alternatives that I can eat and not feel that guilty about. This is my top one, I absolutely LOVE it and I’ve been obsessed with pb cups since I was a child.
Thanks for this recipe really! It makes all the difference in the world as I used to feel so shitty after trying to be healthy but indulging in unhealthy snacks in the meantime! 🙂
I just have to say thank you for this amazing recipe! My whole family LOVES them. My 1 year old claps his hands when he sees me take one out of the freezer and cries until he gets a bite. The best part is their is no guilt in letting my kiddos have one!
OMG that is literally the cutest things I’ve ever heard. <3
Hi! Getting ready to make these, and want to swap stevia for the maple syrup, what would the conversion be for the Stevia?
Thank you!
Hi! We have another similar recipe for fat bombs that use stevia. You can check that out here: https://fitfoodiefinds.com/chocolate-peanut-butter-fat-bombs/ We used 40 drops of liquid stevia!
Soooo good and kind of ”healthy” 🙂
This is just what I was looking for, delicious. Thank you!
Soo good, right?!
I LOVE these pb/chocolate cups and so does my husband! I have made these multiple times and they really satisfy our cravings for “candy bars/pb/chocolate”. They taste great! The only negative I have found with these is if you leave them sit out too long, the coconut oil will start to “melt or soften a lot” but we typically eat these so fast out of the freezer it’s not an issue for us. Maybe something to watch for if you are going to try to serve these at a party. I am going to also make peanut butter/chocolate fat bombs recipe this week as my husband is trying to eat more Keto.
THese are the BEST .. BEST EVER !!! IS it tho possible to make w cacao butter also so that they do not melt so quickly when taken out of the freezer ??
I love serving them , but they become soo soft that its impossible to pick them up …♥
I sooo look forward to hearing from you
Made these for Halloween & they are super simple & fast to make & insanely delicious! Hard to eat just one, but I restrained myself! The only tweak I made was that I cut the maple syrup down to 1 tbsp and they were plenty sweet to me!
Loved these — will be making my second batch today. Bottom layer is great as-is. I ended up with about a tablespoon for each each. For the top layer, I was short and had to whip up a little extra to have enough for the last 4 tins, so I’ll increase the ingredients slightly next time around. I used the same bowl, freezing the bottom layer while I made the top. It helped create a base for the top layers. My batters were both pretty wet. Maybe it was the heat from the melted coconut oil warming up the peanut butter.