Instant Pot Chicken Thighs with Sticky Honey Garlic Sauce
Published 7/16/2023 • Updated 4/15/2025
This post may contain affiliate links. Please read our disclosure policy.
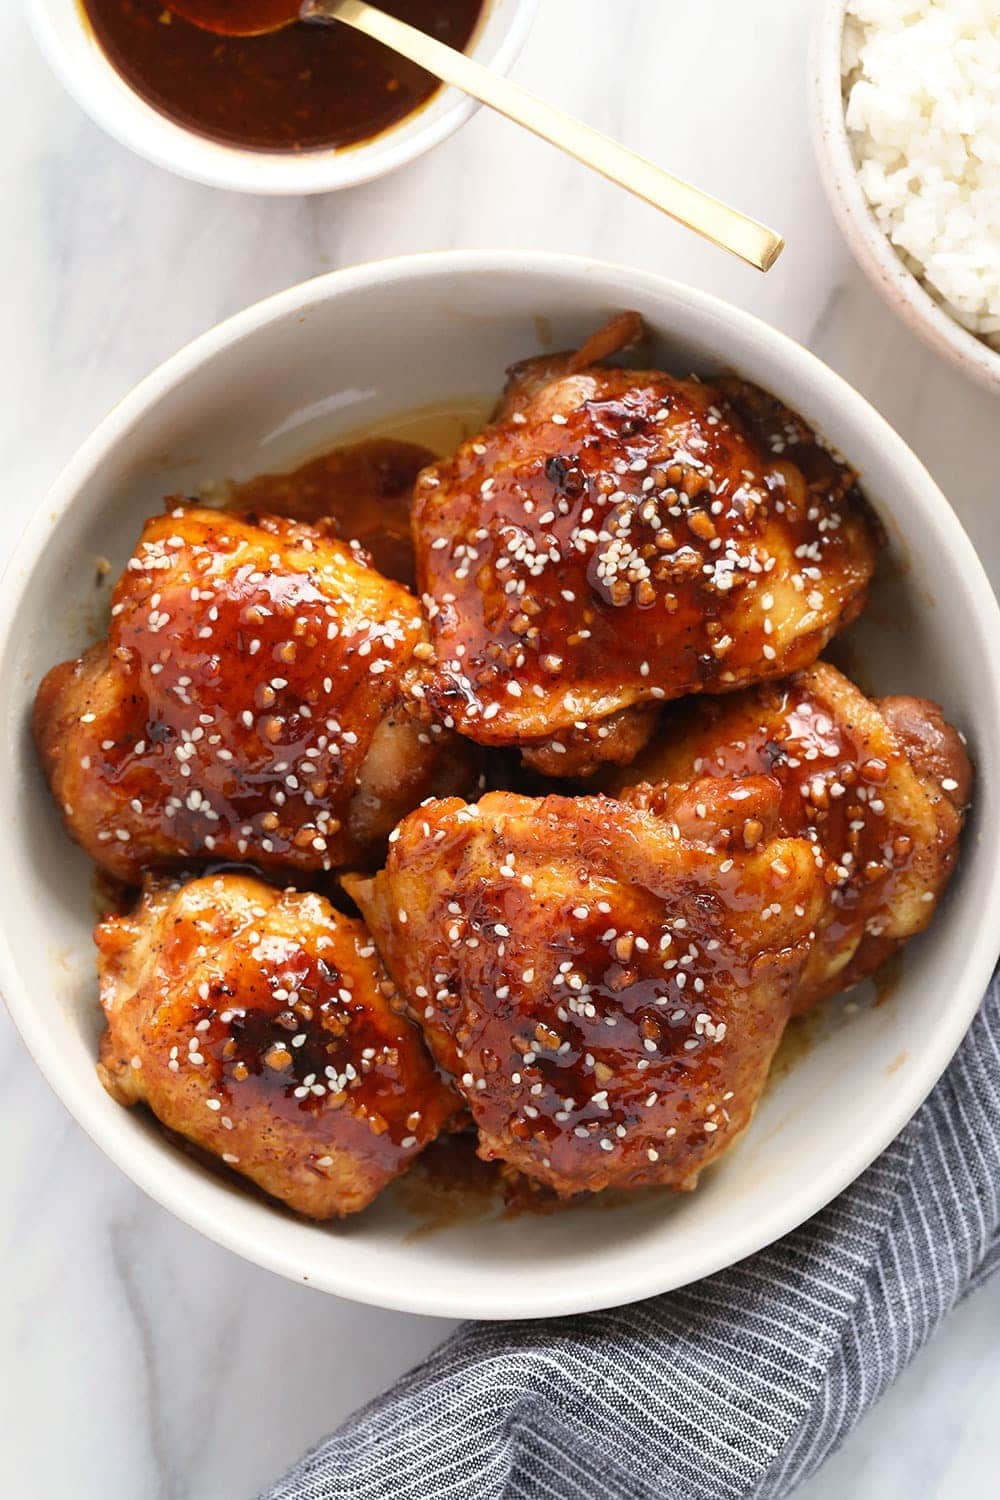
Ready for the most delicious Instant Pot chicken thighs recipe on the internet? Say hello to these sticky, sweet honey garlic chicken thighs that are made with the most delicious sauce you’ve ever tasted.
First, sear the chicken thighs in the Instant Pot to crisp them up. Then, slather them with a homemade honey garlic sauce, and pressure-cook them for just 5-7 minutes!
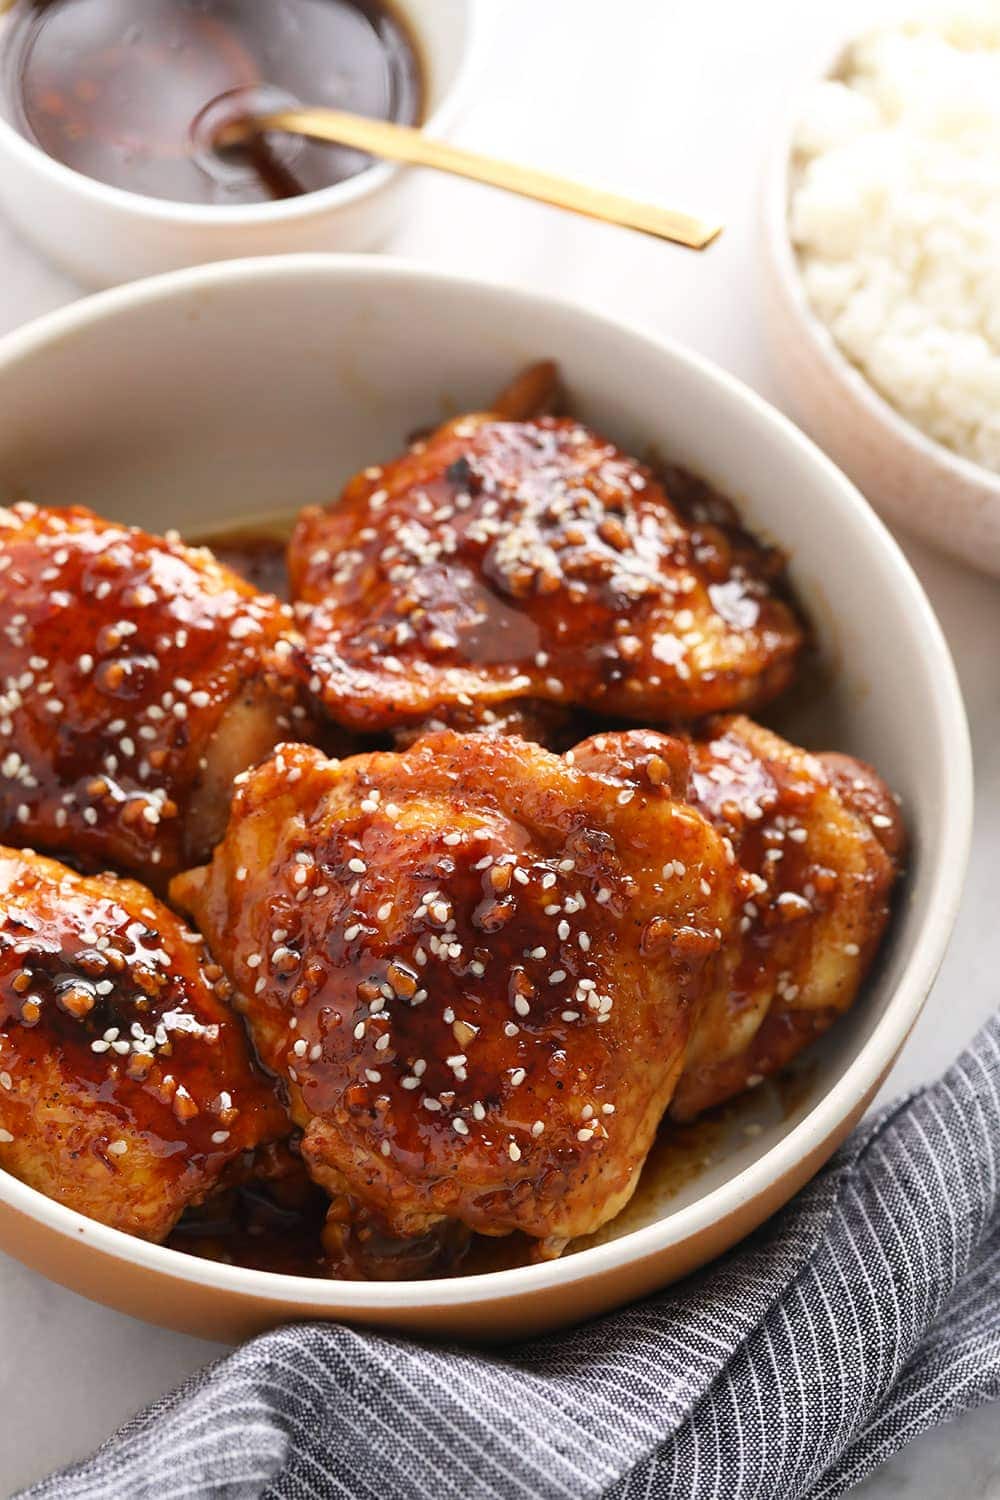
This is one of my most popular Instant Pot chicken thigh recipes! So many of you have made this meal and rated it 5 stars and rightfully so. The honey garlic sauce is incredibly flavorful and easy to make and your chicken comes out perfect every time.
Whenever I’m in need of a quick weeknight dinner, I like to make chicken thighs in the instant pot and serve them next to white rice and steamed broccoli.
PS: check out my Slow Cooker Honey Garlic Chicken for a similar recipe made in the Crockpot!
#1 Tip for Instant Pot Chicken Thighs
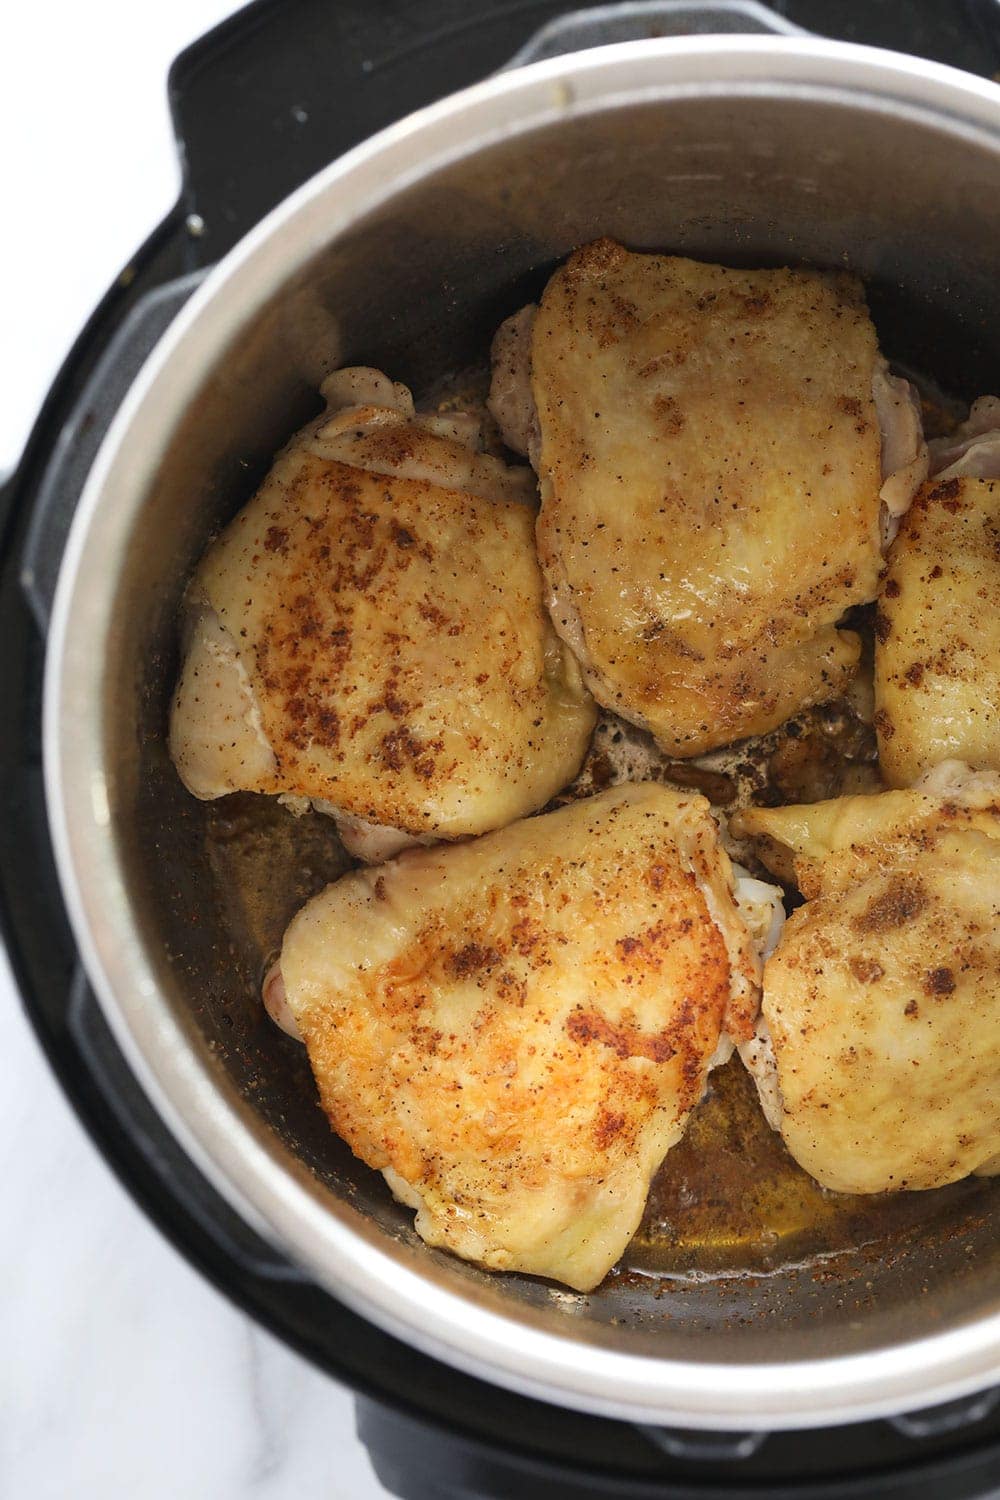
My #1 tip is to sear the chicken BEFORE you pressure cook! This will give your chicken thighs gorgeous color and the texture of seared chicken thighs without having to use your stovetop.
Plus, it will actually help preheat your Instant Pot, cutting the pressurizing time almost in half. Whatever you do, do not skip this step.
First up –> what kind of chicken thighs are best for pressure cooking?
The good news for you is that the team and I tested this recipe many times with all different kinds of chicken thighs. Love skin-on chicken thighs? Or boneless chicken thighs? Both work! So feel free to use around 2 lbs. of the following:
- Bone-In
- Boneless
- Skin-On
- Skinless
If you’re wondering what kind of thighs I prefer, it’s hands-down bone-in with the skin on. However, boneless skinless chicken thighs are also pretty dang delish.
How long do you cook chicken thighs in the Instant Pot?
- From frozen: cook frozen chicken thighs and sauce (or water) for 15 minutes on high pressure with a quick release.
- From thawed: sear chicken thighs for 2-3 minutes on both sides. Then, cook chicken thighs with sauce in your pressure cooker on high for 5-7 minutes.
chicken internal temperature
Chicken thighs can vary greatly in size and thickness. The goal is to get the internal temperature of the chicken to be 165ºF. So, if you have larger thighs, you may need to cook a bit longer to reach a safe temperature. USDA

Try it!
Thermoworks Thermapen
We swear by using a meat thermometer when cooking any cut of meat. The Thermapen is our go-to meat thermometer that works every time.
Best Honey Garlic Sauce
If you’ve ever had our Crock Pot Honey Garlic Chicken, you know how delicious my honey garlic sauce is. This is a slightly modified version of that sauce, but equally as delicious.
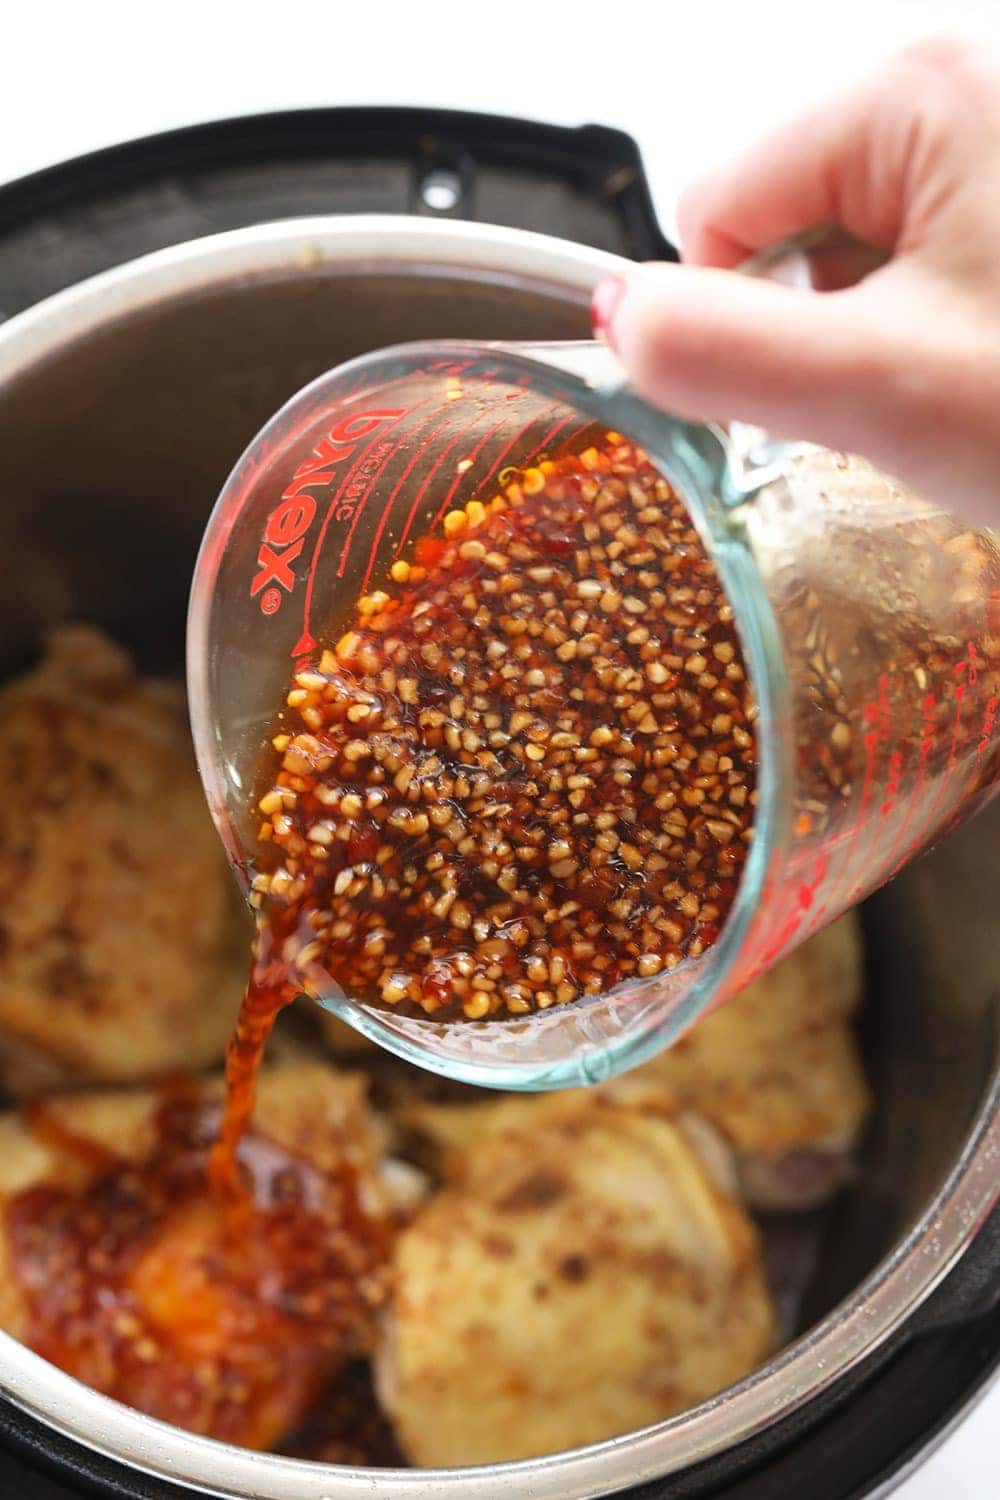
Here’s what you need: honey, minced garlic, soy sauce, chili garlic sauce, and cornstarch.
do I have to use cornstarch?
The sauce is then thickened with a little bit of cornstarch, but you always have the option to skip that step. If you don’t have cornstarch, feel free to use tapioca starch instead.
How long do cooked chicken thighs last in the fridge?
Let chicken thighs cool completely. Then, store IP chicken thighs in an airtight container in the refrigerator for up to 3-5 days.
Freezer Instructions
After Cooked: Let Instant Pot Chicken Thighs cool completely. Then, transfer them to a freezer-safe gallon-size bag and remove as much air as possible. Seal and freeze for up to 3 months.
Before Cooked: Place all raw ingredients (minus the cornstarch and sesame seeds) into a freezer-safe gallon-size bag. Remove as much air as possible and seal. Freeze for up to 3 months.
When you are ready for cooking, transfer the frozen contents of the bag directly into your Instant Pot. Then, seal Instant Pot and cook on high pressure for 15 minutes with a quick release. Thicken sauce as directed in recipe card.
Serving Suggestions
Make your honey garlic chicken Instant Pot recipe a complete meal by serving it with a grain and your favorite veggie. Here are some ideas: shrimp fried rice, coconut rice, quinoa, roasted broccoli, or sauteed green beans.
Instant Pot Chicken Thighs (+ Honey Garlic Sauce)

Ingredients
- 2 lbs. chicken thighs, skin-on*
- 1.5 tablespoons olive oil
- 1 tablespoon minced garlic
- 1/3 cup honey
- 2 tablespoon soy sauce, or tamari
- 1 teaspoon chili garlic sauce
- optional: cornstarch slurry, 1/2 tablespoon cornstarch and 1 tablespoon warm water
- 1 teaspoon sesame seeds, optional
Instructions
- First, use a few pieces of paper towel to remove as much moisture as possible from your chicken thighs.
- Next, turn on the Instant Pot's sauté feature. Add olive oil and then sear both sides of each chicken thigh for 2-3 minutes to give them a nice brown.
- While the chicken thighs are sauteing, prepare the honey garlic sauce. Mix together minced garlic, honey, soy sauce, and chili garlic sauce.
- Once the chicken thighs are done browning, turn off the sauté function and then pour on the honey garlic sauce. If your Instant Pot easily gets the burn notice often, feel free to use your trivet for your chicken. We have never gotten the burn notice when making this recipe, but feel free to use the trivet just in case.
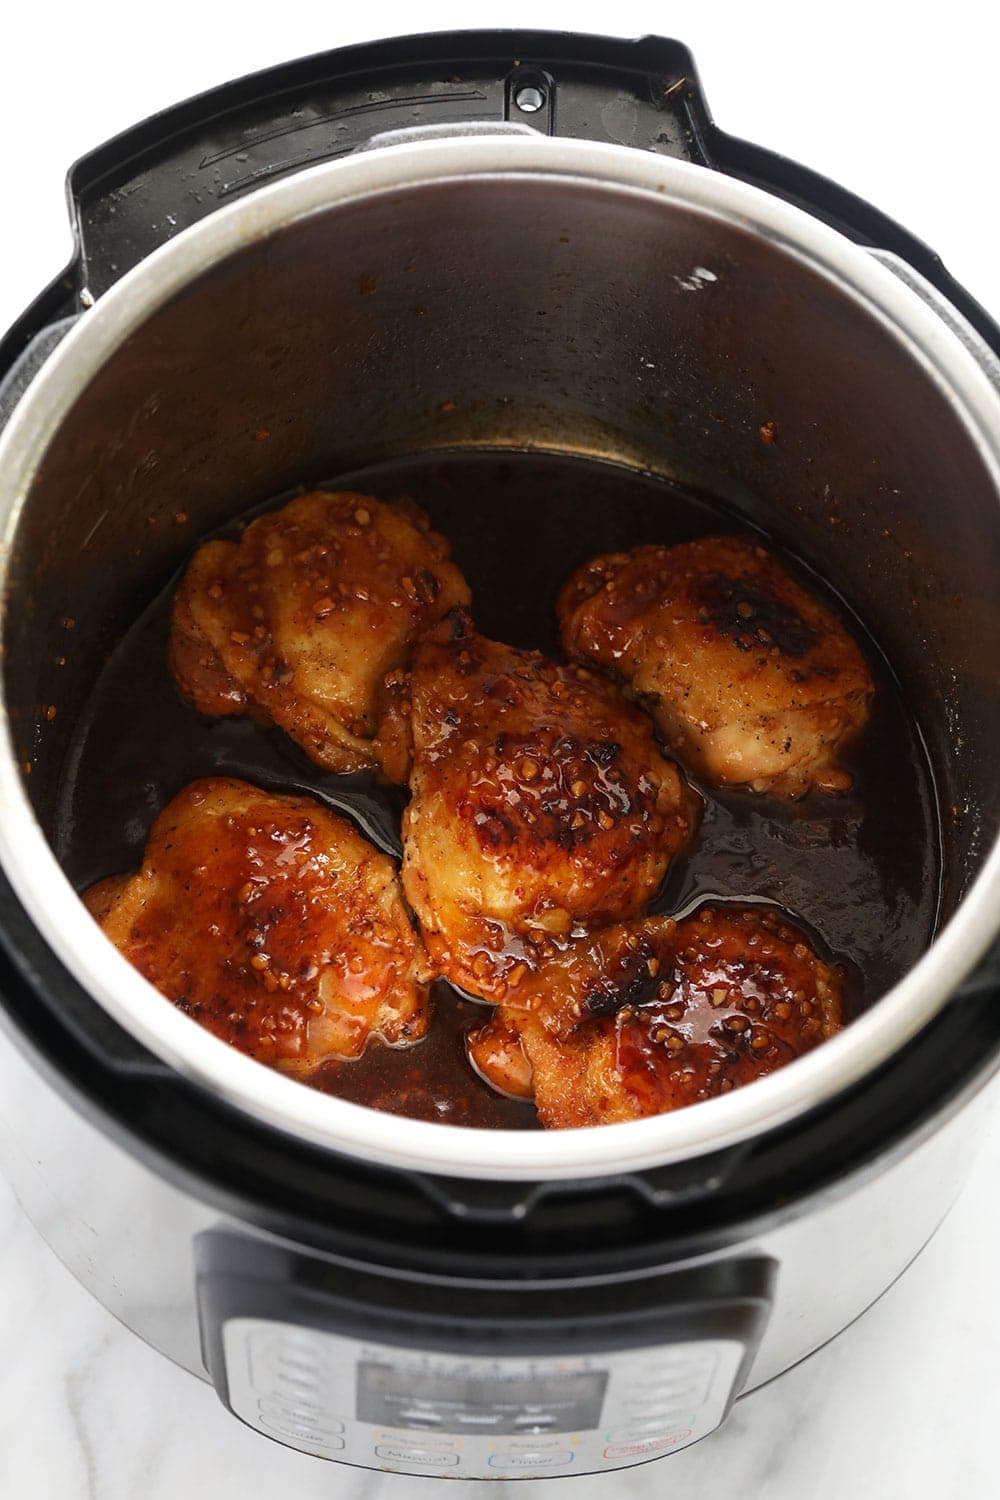
- Close your Instant Pot and turn the valve to seal. Turn your Instant Pot to manual > high pressure > and set the timer for 5 minutes. It will take around 10 minutes for the pressure to build before it starts counting down from 5 minutes.
- When the timer goes off, quick release your Instant Pot by opening the valve.
- Remove the lid and then check the internal temperature of the chicken. If they are at least 160ºF – 165ºF, then they are done and you can remove them. If they aren't done, put the lid back on and cook for 1-3 more minutes.
- Option to serve immediately and pour the sauce over the chicken thighs. Or, you have the option to thicken your sauce with a cornstarch slurry. To thicken, turn on the Instant Pot's saute feature (you need the heat to ignite the thickening agent). Then, whisk together cornstarch and water until the cornstarch dissolves to create a cornstarch slurry. Pour the slurry into the sauce and whisk until the sauce thickens.
- Pour the sauce over the chicken and serve with sesame seeds and your favorite grain and veggies.
Tips & Notes
- Type of chicken thighs: We tested bone-in with skin AND boneless, skinless and they both work!
- From Frozen Directions: Place frozen chicken thighs and the rest of the sauce ingredients minus the cornstarch and sesame seeds into your Instant Pot. Seal and cook on high pressure for 15 minutes with a quick release. If you plan to use this method, we recommend boneless, skinless thighs and shredding your chicken at the end. Follow directions to thicken the sauce above.
- Nutrition was calculated using boneless chicken thighs and includes only the chicken.
Watch It
Nutrition
Nutrition information is automatically calculated, so should only be used as an approximation.
Don’t forget to tag your posts on social media with the hashtag #fitfoodiefinds, we’d love to see what you’re up to!






very nice article, thanks for sharing