One Pot Coconut Curry Chicken and Rice
Published 1/16/2022
This post may contain affiliate links. Please read our disclosure policy.
This one-pot curry chicken and rice is a twist on a classic and incorporates tons of veggies and a delicious sauce made with Thai green curry paste, fresh ginger, and coconut milk.
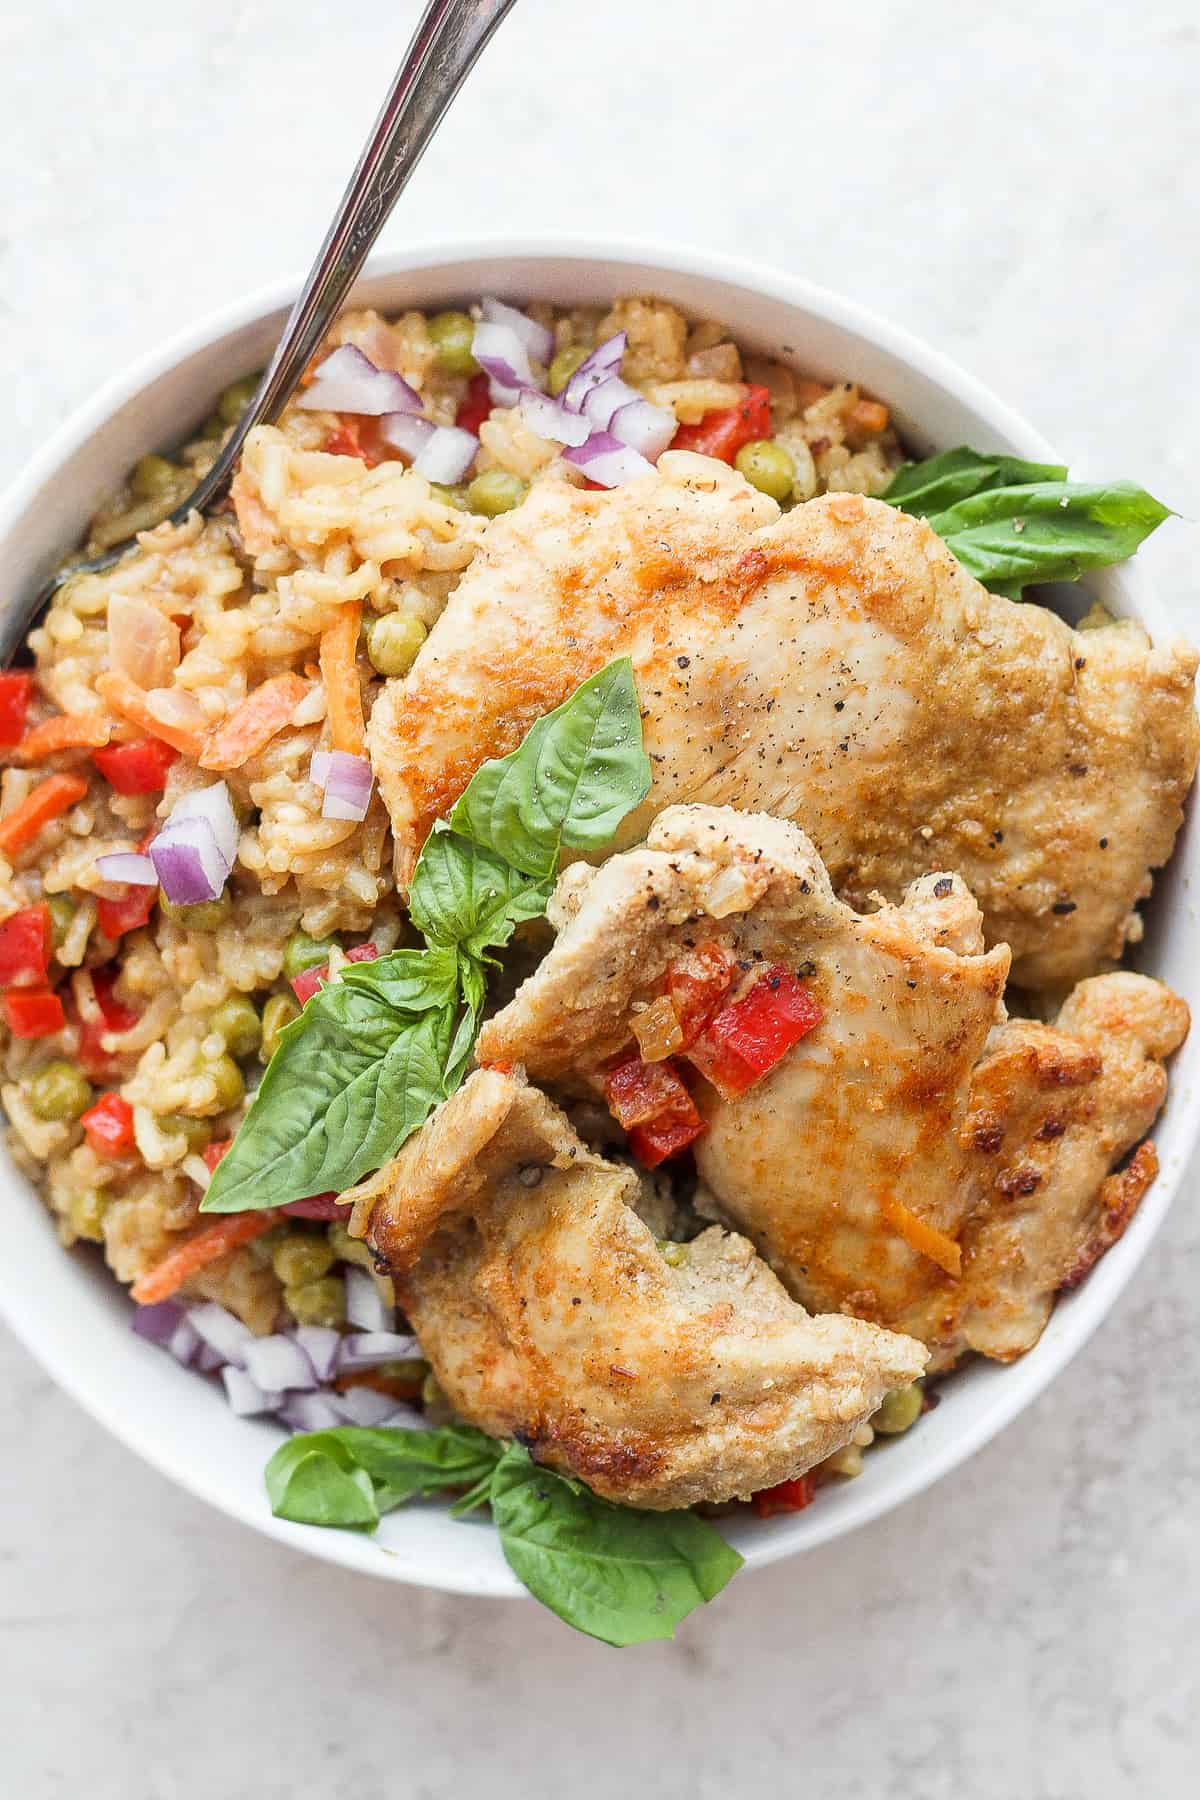
A Twist on Chicken and Rice
We are huge fans of chicken and rice here at Fit Foodie Finds. Whether it’s our classic chicken and rice recipe, our chicken and rice casserole, or our stovetop chicken broccoli and rice, it just never gets old.
This variation is extra special because it’s inspired by Thai flavors including one of our favorite ingredients – green curry paste. It has some full-fat coconut milk, grated ginger, fish sauce, and warm spices.
Coconut Curry Chicken and Rice – why You’ll love it!
Beyond the fact that this meal is packed with so many colors and flavors, here’s why you’ll love it:
Balanced: this recipe is made with a protein, grain, and tons of veggies.
One-Pot: you only need one single pot to whip this meal up.
High-Protein: this curry chicken and rice recipe will get you Xg protein/serving.
Veggie-Packed: need to eat more veggies? This meal is made with peas, onion, bell pepper, and carrots.
Coconut Curry Flavors – What You Need
Meat
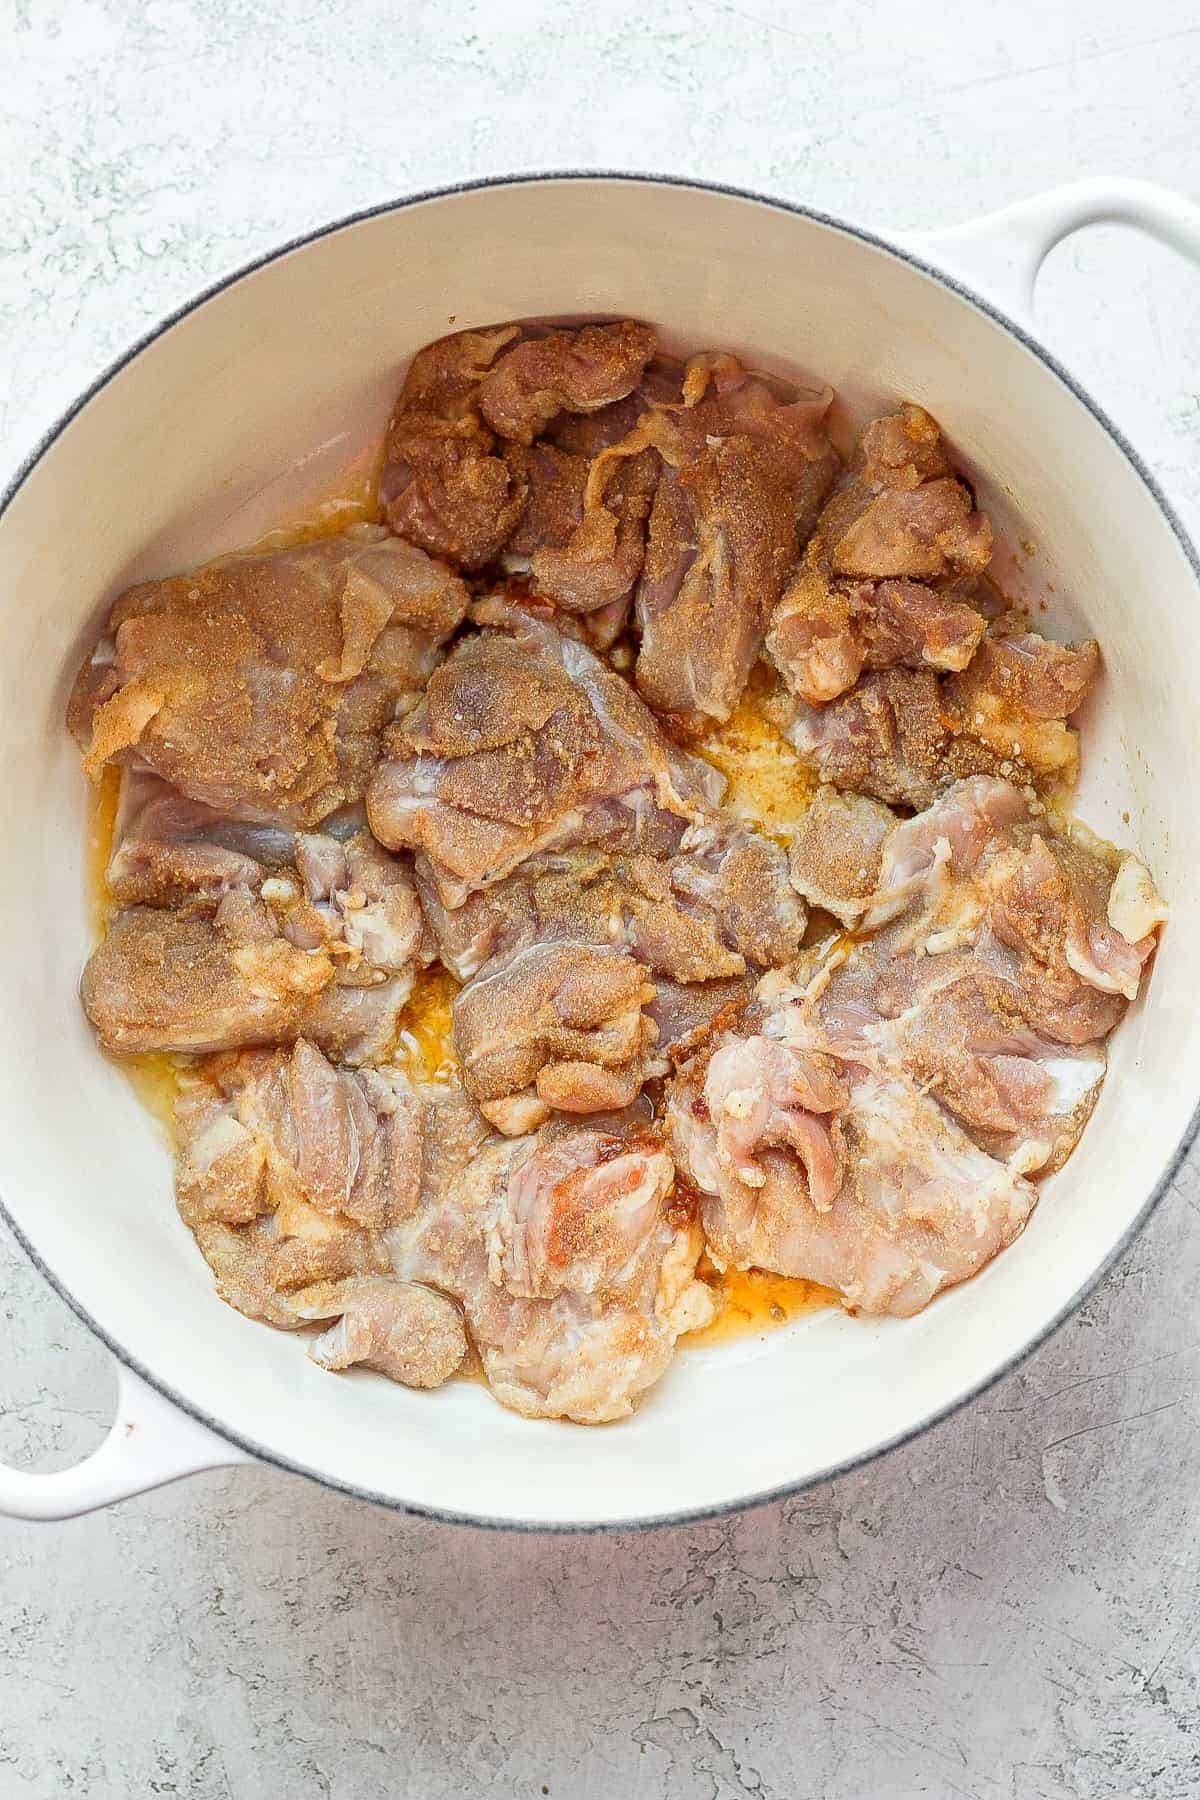
- Chicken thighs: this recipe calls for boneless, skinless chicken thighs. You’ll need around 1.5 – 2 lbs.
- Spices: before searing, the chicken thighs are seasoned with salt, garlic, coriander, and ginger for a flavor blast.
Can you use bone-in thighs instead?
Bone-in thighs will work just fine. In fact, we’ve used them before!
Veggies
- Onion: onion is a pretty incredible base flavor for pretty much anything. We’re using yellow onion.
- Bell pepper: we chose a red bell pepper for this curry chicken and rice to add color, but any color works.
- Carrots: feel free to purchase pre-shredded carrots for ease and simplicity.
- Peas: peas add a pop of sweet. We used frozen.
Grain
White jasmine rice: white jasmine rice is for sure our preferred rice for this dish, but any long-grain white rice will work.
Sauce
- Full-fat coconut milk: coconut milk adds so much incredible flavor. We recommend full-fat, but lite coconut milk works too.
- Broth: broth helps increase the amount of sauce. We used chicken broth.
- Fish sauce: a little fish sauce goes a long way, but it’s totally worth it!
- Green curry paste: green curry has so many flavors in it that you don’t need much more after using this. If you can only find red curry paste, that works too.
- Lime juice: this adds a nice freshness to the sauce.
Try it!
Homemade Chicken Broth
Make this homemade chicken broth and use it in your favorite soup recipe! This broth is the most flavorful chicken broth on the internet. You can use it in soups, chilis, sauces, and more!
Simple Directions
- Season chicken: combine the spices for the dry rub. Then, generously sprinkle both sides of the chicken thighs. Rub the tops of the thighs with garlic chili sauce.
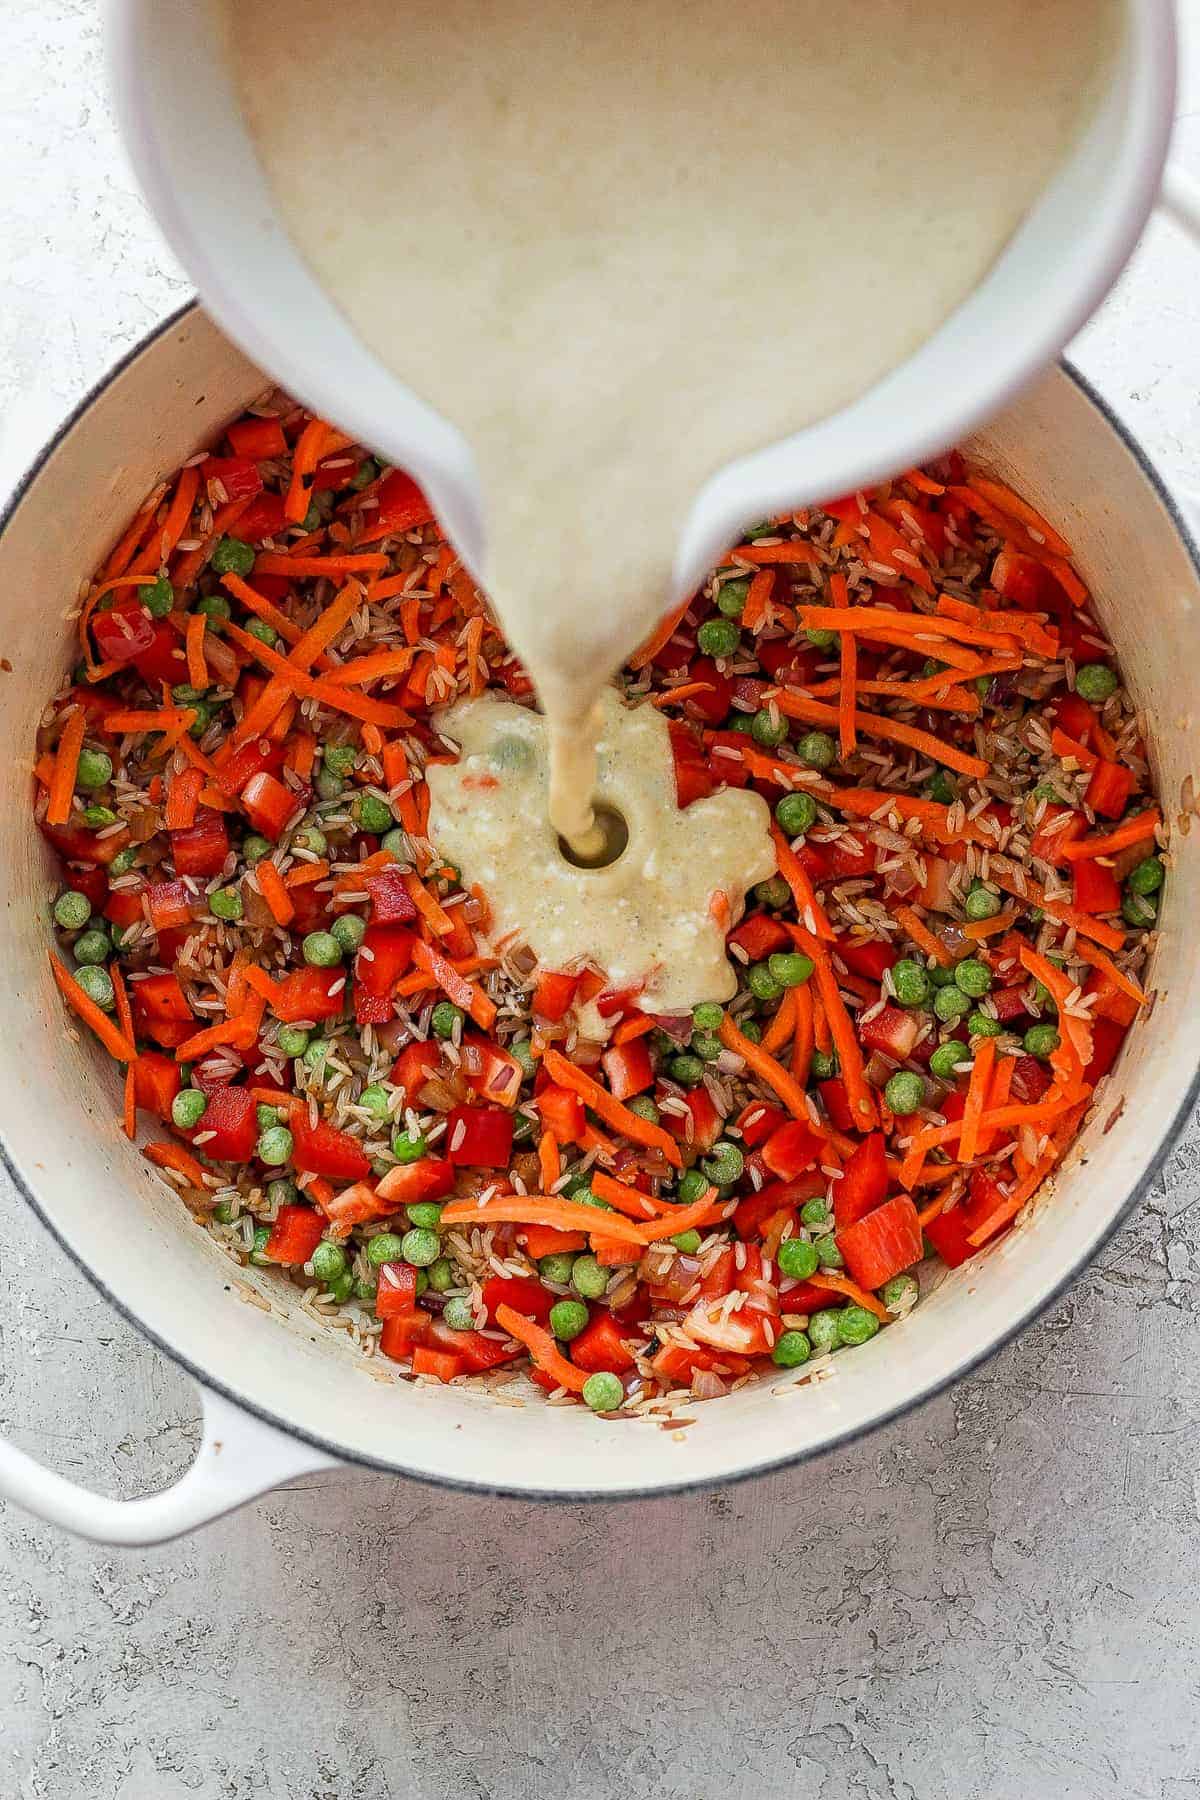
- Make coconut curry sauce: whisk the ingredients together for the curry sauce and set aside.
- Sear chicken: sear chicken thighs in Ghee for 2 minutes chili garlic-side down.
- Add onions and rice: add more ghee and onions and cook for a few minutes. Then, add in rice and toast for a minute.
- Add veggies: add bell pepper, peas, and carrots and mix.
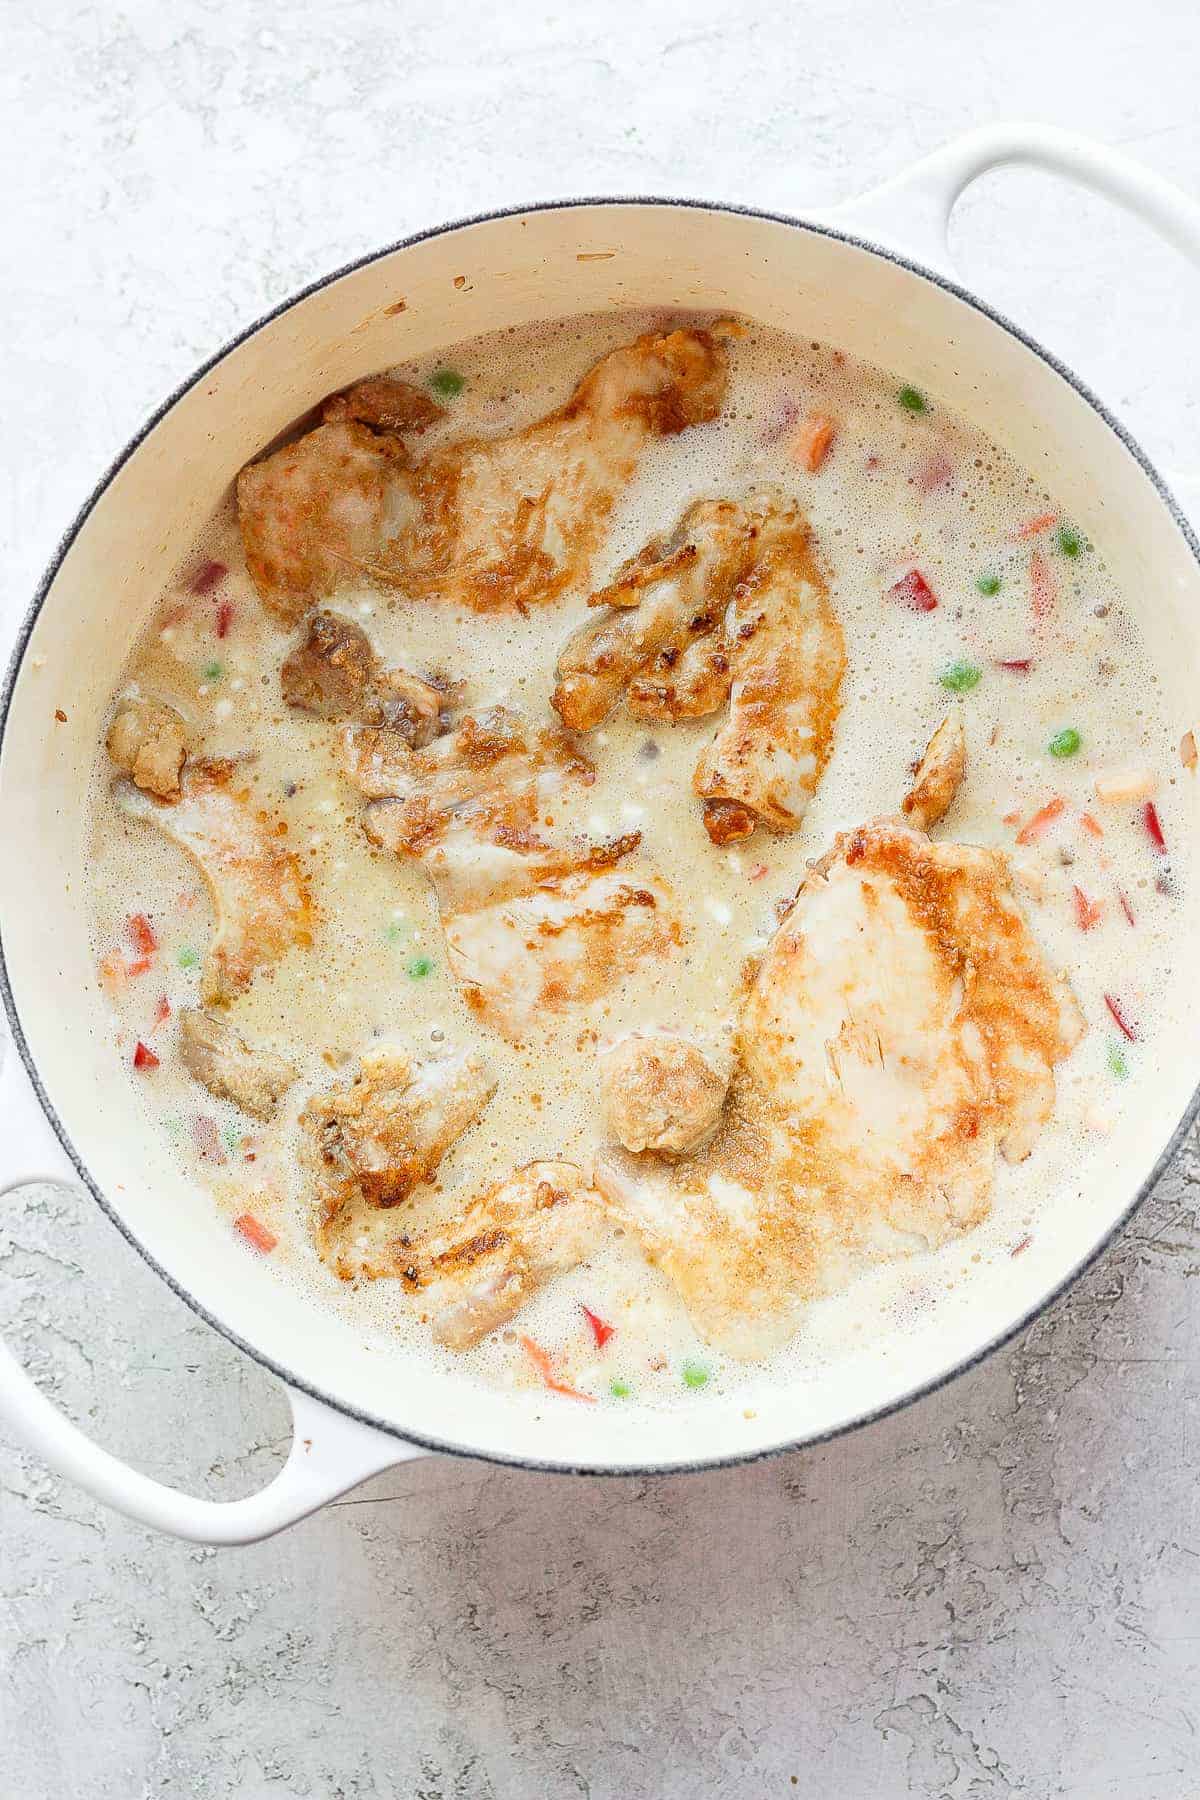
- Add sauce: pour in sauce and mix everything together. Then, place the chicken thighs on top.
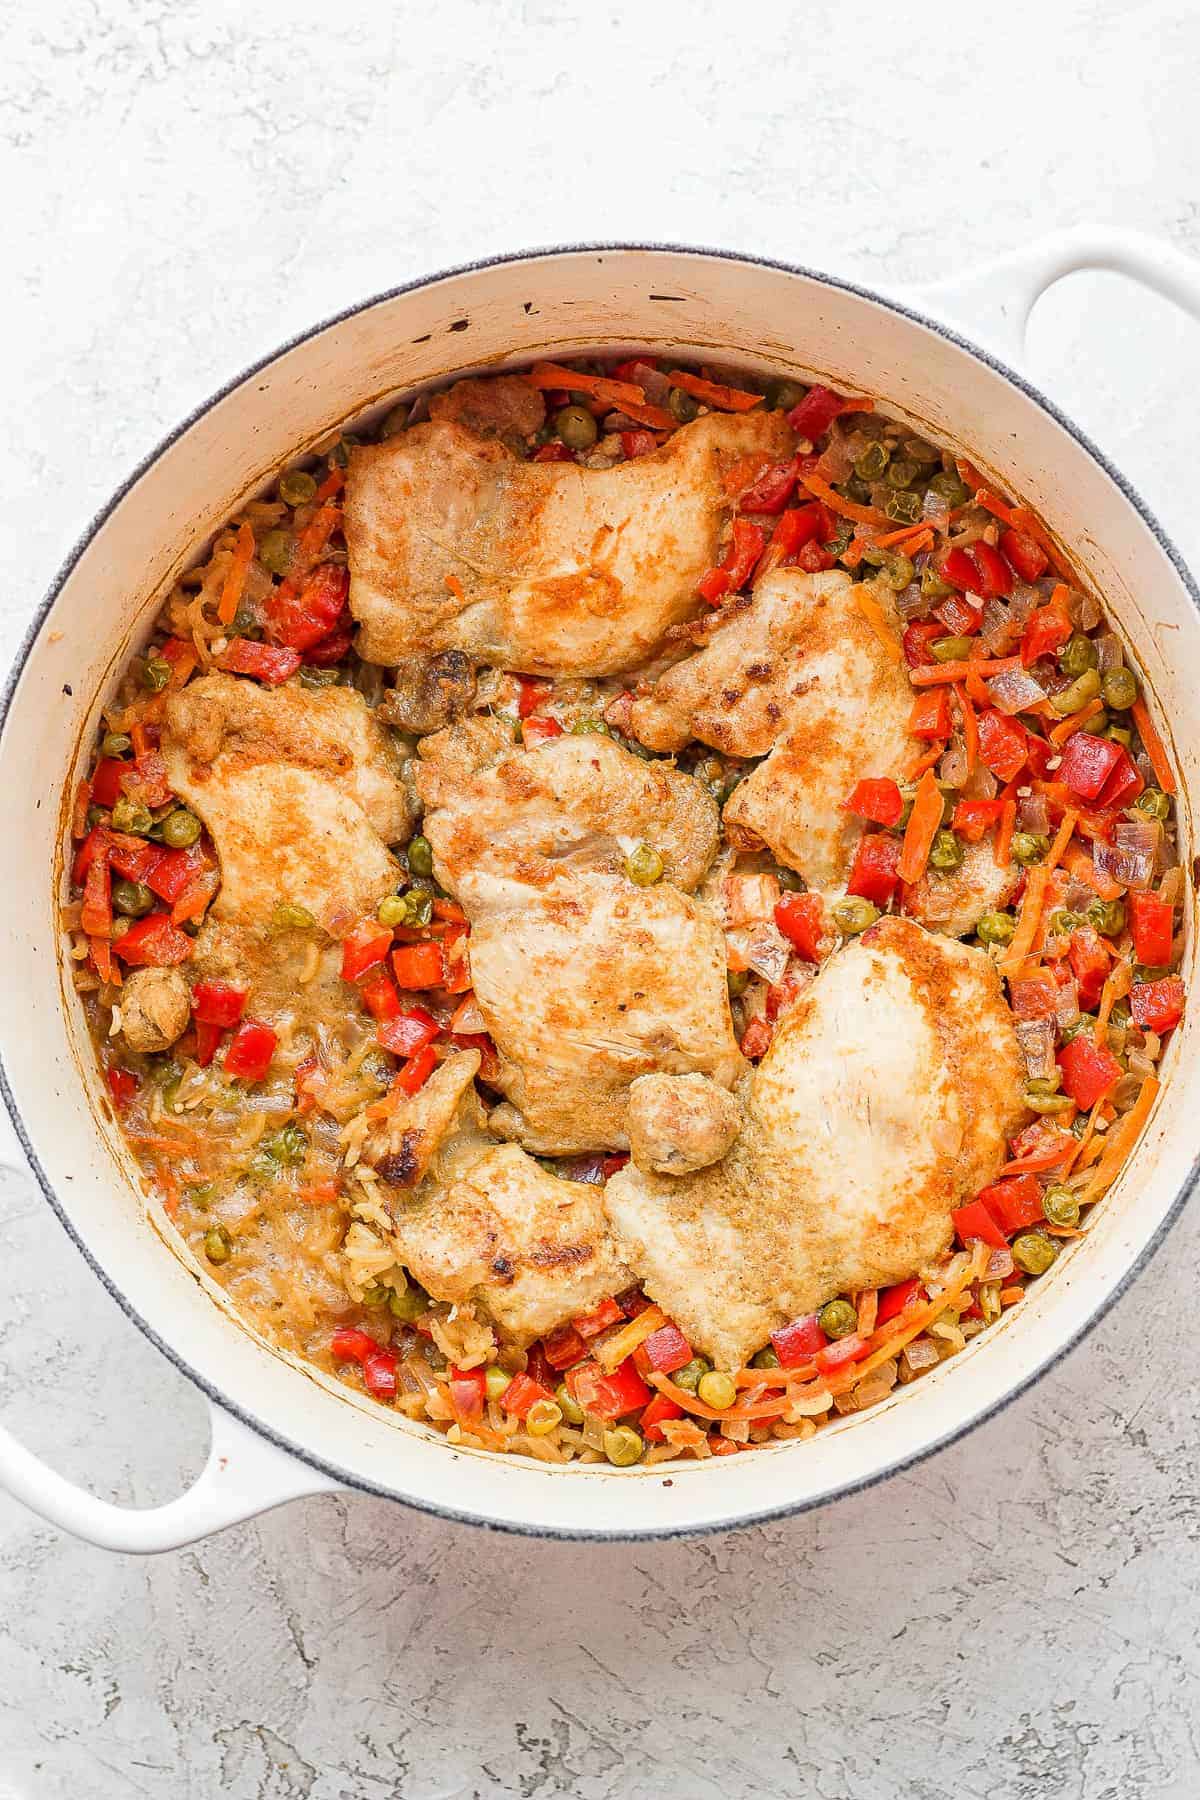
- Bake: cover the Dutch oven and bake at 250ºF for 25-30 minutes or until the chicken thighs reach 165ºF and the rice is fully cooked.
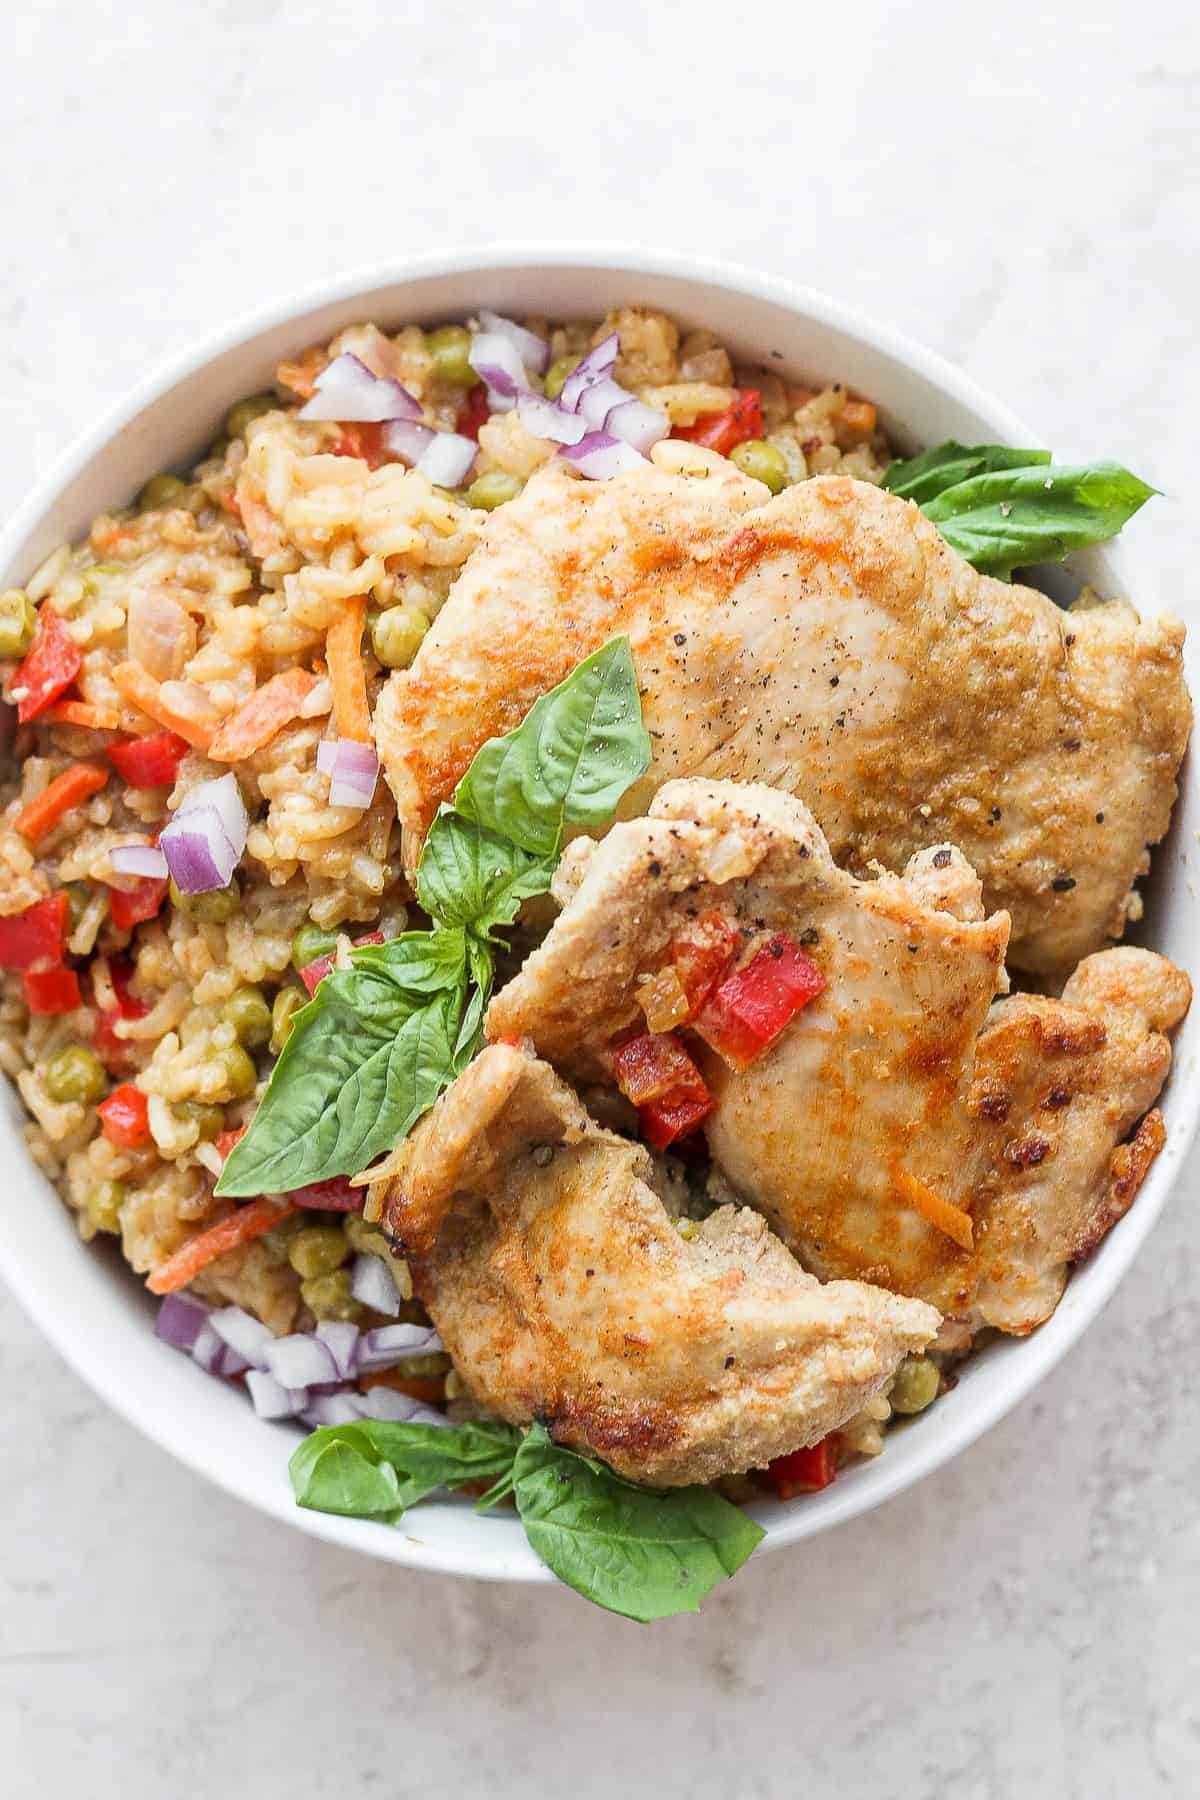
- Serve: serve with fresh herbs.

Try it!
Thermoworks Thermapen
We swear by using a meat thermometer when cooking any cut of meat. The Thermapen is our go-to meat thermometer that works every time.
A Few Quick Tips
Brown Chicken: browning the chicken is key to getting amazing texture for your thighs. Don’t forget to do this!
Stir Ingredients: make sure to stir everything before baking so that everything gets nice and coated in the yummy coconut curry sauce.
Taste Test at the End: before serving the dish, make sure to give it a taste test to add more lime and/or salt as needed.
Storage
Let your meal cool completely. Then, transfer it into an airtight container and refrigerate for up to 3-5 days.
Can you freeze this?
We don’t recommend freezing this recipe as the rice would end up getting mushy.
One Pot Curry Chicken and Rice

Ingredients
- 1.5 – 2 lbs. boneless skinless chicken thighs, our package had 6 small boneless skinless chicken thighs
- 1 teaspoon kosher salt
- 1 tablespoon garlic powder
- ½ teaspoon ground coriander
- 2 teaspoons ground ginger
- 1 tablespoon garlic chili sauce, separated
- 15 oz. canned full-fat coconut milk, unsweetened (~1 ½ cup)
- 1 cup chicken broth
- 1 teaspoon fish sauce
- 3 tablespoons green curry paste
- 2 teaspoons freshly grated ginger
- 3 tablespoons fresh lime juice
- 1.5 tablespoons ghee
- ½ large red onion, minced
- 3 cloves garlic, minced
- 1 cup uncooked jasmine rice
- 1 large red bell pepper, seeded and diced
- 1 cup matchstick carrots
- 1 cup frozen peas
Toppings
- ¼ cup red onion, minced
- 2 tablespoons roughly chopped cilantro
- 2 tablespoons roughly chopped Thai basil
- A squeeze of fresh lime juice
Instructions
- Preheat the oven to 350ºF.
- Make a dry rub for the chicken thighs. Add the kosher salt, garlic powder, coriander, and ground ginger to a small bowl and mix until combined.
- Pat the chicken thighs dry with a paper towel. Sprinkle the chicken thighs with the dry rub and pat the rub into both sides of the chicken thighs.
- Place the chicken thighs on a plate and slather 2 teaspoons of chili sauce over the top of the chicken thighs. Set aside.
- Prepare the coconut sauce. Add the coconut milk and broth to a large bowl with a pour spout. Whisk the two ingredients together until combined.
- Add fish sauce, curry paste, grated ginger, and lime juice to the coconut milk and broth and whisk until all the ingredients are well combined. Set aside.
- Heat a large dutch oven over medium/high heat. Add the ghee to the Dutch oven.
- When the ghee is melted and fragrant, place the chicken thighs in the Dutch oven with the chili sauce side down. Sear the chicken thighs for 2 minutes on one side and then remove them from the dutch oven (you are only searing one side of the chicken thighs).
- Turn the heat to medium and scrape the bottom of the pan with a spatula to loosen all the brown bits from the bottom of the pan. Add the onions.
- Sauté the onions in the ghee and chicken juices for 2-3 minutes.
- Add the garlic to the onions and saute for an additional minute.
- Next, pour the uncooked jasmine rice into the dutch oven and toast the rice for 2 minutes with the garlic and onion.
- Add the bell pepper, carrots, and peas to the pot and stir.
- Pour the coconut curry mixture into the pot and stir to combine all the ingredients.
- Finally, place the chicken thighs on top of the other ingredients.
- Place the lid on the Dutch oven and bake at 350ºF for 25-30 minutes or until the rice has completely cooked and absorbed most of the liquid and the chicken is 165ºF.
- Remove the Dutch oven from the oven and let it rest for 5 minutes.
- Uncover the Dutch oven and sprinkle it with cilantro, basil, and red onion.
- Enjoy!
Tips & Notes
- We prefer using boneless, skinless chicken thighs for this recipe but bone-in chicken thighs will work too. Please note that if you do use bone-in chicken thighs, you will need to sear both sides of the chicken thighs for 1-2 minutes.
- This one-pot chicken curry uses green curry paste, but you can use red as well.
- Be sure the peas are frozen when you add them to the pot or they will end up soggy.
- The sauce of this one pot dish is supposed to be a bit creamy after it is done cooking. Most of the liquid should be dissolved but it is ok to be a bit creamy!
- If you would prefer a less spicy curry, cut out all or half of the garlic chili past
Nutrition
Nutrition information is automatically calculated, so should only be used as an approximation.
Don’t forget to tag your posts on social media with the hashtag #fitfoodiefinds, we’d love to see what you’re up to!
Photography: photos taken in this post are by Erin from The Wooden Skillet.



Ummm yeah, this is amazing! The flavors are fantastic.