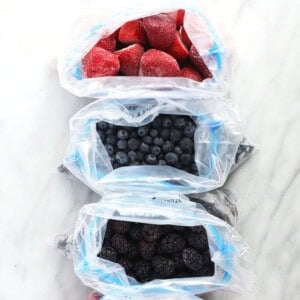
How to Freeze Berries
Published 5/15/2020
This post may contain affiliate links. Please read our disclosure policy.
Freeze berries at home and have them on hand for everything from smoothies to baking! This how to freeze berries tutorial will walk you through how to freeze strawberries, blueberries, blackberries and raspberries in 5 easy steps!

Freezing Fresh Berries
Freezing fresh berries is EASY if you follow a few simple steps. And frozen berries are great to have on hand for everything from baking to smoothies. Follow along as we walk you through:- How to freeze strawberries
- How to freeze blueberries
- How to freeze blackberries
- How to freeze raspberries
How to Freeze Strawberries
Preparing and freezing fresh strawberries is a cinch when you follow these 5 simple steps!
Step 1: Prepare a Baking Sheet
You don’t want to just pour your fresh strawberries directly into a freezer-safe bag before freezing them individually because you’ll end up with one giant clump of strawberries all frozen together. Prepare a baking sheet by covering it in parchment paper to freeze your strawberries on. If you don’t have parchment paper, THAT’S OKAY. Freezing strawberries directly on a baking sheet works, too. You’ll just have to wash your baking sheet after the freezing process.Step 2: Prepare and Wash Strawberries
It’s time to wash those berries to make sure they’re all clean and free of dirt and germs before freezing. Prepare your strawberries by washing them with cold water (or a fruit wash!), and then remove the stems and leaves. Feel free to cut your strawberries into halves or fourths if you prefer smaller chunks later! If you have a few overly ripe strawberries, simple cut out those too-ripe portions or discard the entire strawberry if it’s too far gone.Step 3: Let Strawberries Dry
Once the berries are washed and prepared, you’ll want to let them dry FULLY on paper towels (or darker dish towels you don’t mind coloring bleeding from the strawbs!) before placing them on a baking sheet to freeze. This will ensure your berries don’t carry that extra water with them in the freezing process, which can cause freezer burn!
Step 4: Freeze Strawberries on a Baking Sheet
Place your strawberries on the parchment paper-covered baking sheet, making sure none of the berries are touching each other. This will ensure each of your beautiful little strawbs freeze individually instead of together with the berries touching each other. Place the baking sheet in the freezer for at least 60 minutes, or until all the berries are completely frozen. The time it takes for your strawberries to freeze will depend on the size of the pieces or if you’re freezing the whole berries!Step 5: Transfer to Freezer-Safe Containers
Lastly, remove the baking sheet from the freezer and use a spatula to remove the berries from the baking sheet. Immediately place your frozen berries into a freezer-safe bag, remove air from the bag or container as much as possible, seal, and place in the freezer for easy access to perfectly frozen berries any time! Feel free to use Ziploc bags, Stasher bags, or glass or plastic meal-prep containers for storing the berries in the freezer.What to make with frozen strawberries
How to Freeze Blueberries
Superfood blueberries are a nutritious and delicious addition to any smoothie! Oh, and you can’t forget about blueberry pancakes. We’ll show you how to freeze your own at home here.
Step 1: Prepare a Baking Sheet
You don’t want to just pour your fresh blueberries directly into a freezer-safe bag before freezing them individually because you’ll end up with one giant clump of bluebs all frozen together. Covering the baking sheet with parchment paper isn’t as necessary with blueberries as most of their juicy moisture is contained within the skin. So, you’ll just start with a clean baking sheet with at least a 1/2-inch. lip to ensure your berries don’t spill all over your freezer.Step 2: Prepare and Wash Blueberries
It’s time to wash those berries to make sure they’re all clean and free of dirt and germs before freezing. Prepare your blueberries by washing them with cold water (or fruit wash!), and then remove any stems that were missed when they were packaged. Now is the time to discard any overly ripe blueberries.Step 3: Let Blueberries Dry
Once the berries are washed and prepared, you’ll want to let them dry FULLY on paper towels (or darker dish towels you don’t mind coloring bleeding from the juicy blueberries!) before placing them on a baking sheet to freeze. This will ensure your berries don’t carry that extra water with them in the freezing process, which can cause freezer burn!
Step 4: Freeze Blueberries on a Baking Sheet
Place your blueberries on a baking sheet, spreading them out evenly. This will ensure each of your beautiful little bluebs freeze individually instead of together with the berries touching each other. Place the baking sheet in the freezer for at least 30 minutes, or until all the berries are completely frozen. Because blueberries are a small berry, they won’t take as long to freeze as blackberries or whole strawberries.Step 5: Transfer to Freezer-Safe Containers
Lastly, remove the baking sheet from the freezer and use a spatula to remove the blueberries from the baking sheet if any have frozen to it. Immediately place your frozen berries into a freezer-safe bag, remove air from the bag or container as much as possible, seal, and place in the freezer for easy access to perfectly frozen berries any time! Feel free to use Ziploc bags, Stasher bags, or glass or plastic meal-prep containers for storing the berries in the freezer.What to make with frozen blueberries
How to Freeze Blackberries
Blackberries are one of the harder berries to find in the freezer section of your grocery store, so why not freeze some up at home to use in recipes! We’ll show you how here.
Step 1: Prepare a Baking Sheet
You don’t want to just pour your fresh blackberries directly into a freezer-safe bag before freezing them individually because you’ll end up with one giant clump of berries all frozen together. First prepare a baking sheet (with at least a 1/2-inch lip so your berries don’t spill in the freezer!) by covering it with parchment paper to freeze your blackberries on. When it comes time to making a smoothie or baking with your frozen berries, you’ll be all set! If you don’t have parchment paper, THAT’S OKAY. Freezing blackberries directly on a baking sheet works, too. You’ll just have to wash your baking sheet after the freezing process.Step 2: Prepare and Wash Blackberries
It’s time to wash those berries to make sure they’re all clean and free of dirt and germs before freezing. Prepare your blackberries by washing them with cold water (or fruit wash!), and then remove any stems that were missed when they were packaged. Now is the time to discard any overly ripe blackberries.
Step 3: Let Blackberries Dry
Once the berries are washed and prepared, you’ll want to let them dry FULLY on paper towels (or darker dish towels you don’t mind coloring bleeding from the juicy blackberries!) before placing them on a baking sheet to freeze. This will ensure your berries don’t carry that extra water with them in the freezing process, which can cause freezer burn!Step 4: Freeze Blackberries on a Baking Sheet
Place your blackberries onto the parchment paper-covered baking sheet, making sure none of the berries are touching each other. This will ensure each of your beautiful little berries freeze individually instead of together with the berries touching each other. Place the baking sheet in the freezer for at least 60 minutes, or until all the berries are completely frozen.Step 5: Transfer to Freezer-Safe Containers
Lastly, remove the baking sheet from the freezer and use a spatula to remove the blackberries from the baking sheet if any have frozen to it. Immediately place your frozen berries into a freezer-safe bag, remove air from the bag or container as much as possible, seal, and place in the freezer for easy access to perfectly frozen berries any time! Feel free to use Ziploc bags, Stasher bags, or glass or plastic meal-prep containers for storing the berries in the freezer.What to make with frozen blackberries
How to Freeze Raspberries
Freezing fresh raspberries is a great way to keep these delicious berries on hand and ready to use in any berry-licious recipes!
Step 1: Prepare a Baking Sheet
You don’t want to just pour your fresh raspberries directly into a freezer safe bag before freezing them individually because you’ll end up with one giant clump of razzles all frozen together. First prepare a baking sheet (with at least a 1/2-inch lip so your berries don’t spill in the freezer!) by covering it with parchment paper to freeze your raspberries on. When it comes time to make a smoothie or bake with your frozen berries, you’ll be all set! If you don’t have parchment paper, THAT’S OKAY. Freezing raspberries directly on a baking sheet works, too. You’ll just have to wash your baking sheet after the freezing process.Step 2: Prepare and Wash Raspberries
It’s time to wash those berries to make sure they’re all clean and free of dirt and germs before freezing. Prepare raspberries by washing them with cold water (or a fruit wash!), and discard any overly ripe raspberries.
Step 3: Let Raspberries Dry
Once the berries are washed and prepared, you’ll want to let them dry FULLY on paper towels (or darker dish towels you don’t mind coloring bleeding from the juicy raspberries!) before placing them on a baking sheet to freeze. Pro tip: place your raspberries with the hole facing down on the towel to ensure the water drains out! This will ensure your berries don’t carry that extra water with them in the freezing process, which can cause freezer burn!Step 4: Freeze Raspberries on a Baking Sheet
Place your raspberries on the parchment paper-covered baking sheet, making sure none of the berries are touching each other. This will ensure each of your beautiful little razzles freeze individually instead of together with the berries touching each other. Place the baking sheet in the freezer for at least 30 minutes, or until all the berries are completely frozen.Step 5: Transfer to Freezer-Safe Containers
Lastly, remove the baking sheet from the freezer and use a spatula to remove the raspberries from the baking sheet if any have frozen to it. Immediately place your frozen berries into a freezer-safe bag, remove air from the bag or container as much as possible, seal, and place in the freezer for easy access to perfectly frozen berries any time! Feel free to use Ziploc bags, Stasher bags, or glass or plastic meal-prep containers for storing the berries in the freezer.What to make with frozen raspberries

How Long do Frozen Berries Last?
Frozen berries will last for up to 3 months when tightly sealed in freezer safe containers in the freezer. So next time you see a deal on fresh berries at the grocery store or farmers market, STOCK UP!Can I Freeze Different Berries Together?
Freeze like berries together. For example, place ALL your strawberries together on one baking sheet as they will take the same amount of time to fully freeze due to their similar size. Similarly, freeze your blueberries together on the same baking sheet as they will take less time to freeze than larger strawberries. We think it’s easiest to freeze your strawberries, blueberries, blackberries and raspberries in individual bags for easy access to each berry. You can always mix them together later (for all those triple berry smoothies you’ll be making in the near future!), but this way you still have access to each individual berry if a recipe calls for it.Can I Freeze Bananas, Too?
Absolutely! And we’ll walk you through how to freeze banana slices perfectly every time, HERE.
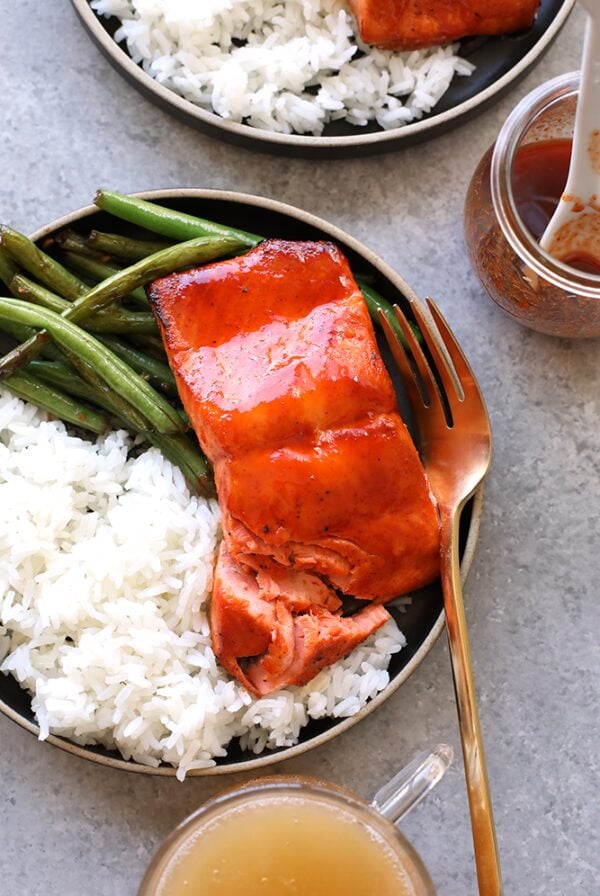
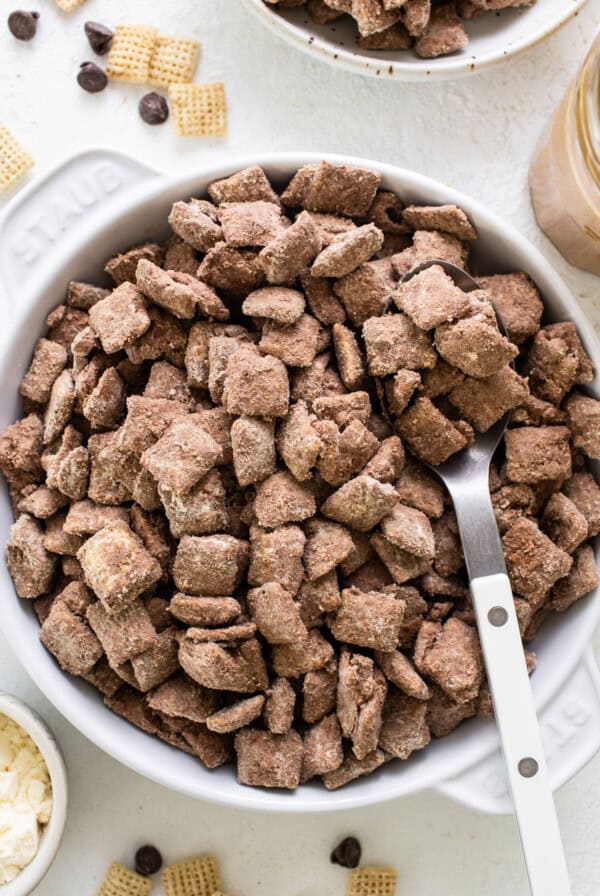
How to Use Frozen Berries
The options are endless! Whether you’re freezing berries for your smoothies or hoping to plop them into delicious baked goods and sweet breakfast recipes, frozen berries are such a great way to preserve berries for a later date while keeping their great flavor intact. Here are some of our go-to recipes that can use frozen berries: Smoothies- Blueberry Date Smoothie Bowls
- The Best Strawberry Smoothie
- Blueberry Banana Smoothie
- Triple Berry Protein Smoothie
- Creamy Strawberry Chia Seed Smoothie
- ALL Smoothies on FFF
How to Freeze Berries
Freeze berries at home and have them on hand for everything from smoothies to baking! This how to freeze berries tutorial will walk you through how to freeze strawberries, blueberries, blackberries and raspberries in 5 easy steps!
Ingredients
- 1 pint or more of berries of choice
Instructions
- Prepare a baking sheet (with at least 1/2 in. lip) by laying a piece of parchment paper flat onto the baking sheet.
- Wash berries with cold water or fruit wash, and lay on paper towels and allow to dry completely.
- Once dry, prepare berries by removing stems, leaves, and any overly ripe berries.*
- Place berries on baking sheet, making sure to spread them out evenly. It’s best if the berries are not touching one another so that they don’t freeze together.
- Place into the freezer for 30-60 minutes* or until berries are hard and completely frozen.
- Remove from the freezer and use a spatula to scrape frozen berries off of the baking sheet.
- Transfer berries into a freezer-safe gallon-size bag. Remove as much air from the freezer-safe bag as possible and seal tightly.
- Store berries in the freezer for easy access to frozen berries for smoothies and baking for up to 3 months.
Tips & Notes
- If freezing strawberries, feel free to slice into halves or fourths instead of keeping whole.
- Larger berries like whole strawberries will take longer to freeze than smaller berries like blueberries.
- Nutrition information is for blueberries.
Nutrition
Serving: 1 cup, Calories: 84 kcal, Carbohydrates: 22 g, Protein: 1 g, Fat: 0 g, Fiber: 4 g, Sugar: 15 g
Nutrition information is automatically calculated, so should only be used as an approximation.
love this? leave a comment below!
Don’t forget to tag your posts on social media with the hashtag #fitfoodiefinds, we’d love to see what you’re up to!


What a great concept! I had never considered freezing them separately. Such lovely images!